I know it’s a relatively minor thing, but I have long really liked BenQ remotes. Like most companies, BenQ makes a small assortment of remotes, relative to the number of different projectors. That said, their home theater projectors (as opposed to some entry-level home entertainment projectors), have long had large remotes, with lots of buttons, including shortcuts to key menus…
The HT9060 is as nice a remote as we’ve seen from BenQ. It looks good too, as an added bonus. More to the point, however, it is backlit, and well laid out. My only real complaint is I would have liked to see an implementation of HDMI-link, which would allow the remote to also control compatible 4K UHD and Blu-ray players, as well as some cable remotes, and other devices. Thus removing a little remote clutter.
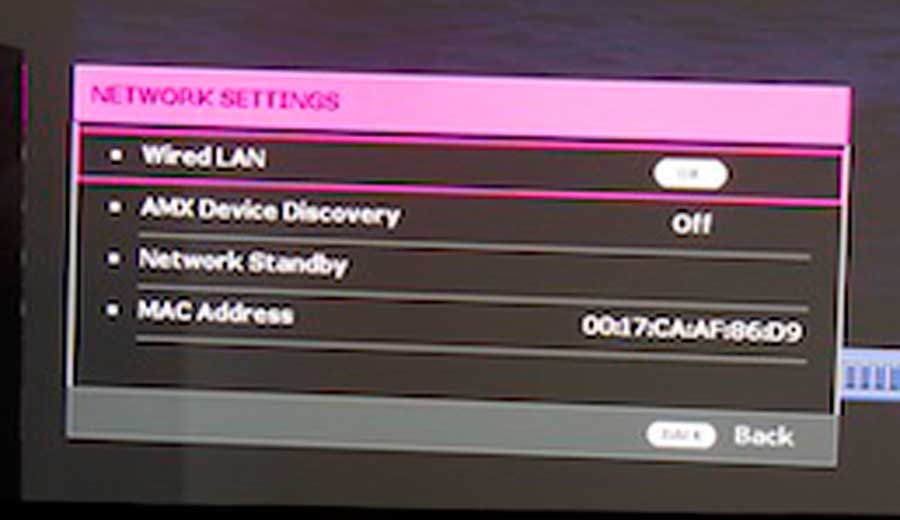
On the other hand, as noted on the previous page, the BenQ has all the usual “command and control” interfaces, to be compatible with universal remotes, and be AMX compatible (but interestingly not Crestron compatible which, is more widely found in higher-end home theater installations).
Let’s look at the buttons and capabilities of this BenQ remote:
On each row, starting at the top, we list the buttons from left to right:
Power On, (on the left)
Standby (off) on the right. Press twice for off.
Next row:
Auto: Adjusts a computer signal automatically as needed
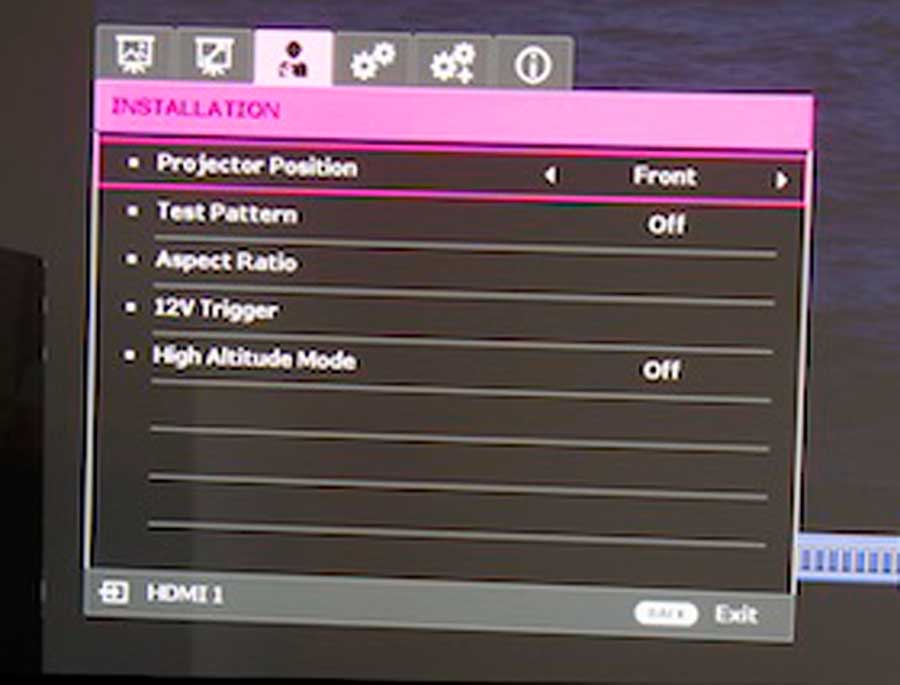
Aspect ratio: Allows adjustment for different aspect ratios, as needed
Test Pattern: A single test pattern you can use for focusing, and observing contrast
Next row: Unused buttons (remember, most remotes are shared by multiple projectors often with some different features
Source: Let’s you choose your source. Pressing more than once toggles you through the choices or you can use the arrow keys
Default : A reset type button for the feature you are working with (have on-screen).
Navigation: Four arrow keys in a square layout, with a center OK button (Enter)
Back: Takes you back a step in the menu system
Menu: Opens up the menu system
Pic Mode: Shortcut. Lets you select the Picture mode you want (such as Cinema). Press multiple times to toggle or use navigation arrows to choose the desired picture mode.
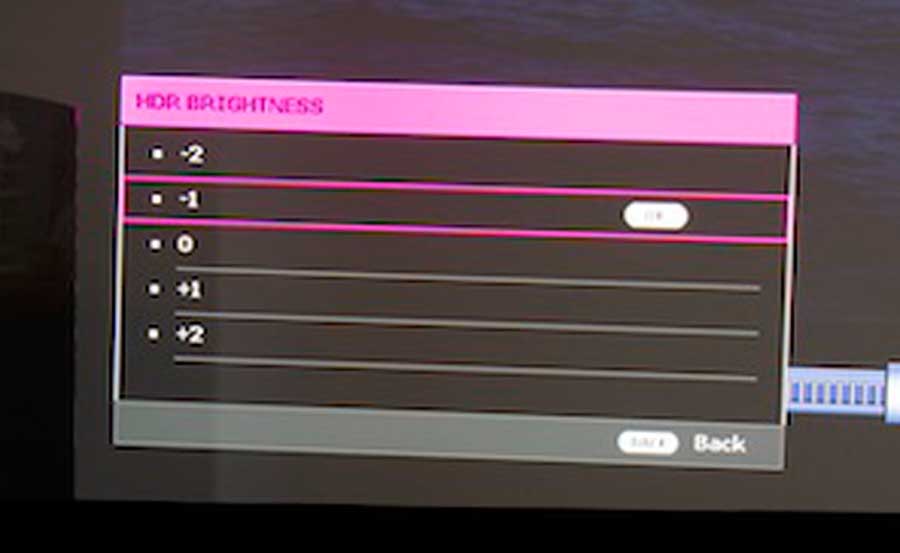
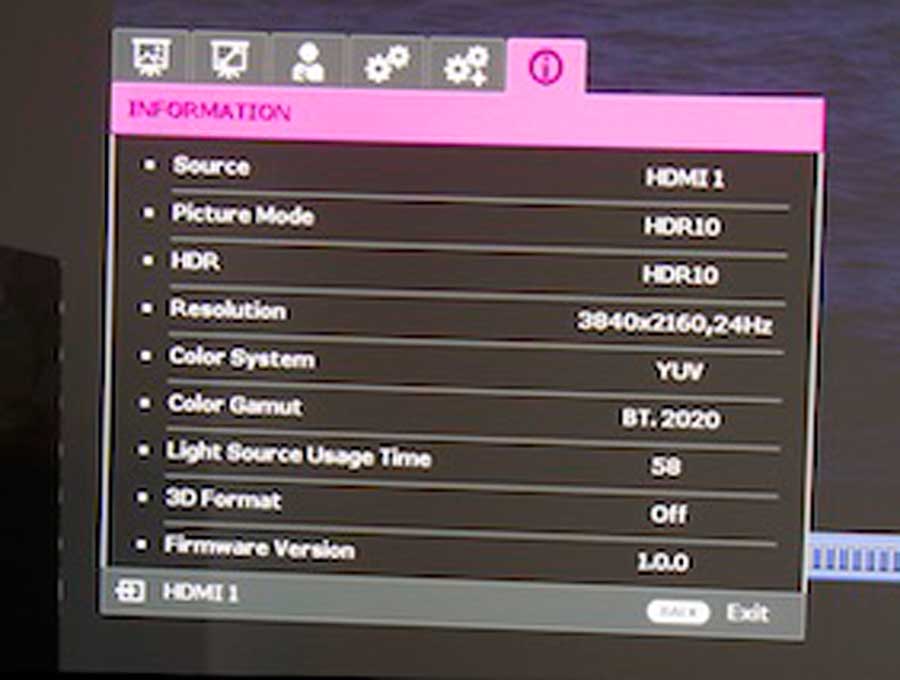
HDR: A shortcut to the HDR menu where you can affect the tone curve to increase or decrease the amount of HDR. More HDR = darker mid brightness areas compared to fully bright ones.
Cinema Master: Opens a series of BenQ named features including a “Color enhancer”, Skin tone adjustment (they call them Flesh tones). Pixel enhancer adjusts a lot of aspects of 4K content, including color, contrast, detail and textures (we normally leave these settings at default (or if not, more likely to turn them down, than up. The last one in the Cinema Master has the unintelligible names of DCTI/DLTI – they are additional controls that affect multiple aspects of the picture especially on very high contrast images. I really didn’t mess with these. Have fun.
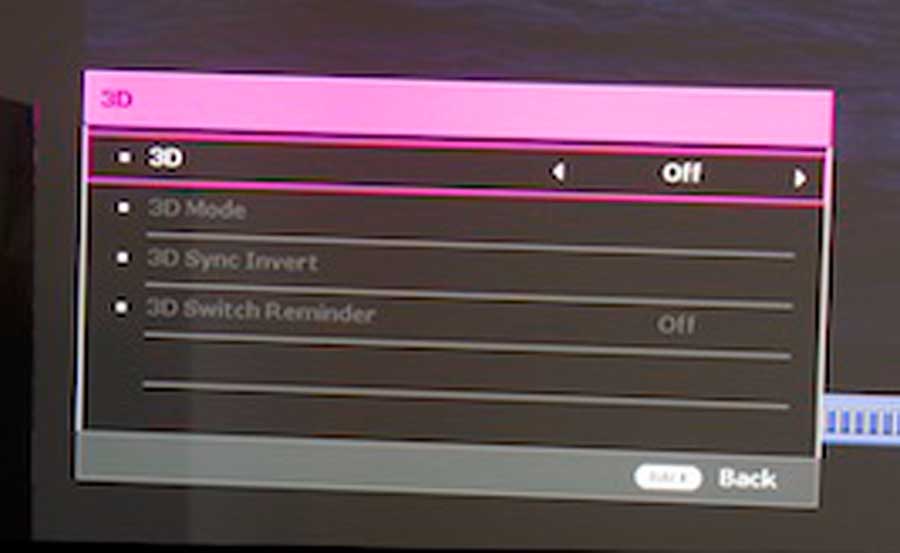
3D: Toggles on 3D options. Auto is the default, but it can be On (if there is 3D content) or Off.
Invert: This inverts the 3D image between left eye and right if it is distorted (a standard 3D feature)
That takes us to the bottom section of the HT9060 remote control, which consists of 9 buttons in three rows. All of these are shortcuts to major Picture menus:
Bright: Adjusts black levels
Contrast: Adjusts white levels
Dynamic Iris: (This button does not function because there is no Dynamic iris
Color Temp: Adjusts the grayscale – the balance of white between Red, Green, and Blue
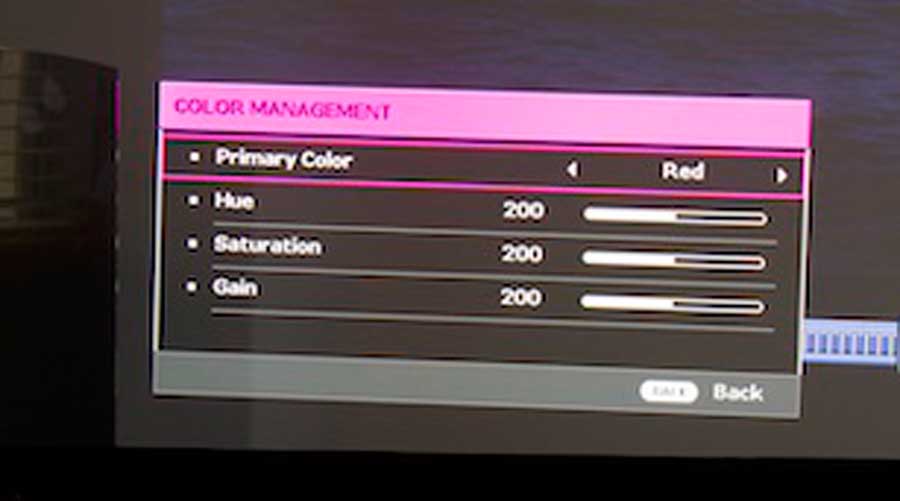
Color Manage:
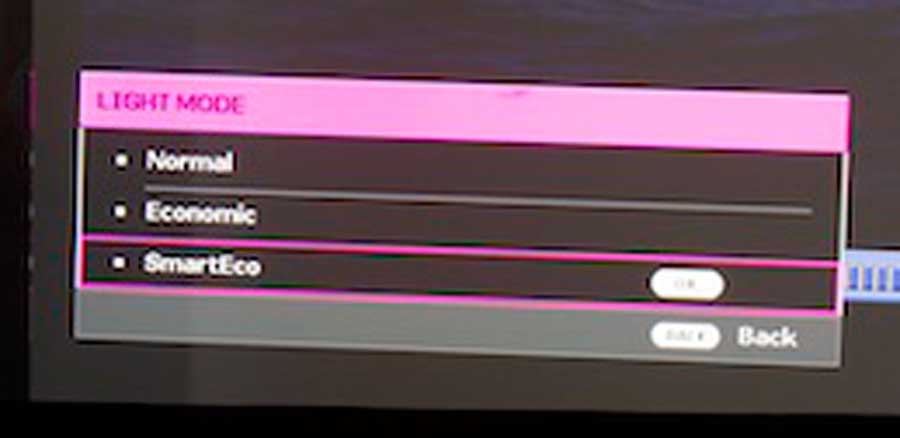
Light Mode: Adjusts “lamp mode” to control the brightness of the laser engine (and therefore, the projector)
Gamma: Adjusts Gamma
Sharp: Adjusts Sharpness
Eco Blank: Blanks the screen