Posted on July 5, 2020 By Phil Jones
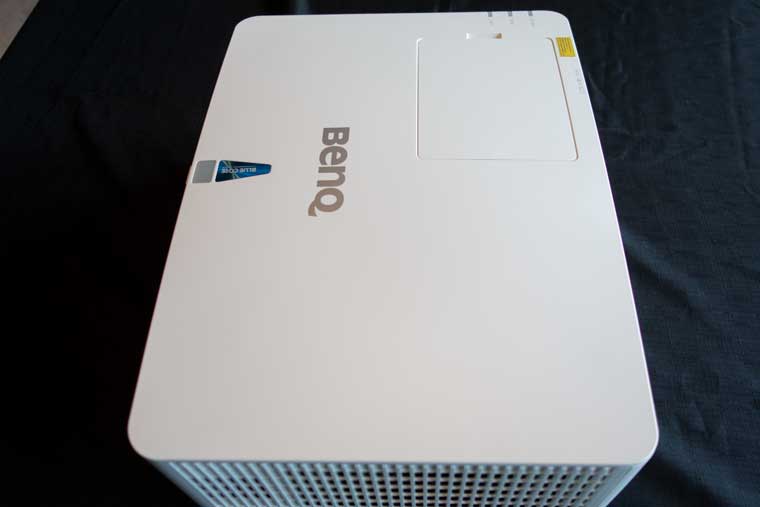
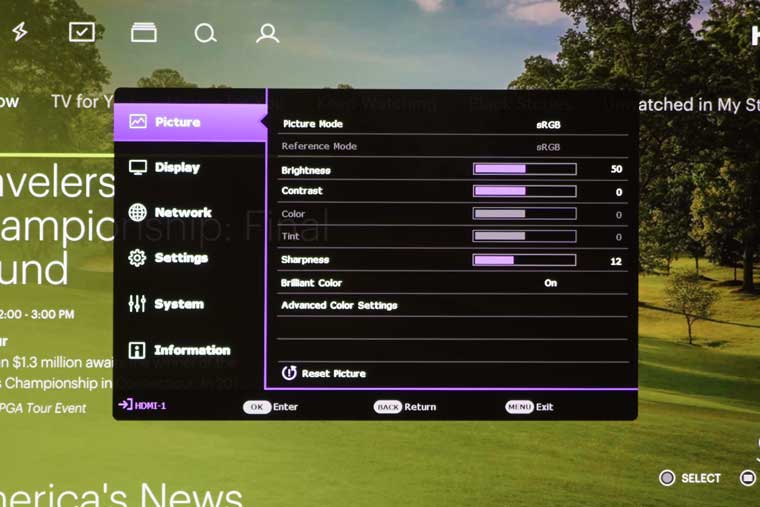
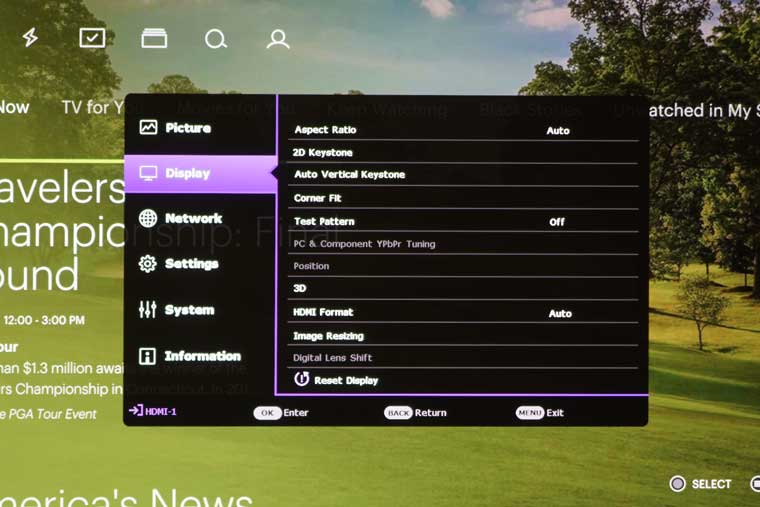
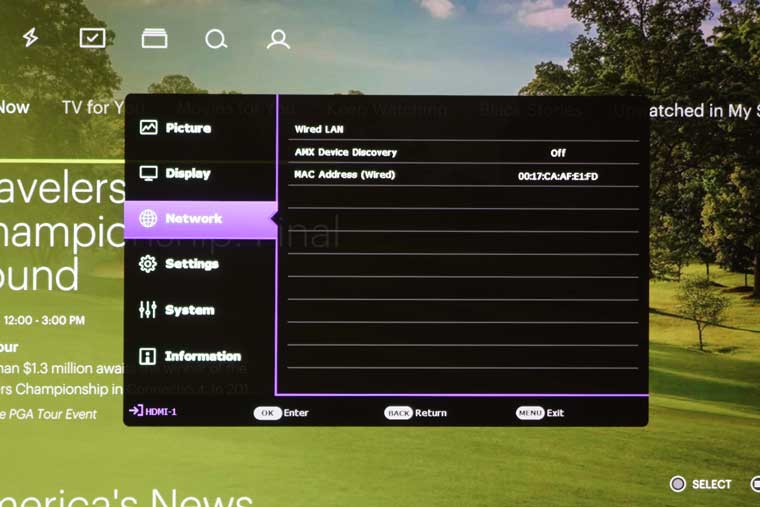
BENQ LU710 Business/Education Projector Review- Hardware Tour- Overview, Control Panel, Remote Control,Inputs and Connectors, Lens, Menus
The LU710 is a very compact classroom projector especially considering it can produce over 4,000 lumens of brightness. When facing the unit, the projector’s lens is located on the right side of the front panel. Focus and Zoom are done manually by turning the rings located on top of the projector directly above the lens under a cover.
The control panel for the LU710 is located on the right side along with an intake vent. The exhaust vent is on the left side. There is a speaker located on left and right sides towards the rear of the projector. All the A/V inputs and the AC power connection are located on the rear of the LU710. Dimensions are about: 16.4 “(416mm) x 6.5” (166mm) high x 12.28” (312mm) and the chassis weighs about 13 pounds.
The LU710’s control panel is located on the left side of the projector when facing the projector’s lens. Whether the projector is placed on a table or ceiling mounted, the control panel will be easily accessible.
The remote control for the BenQ LU710 is lightweight and white in color making it easy to see even in a darkened room. It has all the buttons needed to quickly access inputs and adjustments that would be used daily in a meeting or conference room. One unique button on the remote is Quick Install which takes you directly to a specialized menu containing setting normally used for setup. These include test patterns, keystone correction, and install position (ceiling, table, etc)
The AC power and signal connectors are located on the rear of the projector. The LU710 has USB-A inputs that can be used to display content stored on a USB drive as well as a connection for either an InstaShow™ or QCast™ Mirror USB dongle.
The BenQ LU710 has all the inputs and connectors you would normally use in a business or education environment.
The LU710 projector’s lens has manual zoom and focus rings located on the top of the chassis above the lens under a cover. The LU710 has a 1.3x zoom and a throw ratio of 1.13:1 to 1.46:1.
The BenQ LU710 has three of setting menus: Quick Install, Basic and Advanced. Pressing the Quick Install button on the remote control takes you directly to a specialized menu containing settings/adjustments normally used during initial setup. These include test patterns, keystone correction, and install position (ceiling, table, etc).
The photo below shows the Basic Menu, which gives access to many of the basic functions you may need during day to day operation. While LumiExpert Level is shown in the Basic menu that feature is not available on the LU710.
More detailed settings used for initial setup and image fine tuning are available via the Advanced Menu. The Images below are shots of the Advanced Menu.
© 2019 Projector Reviews (V0625)
page-review-child.php