Appearance
The Epson EX5230, while larger than pico and pocket projectors, is still a compact portable model that could easily be moved between conference rooms or used on-the-road by business travelers. The supplied carrying case is large enough to hold the projector, remote and cables. It is a well built portable business projector packaged in an attractive black case.
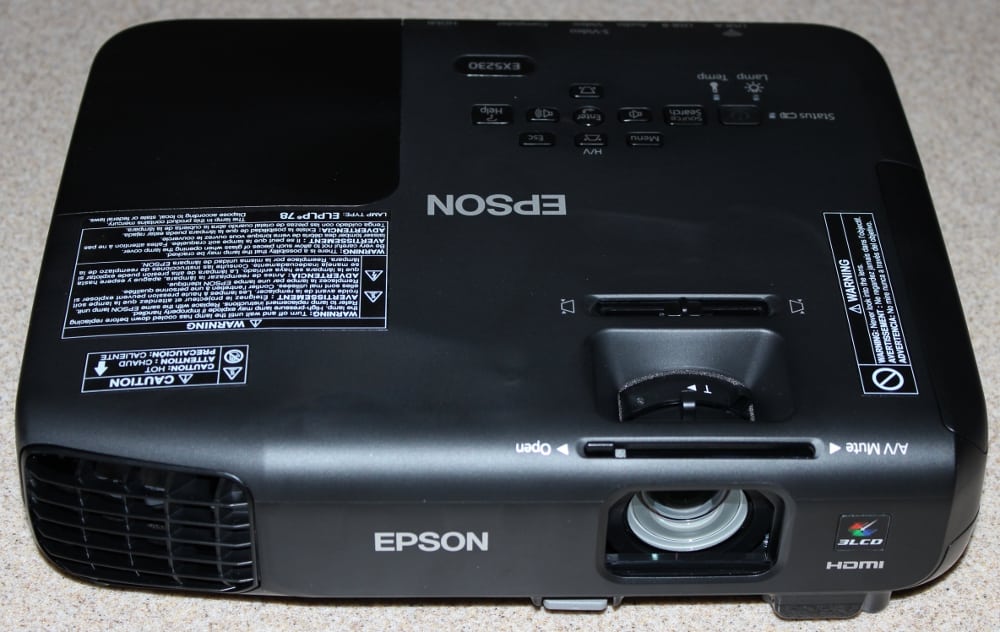
The projector's lens is positioned toward the right side of the projector’s front panel (when the projector is placed on a table and viewed from the front). The front panel also includes a cooling vent and along the bottom edge a button to release an adjustment foot that drop out from the bottom panel.
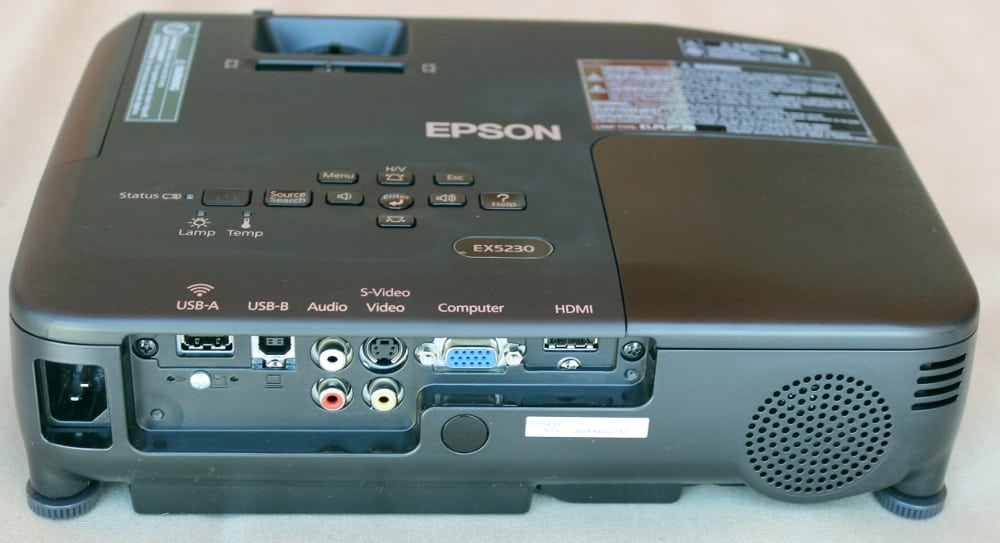
The rear panel has the input connectors, the single audio speaker and a IR receiver for the remote control.
The projector's air filter is located behind a removable grill on the right side of the projector. The user manual suggests "regular filter maintenance is important" and "If regular maintenance is not performed, your Epson projector will notify you when the temperature inside the projector has reached a high level".
The bottom panel of the projector includes a pop-out foot for adjusting the tilt of the projector when sitting on a table. There are also treaded holes in the bottom of the case that can be used for a permanent installation where the projector can be mounted in the inverted position using a ceiling mount (extra cost optional accessory).
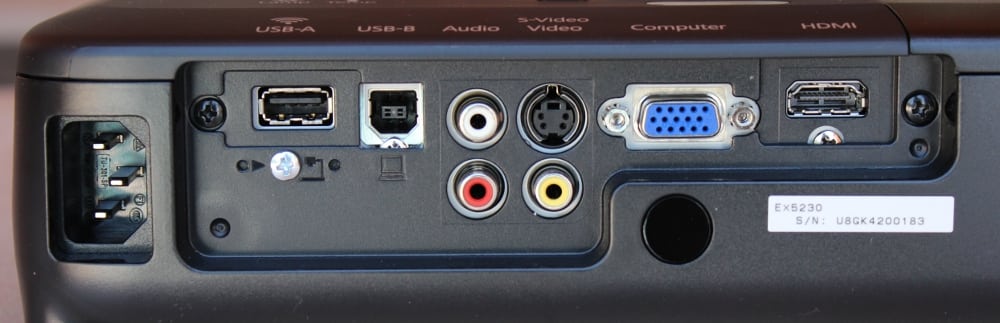
All of the EX5230 input and output connectors are located on the rear panel of the projector. Connections are provided for (from left to right as shown in the photo above):
- AC Power
- USB-A input
- USB-B input
- Stereo Audio inputs
- S-Video and Composite Video inputs
- Computer Analog (VGA style) input
- HDMI input
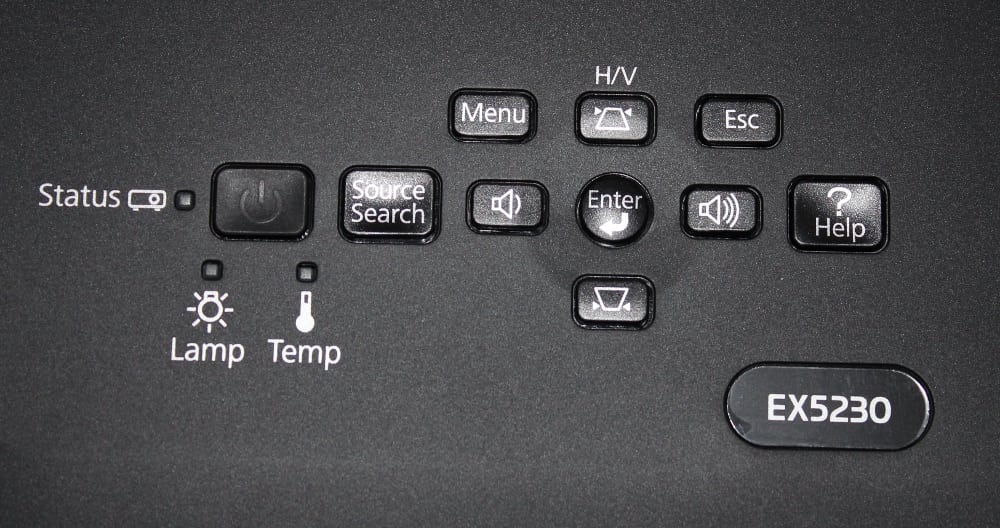
The buttons for the basic projector controls, see photo above, are located to the rear of the top panel. Included are the buttons for powering the projector on/off plus buttons for menu, electronic vertical keystone adjustment, input source selection and audio volume. The keystone and volume buttons, along with the “enter” button also serve as the menu navigation buttons. There are also status lights for the lamp and an over temperature warning.
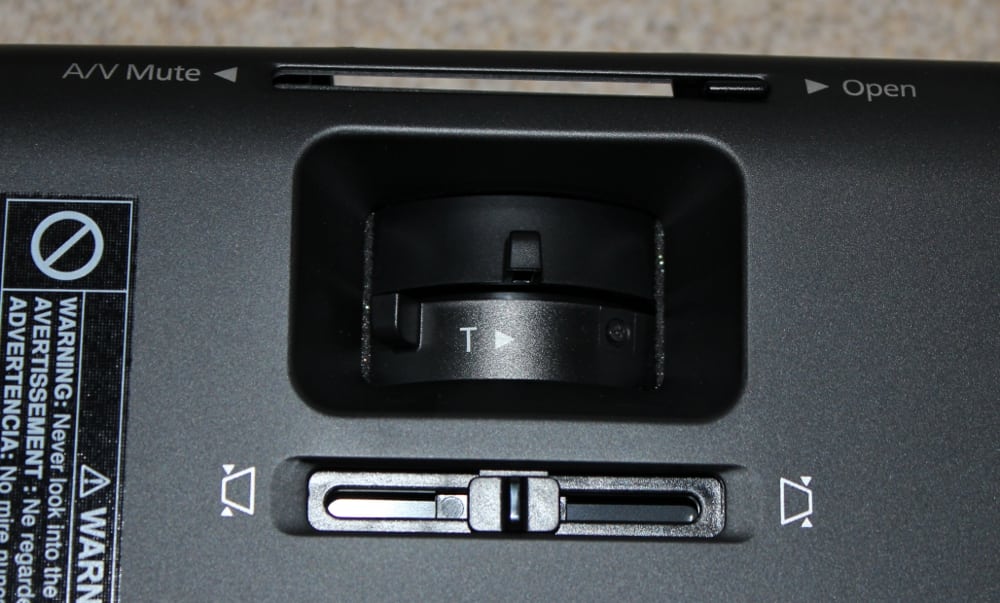
Toward the front of the projector’s top panel are the controls (see photo below) for the lens focus and zoom (mechanical controls), a slider control of the horizontal keystone adjustment and a mechanical tab used to slide the lens over open or closed. When the lens cover is closed the projector goes into A/V Mute mode, if the projector is still tuned on.
Setup and Menus
The EX5230 has a 1.2:1 zoom lens with a moderate throw ratio. For example with a 100" diagonal 4x3 screen (i.e., this projector's native aspect ratio) the projector can be placed from as close as 116" to as far as 136" from the screen. With the projector placed on a table and level, the bottom of the projected image will be nearly level with the projector. The physical setup of the projector is very straight forward with the basic zoom and focus rings on the projector's lens and a drop down front foot that can be used to tilt the projector upward if necessary to align the image with the screen. The projector's automatic vertical keystone correction feature works well to restore the correct geometry of the projected image when the projector has been tilted upward. A slide control is located on the top of the projector just to the rear of the lens, for the adjustment of horizontal keystone correction. This adjustment should only been needed for the case where the front of the projector cannot be placed parallel to the screen surface.
The EX5230 has a well organized menu structure with good on-screen graphics. When the menu button is pressed, the top-level menu is displayed with the “Image” menu selected as shown below.
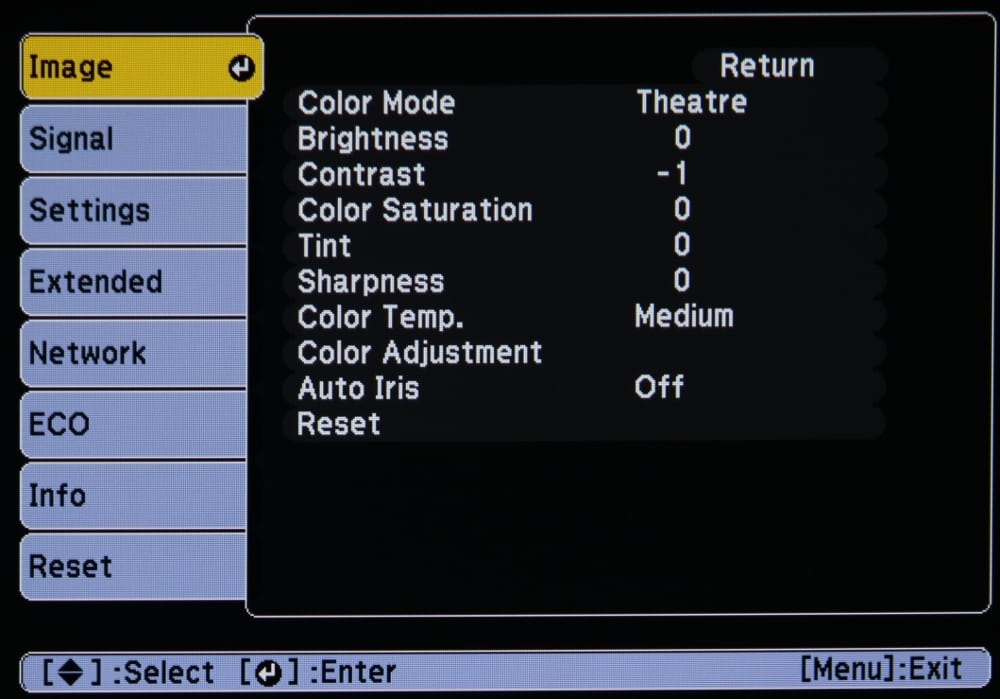
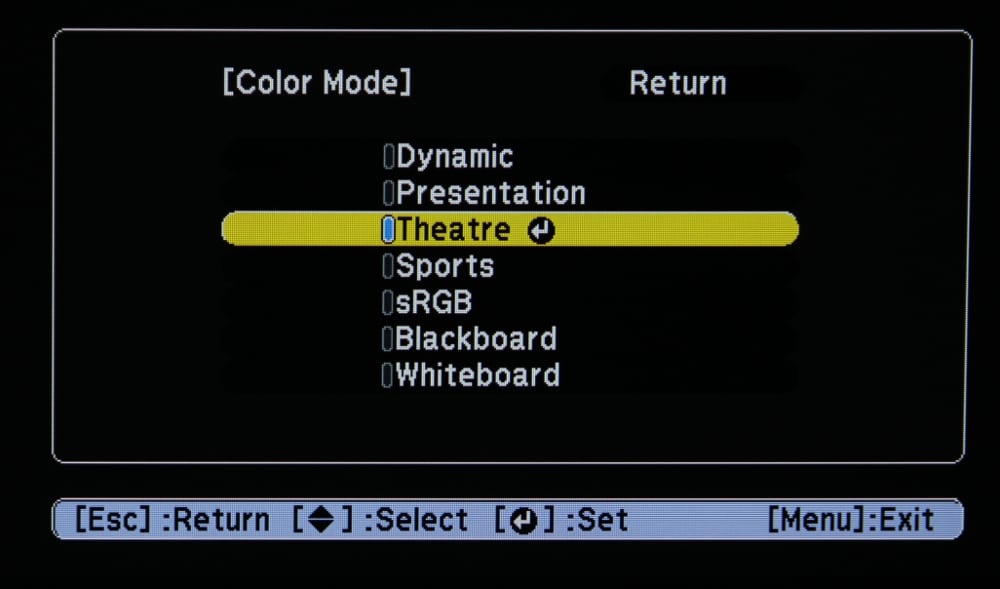
When any of the available items is selected from the top-level "Image" menu, a sub-menu is then displayed with the available adjustments/selections for that item. When the "Color Mode" item is selected the "Color Mode" sub-menu is displayed, as shown below.
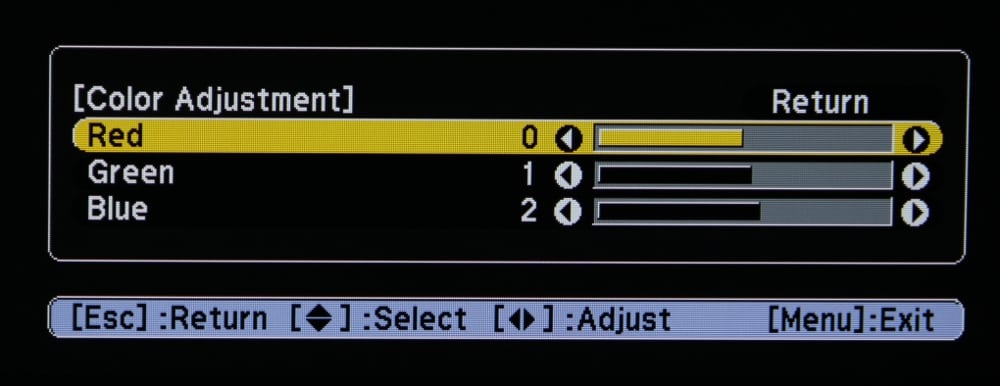
A “Color Adjustment” sub-menu, as shown below, can be accessed via the “Image” menu. The "Color Adjustment" sub-menu allows the user to adjust the red, blue and green color gains. That allows for creating a custom color temperature or fine tuning the preset color temperature setting.
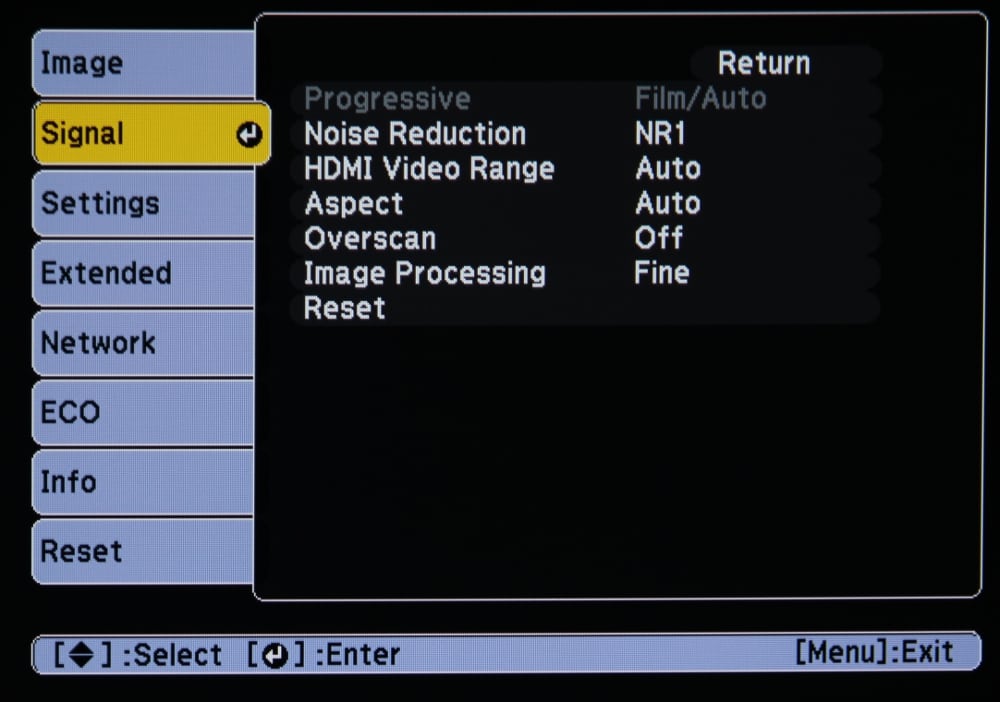
The “Signal” menu is shown in the photo below. This menu allows the user to adjust the processing to be used for the input signal.
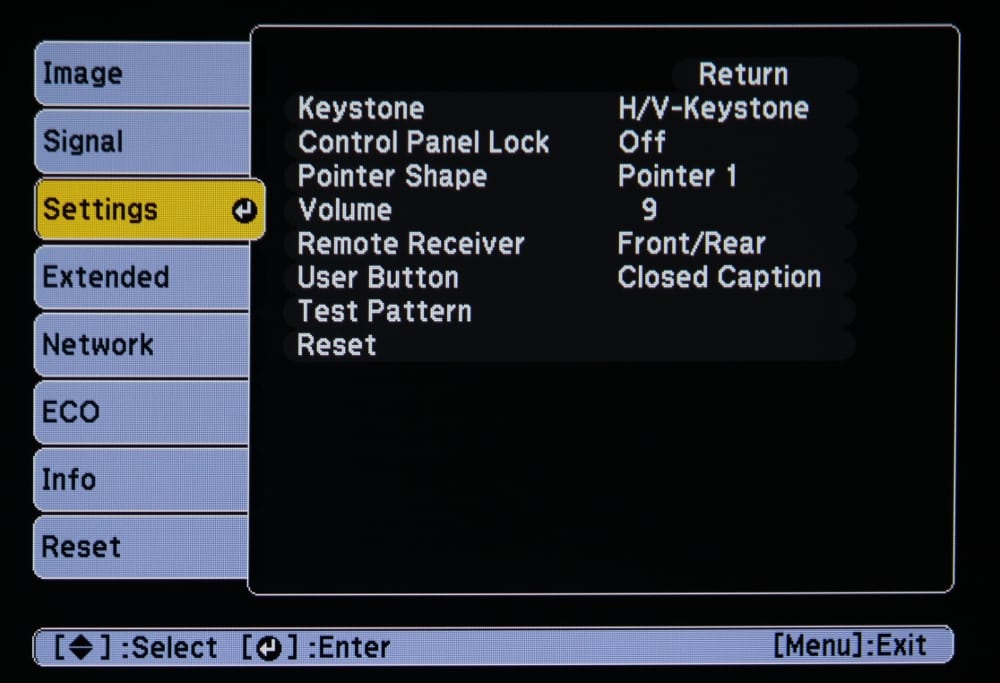
The “Settings” menu is shown in the photo below. This menu includes options for configuring the projector for the specific application/environment.
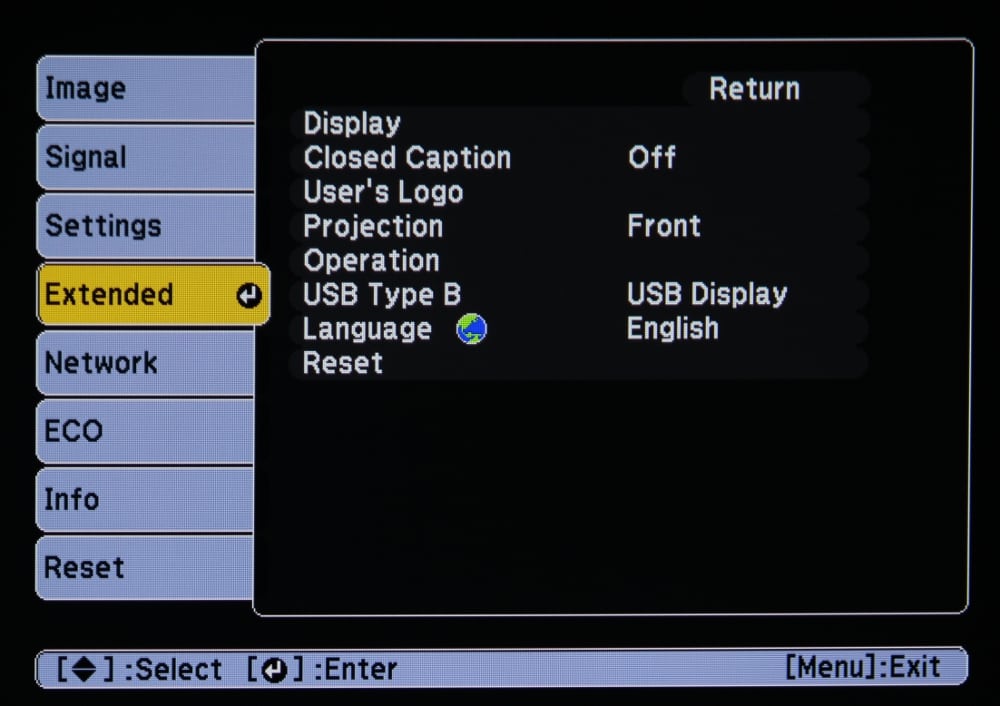
The “Extended” menu is shown in the photo below. This is an essential menu for the initial setup of the projector. The ”extended” menu includes the essential settings for configuring the projector for the specific installation. This includes such items as the section of the menu language and projector mounting configuration (table top vs. ceiling mounted and front vs. rear projection). By default the configuration is table top and front projection. This menu may be needed during initial projector setup.
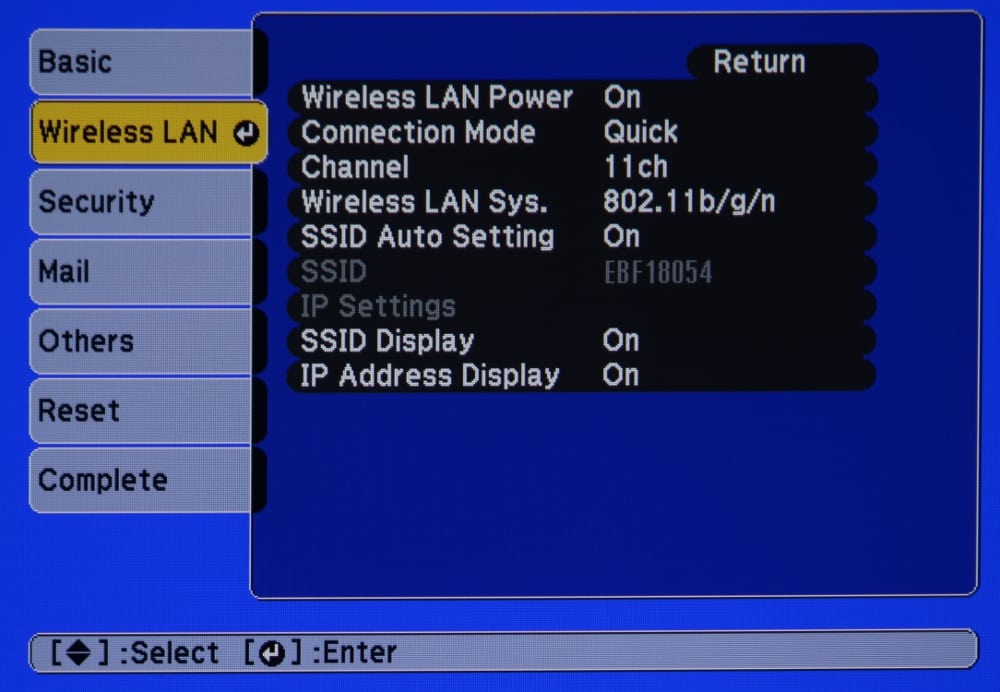
One of "Network" sub-menus is as shown below for when the optional Wi-Fi adapter has been installed.
The "ECO" menu is shown below. It is from this menu the lower power lamp Eco mode can be selected as well as other power saving features.

Remote Control
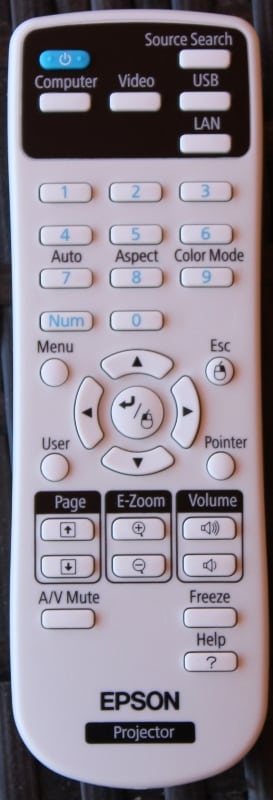
The EX5230 is supplied with a fairly compact remote control measuring approximately 5.6 x 1.8 x 1.0 inches. The remote is neither backlighted nor glow-in-the-dark, making it somewhat difficult to operate in a darken room.
The group of buttons toward the top of the remote include the power on/off button and buttons for input source selection.
Below that is a numeric keypad with three of those buttons doing double duty for ”Auto” (automatically adjusts position, tracking a sync settings for analog signals), “Aspect” ratio, and “Color Mode”.
Below the numeric keypad are the buttons to display and navigate the projector’s menus. Also there is a “Pointer” button which displays an on-screen pointer that can be moved using the navigation buttons.
Below the navigation buttons are pairs of keys to (1) “Page” thru presentation slides, (2) electronic “Zoom” (i.e., to enlarge a portion of the image), and (3) a “Volume” control.
Finally at the bottom of the remote there are three buttons for (1) “A/V Mute” which turns off the picture and sound and places the projector in a lower power mode, (2) “Freeze” which freezes the current image being displayed, and (3) “Help” which displays help information for the projector.