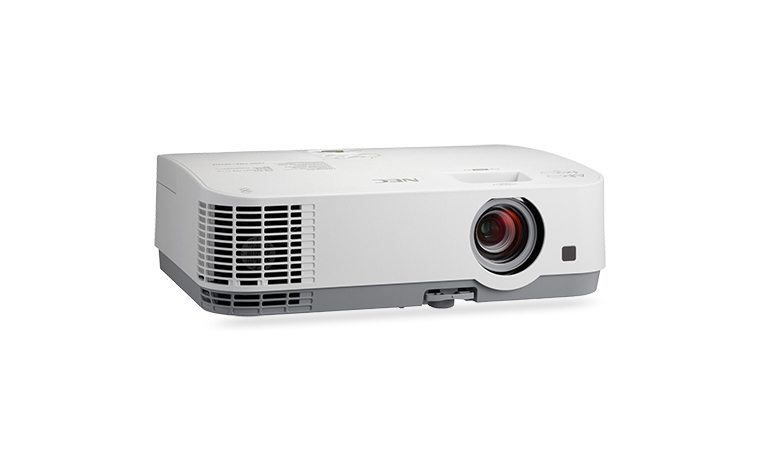
Moving to the top of the projector, there is a Focus adjustment ring just behind the lens, a removable cover for accessing the lamp and a control panel consisting of buttons for On/Standby, Input selection, Menu navigation, as well as indicator lights for Power, Temperature and Lamp. The right side (facing the front) of the CP-D10 has and intake port, behind which is a replaceable air filter, and a 1-watt speaker. On the left side, toward the front, is a jack for the AC power cord. The rear of the projector sports the input/output jacks, exhaust vent and security bar and Kensington lock. There are three VGA jacks for two computer inputs and one monitor output. Below that are composite and S-video inputs, a RS-232 serial control port, two 1/8” audio inputs, one set each of stereo RCA input and output jacks.
Menus
The CP-D10’s menu system consists of two parts: an “Easy” menu, which allows for selection of various picture modes with preset values for color temperature and gamma and an “Advanced” menu, which allows for custom adjustments of contrast, brightness, sharpness, color and tint, as well as color temperature and gamma. In the “Easy” menu, there are also adjustments for keystone, digital zoom, lamp mode, mirror (which addresses the mounting position) and a reset. Switching to the advanced menu, a custom picture mode can be created by accessing the individual color temperatures and gamma modes.
Though not intended for home theater applications, the CP-D10 has some advanced adjustments not always found on higher end home theater projectors. These include color space, RGB gain and offset grayscale and custom gamma adjustment. This is all part of the advanced menu as well.
Digital image shift, video format, custom resolution, keystone correction, audio control and the creation of a custom splash screen (MyScreen) are among the other functions found in the advanced menu.
Hitachi CP-D10 Remote Control
The CP-D10 comes with a rather basic remote, sporting gray buttons on a gray and black background. There is no backlighting, but that’s not necessarily desirable during a presentation in a darkened room. The layout is fairly good, with the buttons for navigating the menu at the bottom of the remote where they’re easily found. However, all of the other buttons are just laid out in rows and most are the same size, making it difficult to locate them in the dark. There is also the ability to change the remote’s IR signal frequency if using more than one CP-D10 in the same room or if there are issues with IR interference. It should be noted that although the CP-D10 does not have an IR receiving eye on the back of the projector (where the presenter might often be standing given the projector’s close proximity to the screen), the remote works well by bouncing the signal off the screen to reach the front IR receiver.