Two of the more common problems that prospective owners of projector-based home theaters encounter are:
1. Difficult to understand to select the right projector and screen combination that works best in their home theater space.
2. Once the screen and the projector is mounted, how to mechanically and optically align the projector to achieve a projected image that is perfectly rectangular and centered on the screen.
I will cover the above topics in two parts by covering the first item in this blog and continuing in Part 2 (next month) with a discussion addressing the second item.
The Projector, Screen, and Room as a System
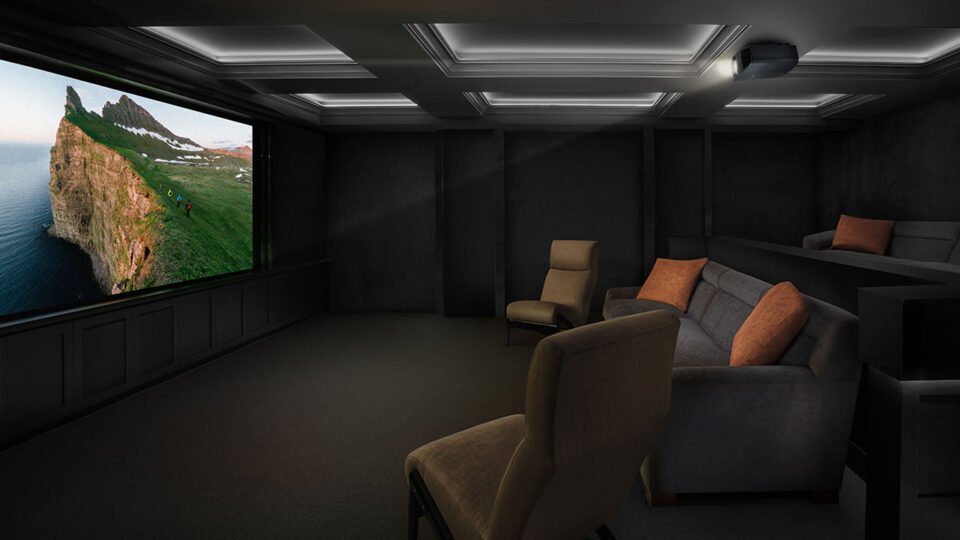
When choosing a projector and a screen, their capabilities and characteristics must complement each other and integrate well into your home theater environment. When setting up a new home theater (HT), either in a dedicated room or in a general living space, you need to decide on the layout of the HT room, including the seating locations, the locations of external light sources (e.g., windows), the locations of interior light sources, the desired position of the screen and the available locations for mounting the projector in front of the desired screen position.
Before getting into the specifics related to projectors and screens, there are some general concepts/rules, that should be considered when converting a room into a Home Theater. Note that while we are limiting this article to only video-related considerations when designing a home theater, many audio considerations also need to be addressed, such as speaker placement.
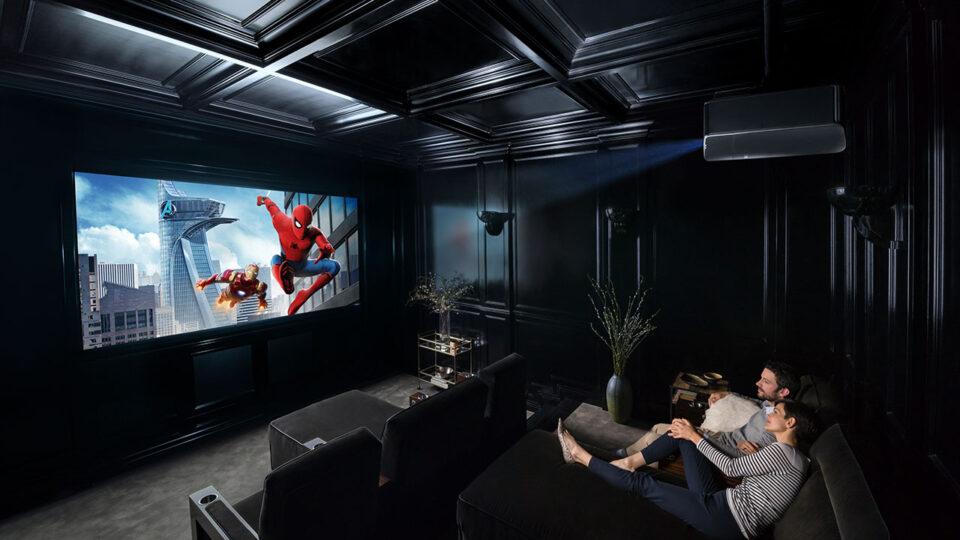
Good Lighting Control Is Critical
Front projection is intended to work in a dark environment. So the darker the room, the better the image. Therefore, for rooms with windows and doors (with glass), you will need to consider using shades, blinds, drapes, etc., that can offer as much light control as possible. Full blackout drapes and shades should be used to achieve the maximum amount of light control.
Interior room lights also are an important consideration. Using dimmers and directional lights (e.g., small spotlights) will reduce the amount of stray light reaching the screen. Also, lights located along the side walls will cause fewer issues than when lights are located at the back of the room or at any location that can directly illuminate the screen. We suggest testing the effect of room lighting once the screen is set up to determine the lights' final position.
While keeping the projector turned off, set the room lighting level to where it would normally be when watching a movie. The blacks in a projected image will only be as black as the screen appears under those lighting conditions.
In some rooms, full light control might not be possible, so daytime home theater use may be limited to less serious viewing, where the projector can be operated in a high brightness mode to help overcome the ambient light. Serious movie viewing might need to be reserved for the nighttime when exterior light is no longer an issue and the projector can be operated in a mode to produce a more accurate image.
Paint The Room A Dark Color
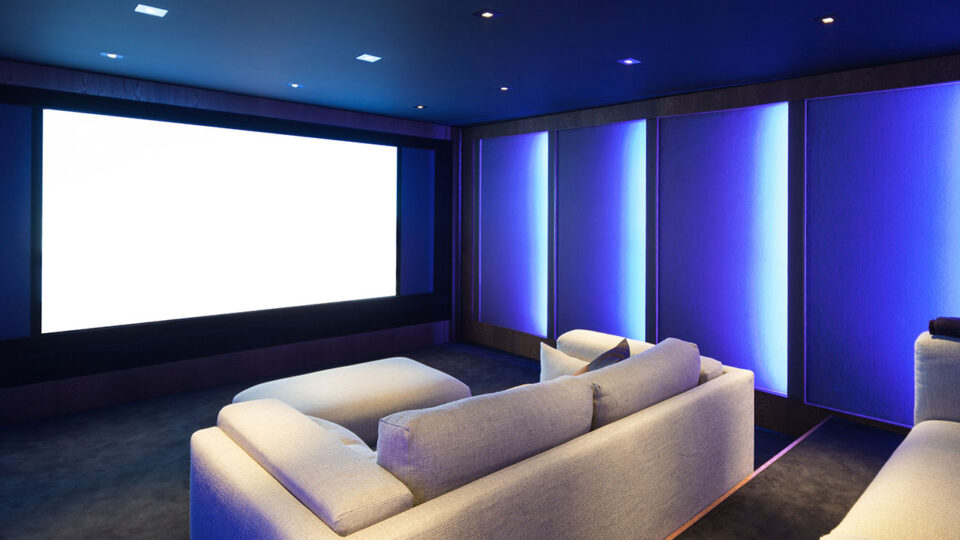
In addition to controlling room lighting, painting the room’s walls and ceiling a dark color and utilizing a dark floor covering, will help achieve the blackest blacks when viewing the projected image. Any light source, even including the brighter elements in the projected image itself, can be reflected around the room from light-colored room surfaces and degrade (i.e., wash out) the darkest elements on the screen.
Projector And Screen Placement
When deciding the location of the projection screen, you also need to ensure that there will be a viable mounting location for the projector. As a starting point, look at the proposed room layout and draw a line perpendicular from the center of the screen to the opposite (i.e., rear) wall. Ideally, the projector will be located somewhere along this line. You need to decide what your options will be for mounting the projector. Remember, if you are going to ceiling mount the projector, you will need an unobstructed light path from the projector to the entire screen surface, and you will need wiring installed in the ceiling. The other popular alternative is to mount the projector on a shelf or stand at the room's rear.
Selecting Projection Screen (Size and Aspect Ratio)
Most modern home theater-oriented projectors have a native aspect ratio of 16 x 9 (or 1.78:1). This is the global standard for High Definition TV. You will most likely want to select a projection screen with this same aspect ratio.
I must also note that some home theater enthusiasts have elected to install ‘scope’ screens with an aspect ratio of 2.35:1 or 2.40:1 to better match the proportions of cinemascope movies. Also many business class projectors have a native 16 x 10 (1.6:1) aspect ratio but can display video in a standard 1.78:1 aspect ratio.
Except as specifically noted, for the following discussion, I will assume that both the projector and the screen will have an HDTV standard 1.78:1 aspect ratio.
The appropriate screen size will depend on the room size, the expected viewing distance, the flexibility for the projector mounting location and the capabilities and limitations of the specific projector to be used. If you first select the screen size and location that best fits into your room, then you will need to take this into account when selecting the projector. Likewise, if you have already selected the projector then you must understand its capabilities and limitations when selecting the appropriate screen size.
Start by drawing a layout of your room to help you decide the best location for the screen. If you already own the screen, then you already know its size; otherwise, you must decide on what size screen you would really like to have. Remember that bigger isn’t necessarily better, and if you don’t know how to select the ideal screen size, then one rule of thumb applicable for use with 1080p projectors is to use a screen with a diagonal size that is about 0.84 x the viewing distance (this is based on a recommendation from THX for what they consider the “ideal” screen size). For example, if the viewing distance is 12 ft. (144 inches), then this rule-of-thumb (i.e., 0.84 x 144 inches) would suggest using a 120-inch screen (diagonal size with a 1.78 aspect ratio).
Another industry rule of thumb for screen size comes from the Society of Motion Picture and Television Engineers (SMPTE) which recommend the minimum screen size be 0.6 x viewing distance. For the above example of a 12 ft. viewing distance, the SMPTE suggestion is the screen size should be at least 86 inches. For a commercial movie theater type of experience, I have found the THX recommendation for the ‘ideal’ screen size to be appropriate. However, I like to sit 40% to 50% of the way back from the screen in most commercial cinemas and those that prefer to sit in the last row may feel more comfortable with a smaller screen size that is closer to the SMPTE suggestion for a minimum screen size.
When reviewing the specifications for a given projector you will need to determine if it will work with your desired screen size and available projector mounting locations:
#1: Will it project an image of the desired size to fill the screen from the projector-to-screen throw distance you have available? This relates to the “throw ratio” for the specific projector. If a projector specifies, for example, a range of values for the throw ratio (i.e., using the projector’s zoom lens) of 1.3 to 2.0 that means the projector can be located anywhere from 1.3 to 2.0 times the screen width (not diagonal measurement) back from the screen. As an example, when a 120 inch (diagonal) screen is being used, it will have a width for the viewable area of about 104 inches. If, for this example, your room layout dictates that you locate the projector exactly 12 feet (i.e., 144 inches) from the screen, then you need to use a projector that can support a throw ratio of 144/104 = 1.38 to fill the viewable area of the 120 inch screen.
#2 You will need to determine where to vertically position the screen on the wall. The general recommendation is to position the screen such that the eye level of the viewers (typically about 40 inches up from the floor for seated adult viewers) will fall about 1/3 of the way up from the bottom of the screen. For example, with a 120 inch (diagonal) screen, which is about 59 inches high (viewable area), then the recommendation is that 1/3 of the way up from the bottom of the screen (almost 20 inches) should fall at about 40 inches above the floor. Or in other words the bottom of the screen in this example would fall about (40 – 20 =) 20 inches above the floor. This is only a general suggestion and positioning the screen a little higher or lower, in order to accommodate such things as a center channel speaker below or above the screen, is frequently done in may home theaters. Once you decide on the screen size and location, then note the distance from the ceiling to the top of the screen (to the viewable area of the screen excluding any frame or housing above viewable screen surface).
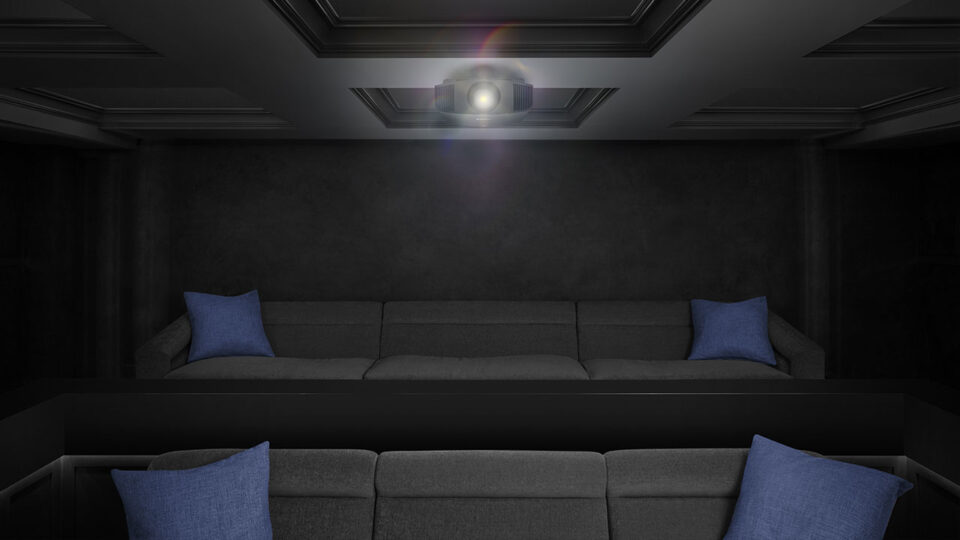
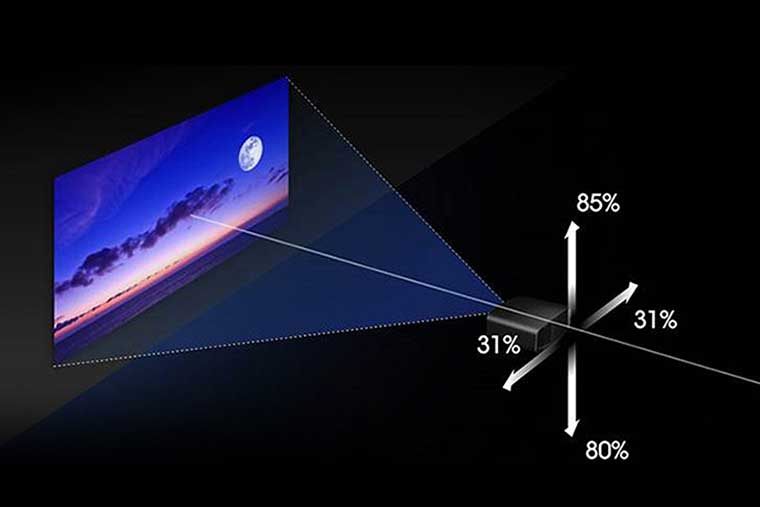
#3 Once the screen’s desired size and projector-to-screen distance are determined then, you will need to determine what your options are for the projector’s vertical location, relative to the top of the screen. The options for the vertical position can be more constrained for rooms with low ceiling height. Attempting to identify those projectors which would be compatible with your proposed screen location and whatever constraints you may have on the projector’s mounting location will require knowledge of the candidate projector’s “vertical offset” and the ”vertical lens shift” capabilities. Projectors typically will project an image that is offset upward, then the projector is sitting on a table in the upright position or offset the image downward when the projector is ceiling mounted in an inverted position. The figure below illustrates the effect of vertical offset where the top figure illustrates the case of a projector with zero offset and the lower figure is for the case of a projector having a non-zero offset that is mounted in the inverted position (i.e., ceiling mounted). For a projector of the type illustration in the lower figure, the projector would need to be raised to a higher position to center the image on the screen due to the projector’s offset of the projected image. For example, an inexpensive DLP projector has no lens shift adjustment and is specified to have an offset of 116%. This 116% value (as used by Optoma) indicates that when ceiling mounted, this projector must be positioned (1.16 x screen height) above the bottom of the screen or in other words 16% of the screen height above the top of the screen. For example, when a 120 inch (diagonal) screen is being used, which is 59 inches high, the projector (measured to the center of the lens) would need to be mounted approx. (0.16 x 59”=) 9.44 inches above the top edge of the projected image (i.e., top of screen). For this projector, this is the only vertical position for this size screen that will produce an image with the desired rectangular geometry on the screen. Note that you must carefully read the manufacturer’s specification for the context of a given projector’s specified offset value since some may list it as measured from the center of the screen, some from the bottom of the screen and some from the top of the screen. Also, remember the offset value listed by the manufacturer must be applied in the appropriate context of either the projector being ceiling mounted, in the inverted position, vs. mounted upright on a table or shelf.
The Benefits Of Lens Shift
One of the reasons to step up to a better home theater projector is they offer horizontal and vertical lens shift adjustment. This allows the user to adjust the offset, which provides additional projector placement flexibility.
Properly positioning, sizing, and shaping images is crucial to achieving the best possible outcome for your installation. With a projector that has a wide zoom range and lens shift capability, installation becomes much easier, particularly if you're replacing an older unit that was fixed in place.
Lens shift is a valuable feature that aids in aligning the projector lens with the screen. It's much simpler to mount or position a projector for optimal image quality using lens shift. Projectors with both vertical and horizontal lens shift can move the projected image up and down as well as left to right, making it easier to place the projector in a wider range of locations.
By enabling users to shift the projected image along the horizontal and vertical axis without affecting the angle between the projector and the screen, lens shift eliminates the need to move the entire projector physically. This means that installation can be successfully carried out in locations with limited placement options, such as low 8-foot ceilings, whether ceiling-mounted or placed on a rear shelf. It also allows for headroom to be preserved in areas that would otherwise require an extender pole for accurate positioning, and it allows for correct image positioning without digital keystoning.
In contrast, projectors without lens shift must be positioned with complete accuracy to project an image with the correct shape and distribution across the screen. This can be quite challenging, so many installers resort to digital keystoning, which reduces on-screen resolution and introduces unwanted artifacts.
Many mid and higher-price range projectors offer vertical and horizontal lens shift adjustments, while some models may only offer vertical adjustments. Also, when both vertical and horizontal lens shift must be used, it can be difficult to determine, based on the manufacturer’s published specifications, exactly how much each will be available.
This is because there is an interaction between these two adjustments such that use of vertical lens shift reduces the range of available horizontal lens shift and vice versa. If you only need, for example, to use 20% of the available maximum vertical lens shift, then the horizontal lens shift range may be reduced by perhaps 10% to 20% (the actual amount varies by projector).
Projector Throw Distance
Once you understand what capabilities you will need in order for the projector to be able to project an image that will be the correct size and position for your screen and with proper rectangular geometry, it is time to investigate which projectors will work for your layout.
Most projector manufacturers offer some sort of distance calculator on their website to assist in determining the correct projector mounting locations (or range of locations). See the web links below for the calculators available from several of the popular projector manufacturers. Also, once you narrow your choice of projectors, you may want to download the user manual for those models you are considering. Generally, the user manual will include tables with the projector’s setup information for various standard screen sizes.
The above discussion has only addressed selecting a projector that will project an image that matches the size of the screen you have selected and will be able to do that with the correct image geometry. The other major consideration is selecting a screen and projector combination to provide a bright enough image. Finally, I suggest you read the Project Reviews "Ultimate Home Theater Buyer's Guide 2022-2023" to learn about the performance capabilities of the projectors within the price range you are considering.