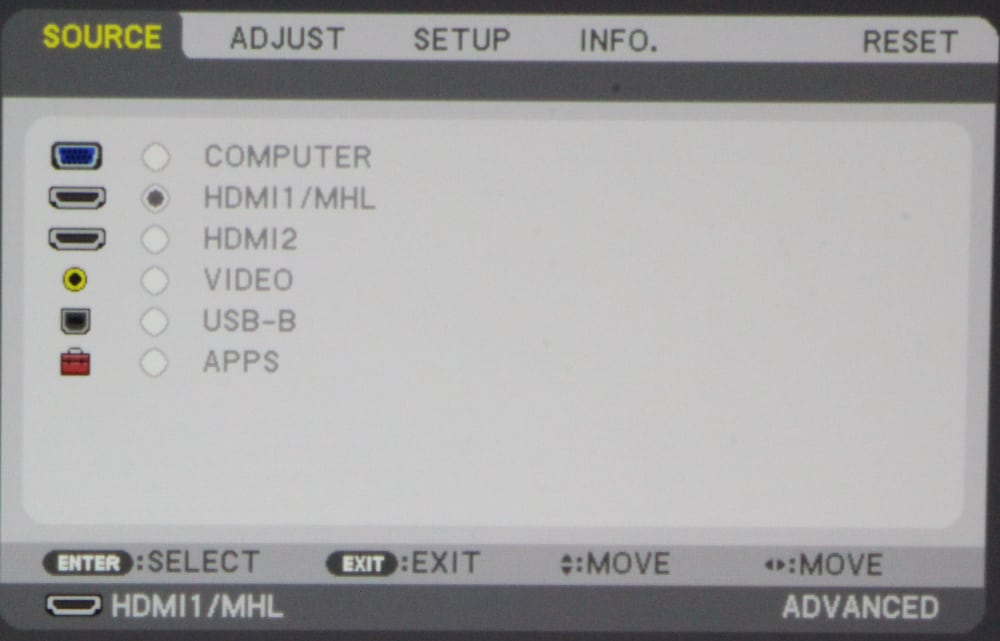
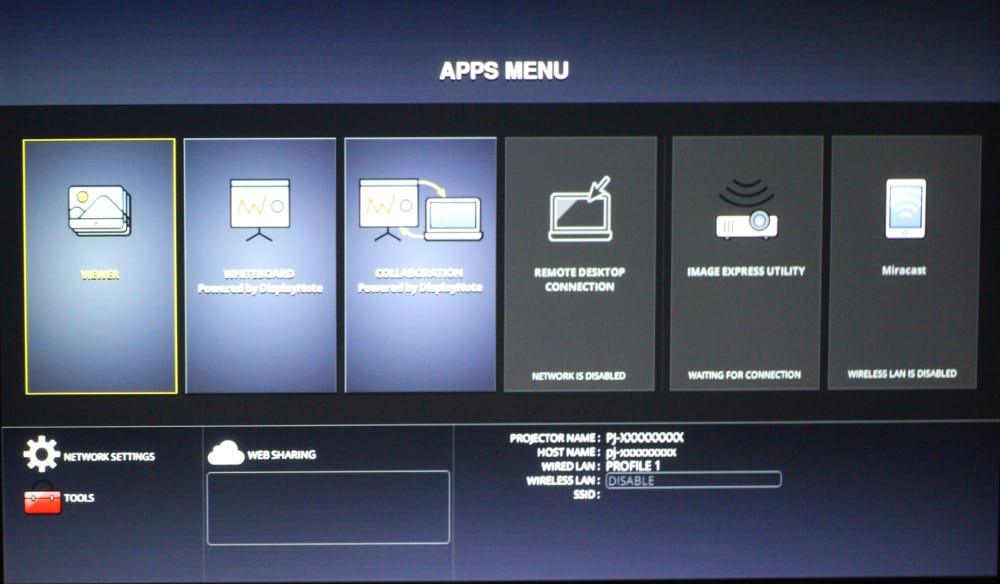
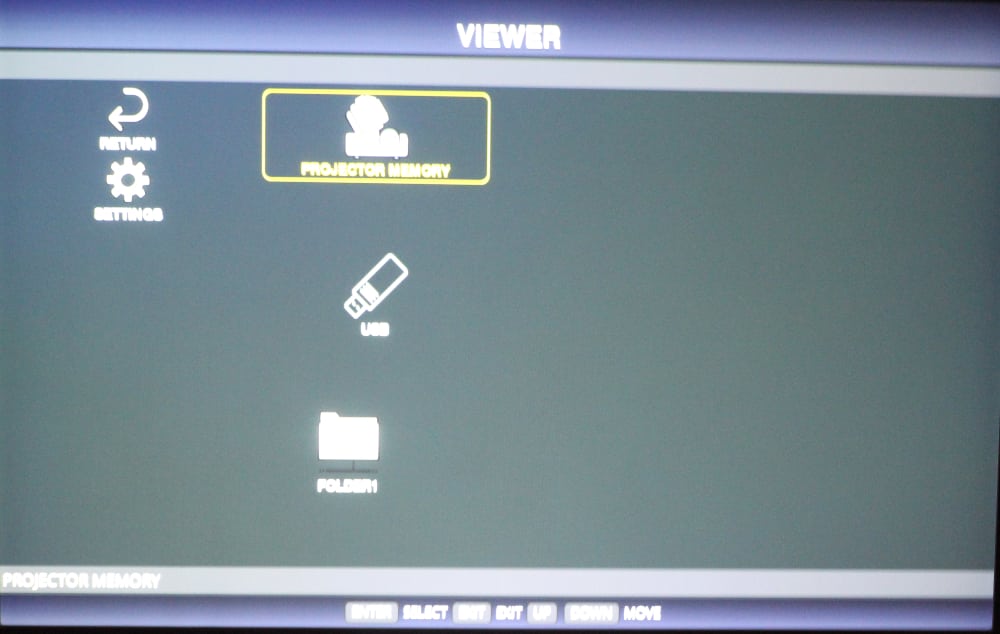
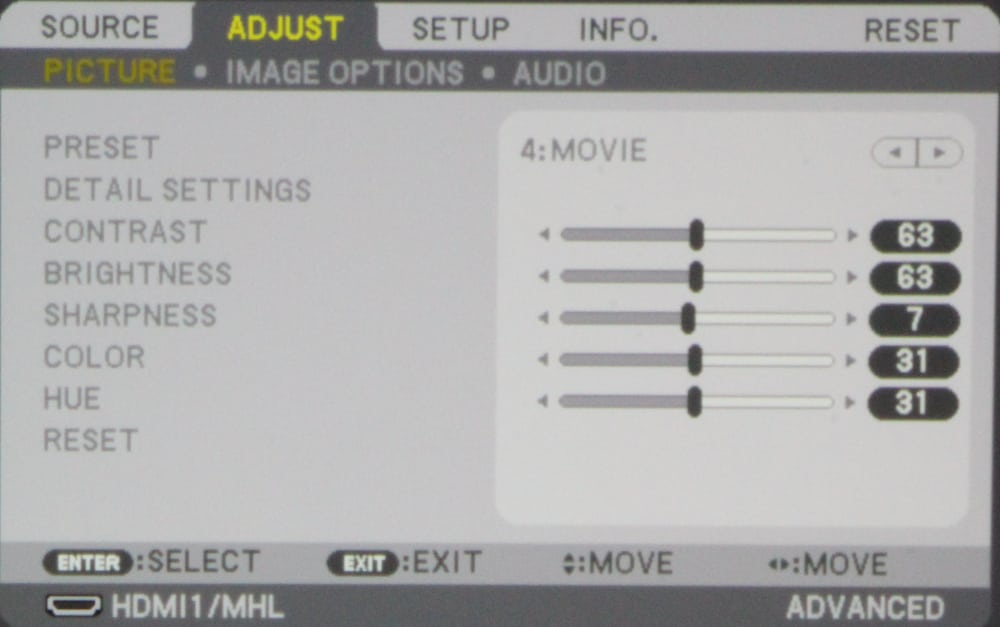
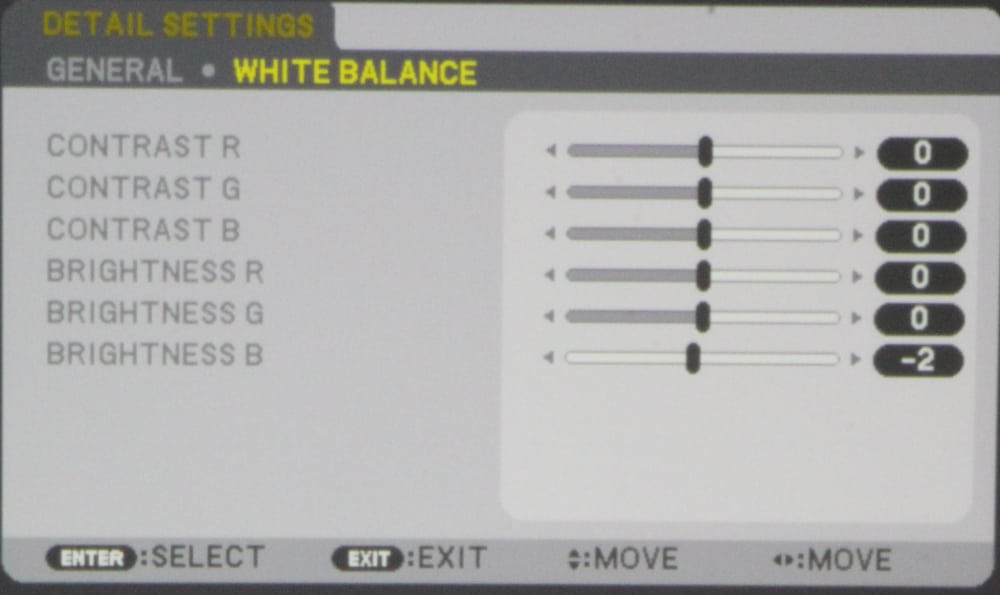
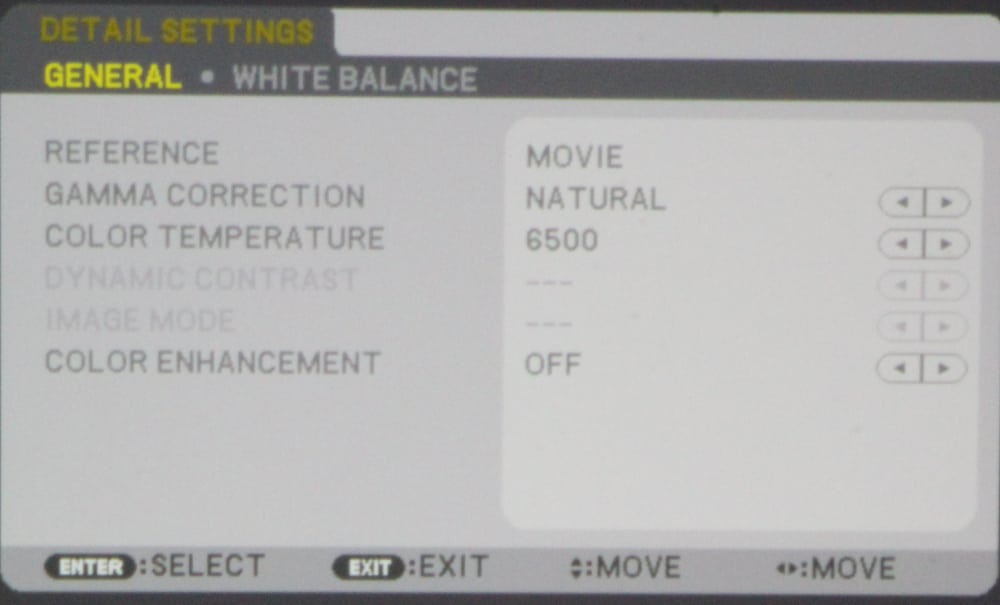
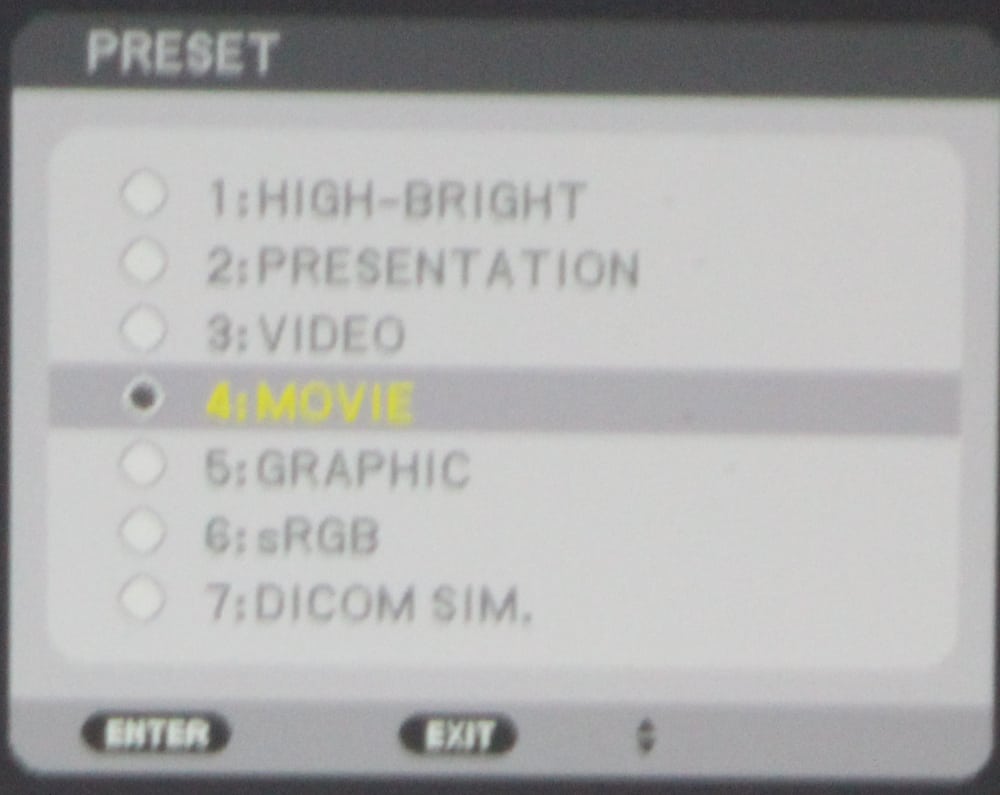
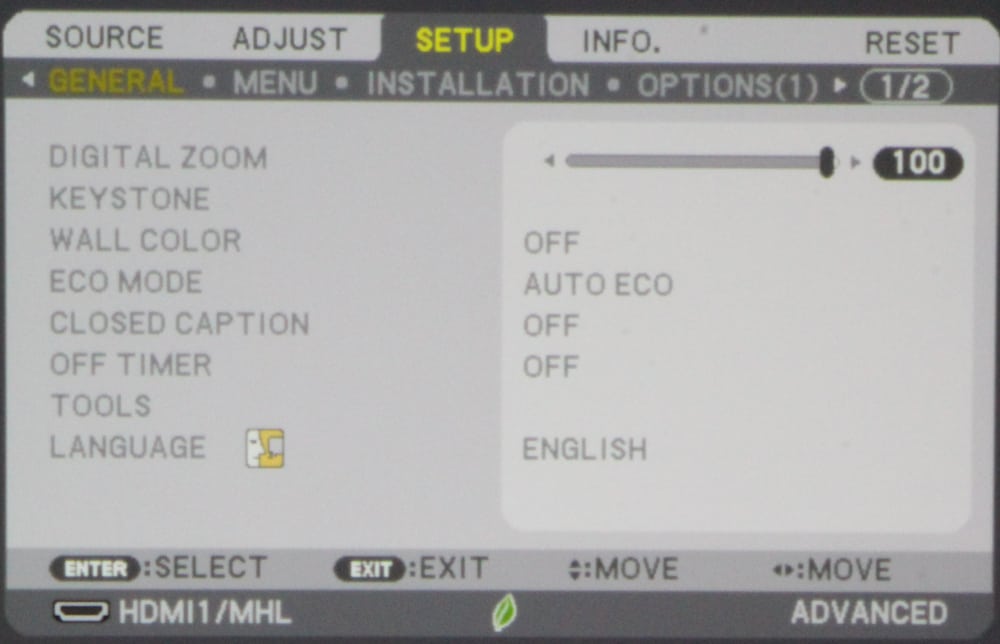
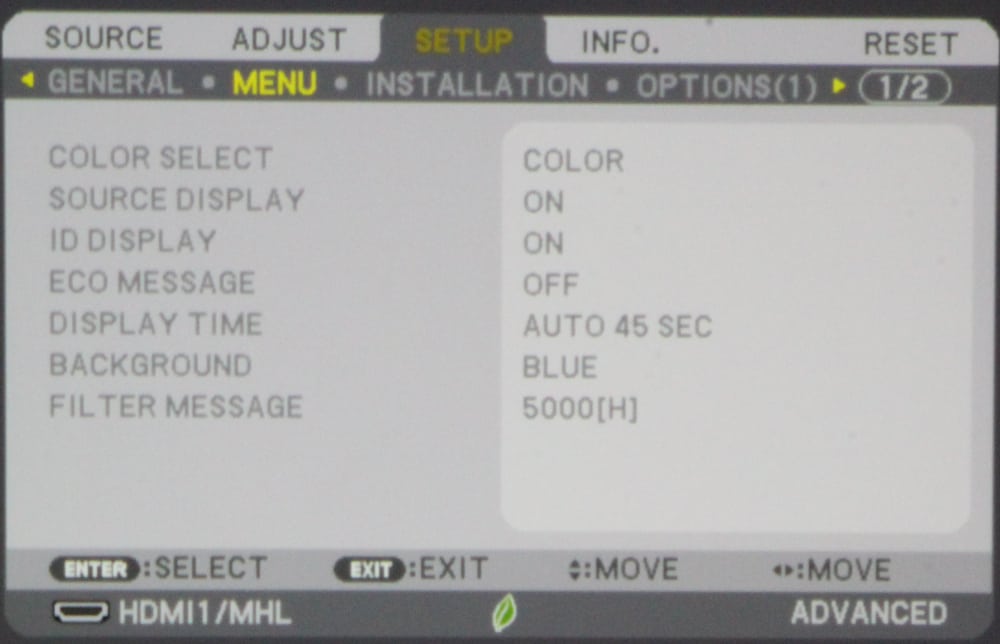
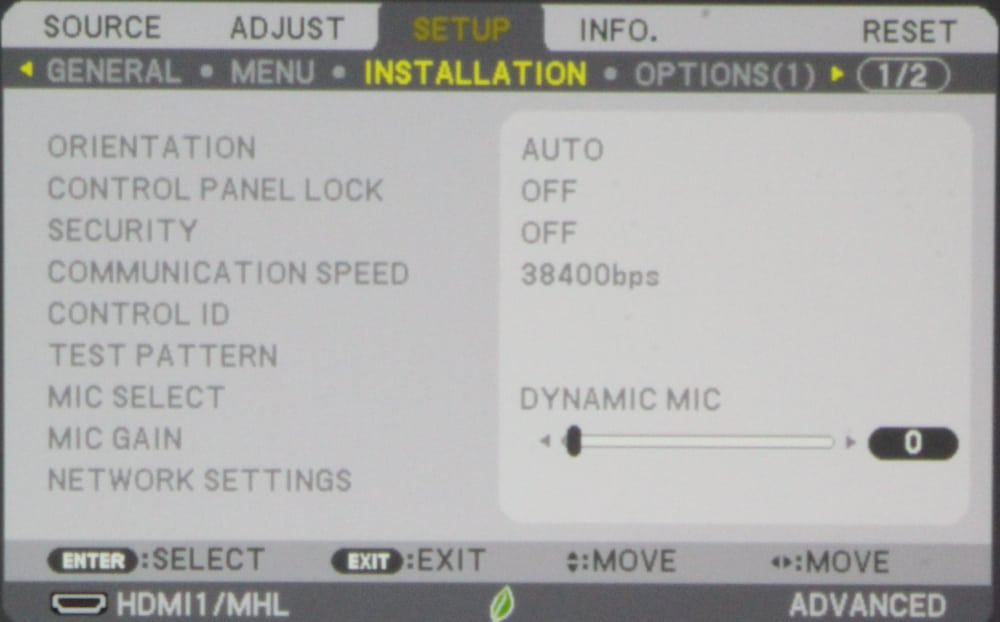
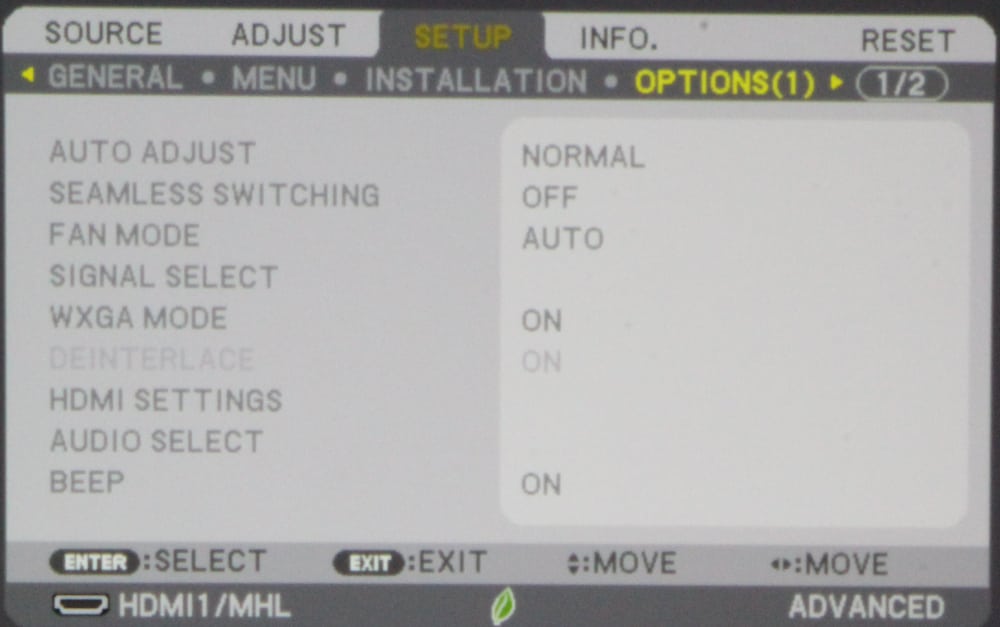
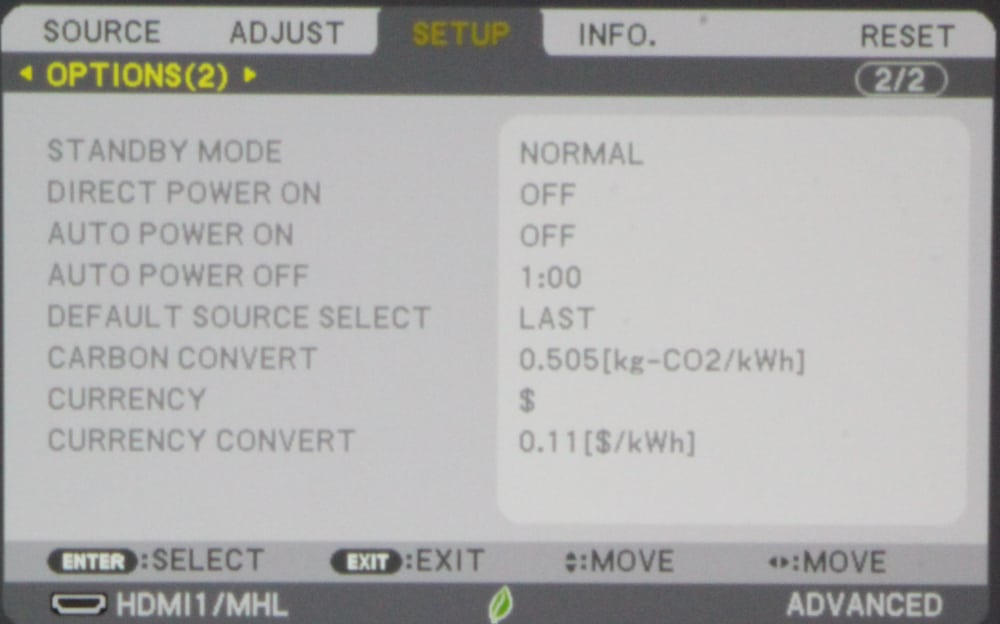
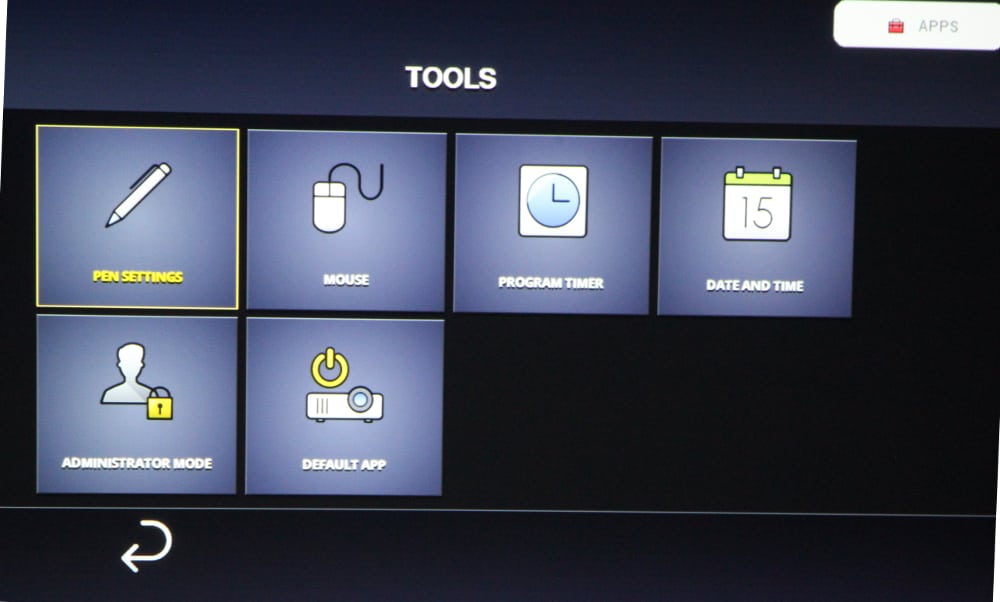
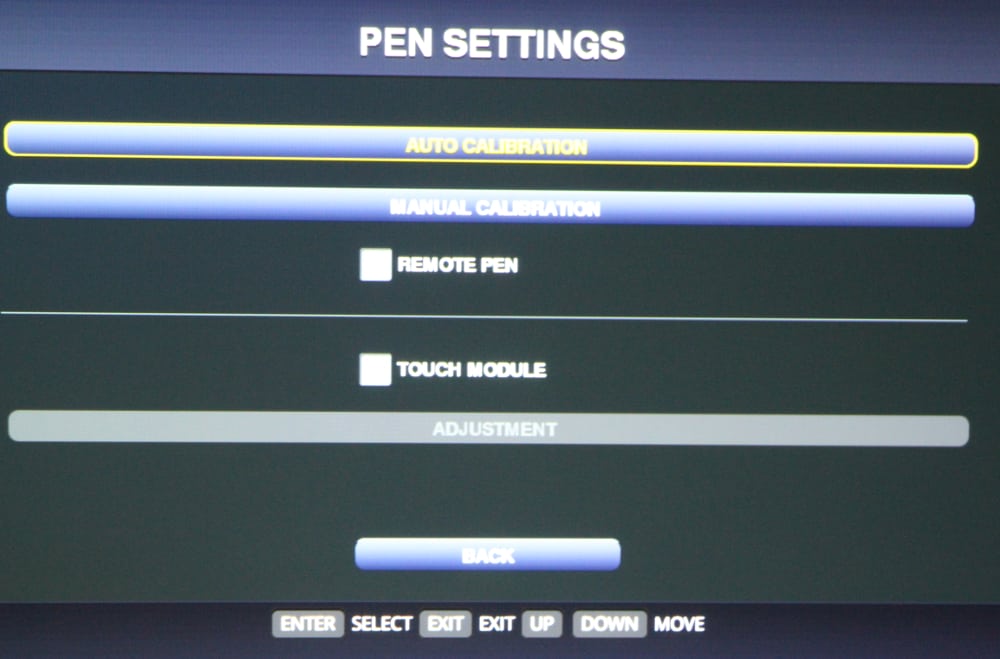
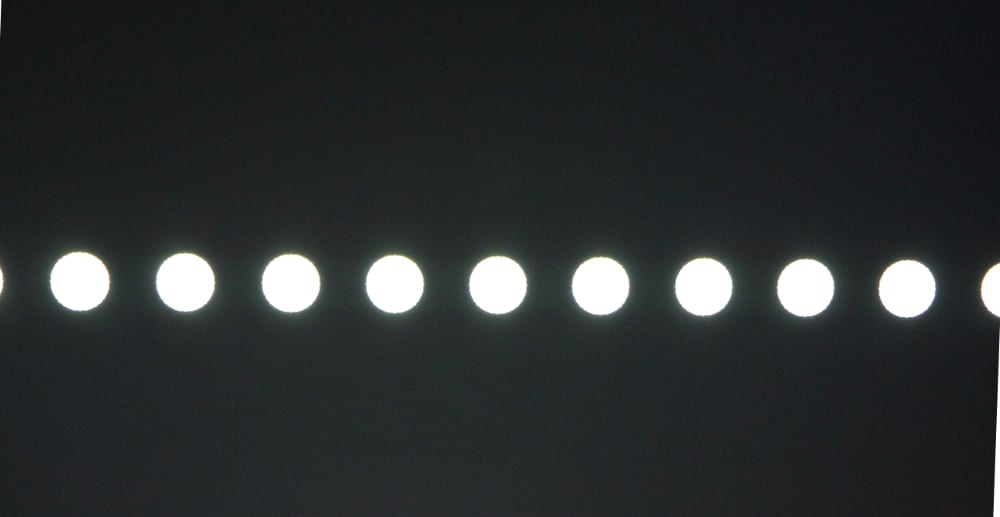
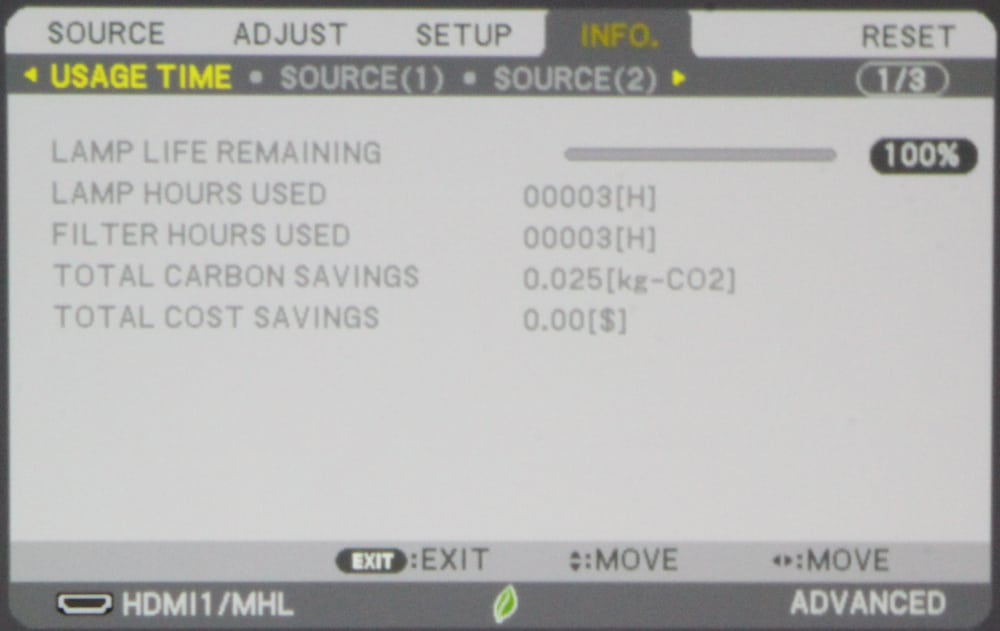
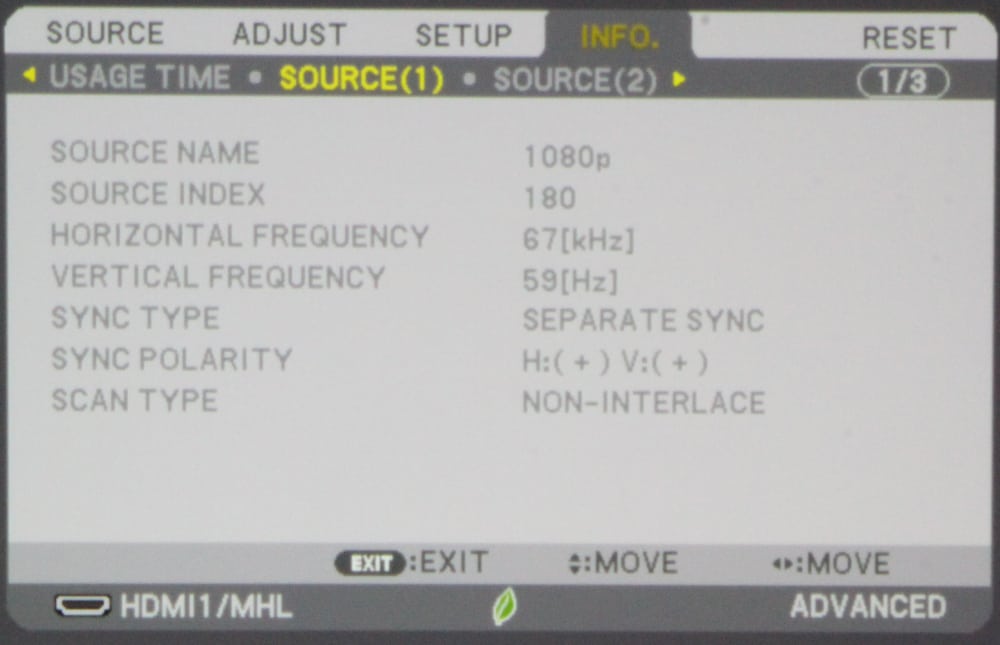
NEC UM352W Ultra Short Throw Projector Review – Hardware Tour 2 Posted on February 15, 2016 By Ron Jones 1. NEC UM352W Ultra Short Throw Projector Review - Overview - Highlights2. NEC UM352W Ultra Short Throw Projector Review – Special Features - Interactive Whiteboard - Networking - DICOM Simulation Mode - Presentations without a PC - Collaboration Features3. NEC UM352W Ultra Short Throw Projector Review – Hardware Tour - Appearance - Connector Panel - Control Pad - Remote Control4. NEC UM352W Ultra Short Throw Projector Review – Hardware Tour 2 - Source Menu - Adjust Menu - Setup Menu - Info Menu5. NEC UM352W Ultra Short Throw Projector Review – Picture and Audio Quality - Color and Picture Quality - Readability - Video Quality - Audio Quality6. NEC UM352W Ultra Short Throw Projector Review – Performance - Brightness - Noise - Interactivity7. NEC UM352W Ultra Short Throw Projector Review – Warranty8. NEC UM352W Ultra Short Throw Projector Review- Summary - Summary - Pros - Cons9. NEC UM352W Ultra Short-Throw Projector Review – Specifications NEC UM352W Projector – Hardware Tour 2: Menus The UM352W has a fairly straight forward menu structure. When the menu button is pressed the top-level menu is displayed offering 4 groups of menus across the top (i.e., Source, Adjust, Setup and Info). Source Menu The first picture in the above gallery shows the Source (input) menu. In addition to being able to select from the external video sources that are connected to the projector, there is an ‘Apps’ source listed. The 2nd photo shows the top level Apps source sub-menu while the 3rd photo shows the top-level sub-menu for the View App from which the user can elect to view the contents of multimedia files stored in the projector’s internal memory or on an external USB memory drive. This can be used for making presentations without the use of PC. Adjust Menu The top-level picture ‘Adjust’ menu, shown in the 1st gallery photo above. The various sub-menus providing access, for example, to the available preset pictures modes (2nd photo). Included in the top-level Adjust menu are the usual picture adjustments for contrast, brightness, sharpness, color and hue. Of the preset picture modes ‘High-Bright’ provides the brightest picture, but with the least accurate colors. There is also a sub-menu for additional ‘Detail’ picture setting, as shown in the 3rd photo. Under the ‘General’ category you will find detailed setting for such thing as gamma and color temperature. Also under the Detail menu is a sub-menu for ‘White Balance’, as shown in the 4th photo above. This offers the Red, Blue and Green Gain (Contrast) and Bias (Brightness) adjustments needed to calibrate the color temperature/grey scale of the projected image. The 5th photo shows the ‘Image Options’ sub-menu. The ‘Audio’ submenu is not shown above. Setup Menu The top-level ‘Setup’ menu is shown in the 1st gallery photo above. Across the top of that menu are listed the available categories of setup related sub-menus (i.e., General, Menu, Installation, Options (1) and page 2 of the setup menu). Under ‘General’ are settings for such things as digital zoom, keystone correction and the menu language. The 2nd photo above shows the “Menu” sub-menu where you can select the look and operation of certain aspects of the projector’s menus. The 3rd photo above shows the “Installation” sub-menu where you can select the projector’s orientation and a number of the projector’s security, communications and network settings. The 4th and 5th photos above show the Options 1 and Options 2 submenus that offer a number of projection configuration settings. Back on the top-level general ‘Setup’ menu (photo 1) there is an item called ‘Tools’. When this is selected the submenu shown in the 6th photo above is displayed, showing the projector’s available tools. One of the available tools if for calibration of the interactive pen’s position. This can either be performed automatically or manually (see the 7th photo) and the 8th photo is one of series of calibration images that is displayed as part of the automatic pen calibration. Info Menu The ‘Info’ menu provides two categories of information. The 1st photo above shows the essential information about the projector itself, including the number of hours of use on the lamp and filter. The 2nd photo shows the information about the signal source where the characteristics (i.e., resolution, frequency, etc.) of the input signal are shown. 1. NEC UM352W Ultra Short Throw Projector Review - Overview - Highlights2. NEC UM352W Ultra Short Throw Projector Review – Special Features - Interactive Whiteboard - Networking - DICOM Simulation Mode - Presentations without a PC - Collaboration Features3. NEC UM352W Ultra Short Throw Projector Review – Hardware Tour - Appearance - Connector Panel - Control Pad - Remote Control4. NEC UM352W Ultra Short Throw Projector Review – Hardware Tour 2 - Source Menu - Adjust Menu - Setup Menu - Info Menu5. NEC UM352W Ultra Short Throw Projector Review – Picture and Audio Quality - Color and Picture Quality - Readability - Video Quality - Audio Quality6. NEC UM352W Ultra Short Throw Projector Review – Performance - Brightness - Noise - Interactivity7. NEC UM352W Ultra Short Throw Projector Review – Warranty8. NEC UM352W Ultra Short Throw Projector Review- Summary - Summary - Pros - Cons9. NEC UM352W Ultra Short-Throw Projector Review – Specifications NEC UM352W Ultra Short Throw Projector Review – Hardware Tour NEC UM352W Ultra Short Throw Projector Review – Picture and Audio Quality