Posted on October 22, 2018 By Nikki Zelinger
ViewSonic PX706HD Gaming Projector Review – Hardware 2: Control Panel, Remote Control, Menus
The ViewSonic PX706HD’s control panel is located on the top of the projector, with its indicator lights nearby. The control panel sports an extremely compact design and is well laid out, consisting of three rows and four columns. On the left of the control panel is a large Power On/Off button, taking up an entire column and all three rows. In the top left you’ll find the Menu button, which doubles as the Exit button.
To the right is the manual Vertical Keystone Correction button which doubles as an Up Arrow, followed by Blank, which hides the screen image and switches to a blank black image to conserve power and lamp life. On the left of the middle row is the Volume Down button which doubles as a Left Arrow button, with an Enter button to the immediate right, and a Volume Up button that doubles as a Right Arrow next to that.
The bottom row consists of a Source Button, a manual Vertical Keystone Correction button that doubles as a Down Arrow, followed by a button labeled Color Mode. Next to the control panel are the three indicator lights. Top to bottom, they are Power, Temperature, and Lamp. The different illumination colors and patterns of the indicator lights signify different operating and error conditions which are detailed in the user manual.
The ViewSonic PX706HD gaming projector includes a user-friendly remote control, with one-touch access to color modes and different input sources. The top row of the remote control consists of a large red On button and a large green Off button, which toggle the projector between power on and standby mode.
Below the power buttons is a section for the different input sources. They’re laid out in two rows. The top row, left to right, is Component, followed by HDMI, then USB-C. The second row consists of Auto Sync and Source.
The next section of the remote is the standard direction keypad consisting of an Up, Down, Left and Right Arrow with a large Enter button in the center. The Up Arrow and Down Arrow double as manual Vertical Keystone Correction.
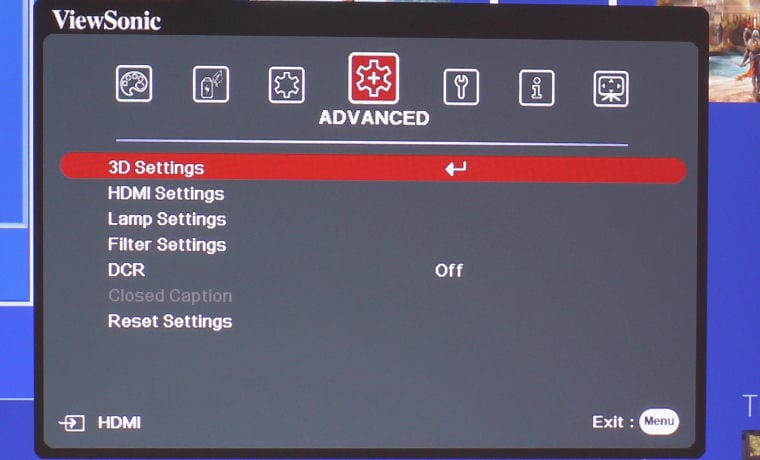
The next row has a bright blue Menu button on the left side, with an Information button in the middle, and Exit on the right. Below that is a row consisting for Aspect, which allows the user to select between six different aspect ratios: Auto, 4:3, 16:9, 16:10, Native and 2.35:1. Pattern displays a test pattern, Blank hides the screen image, and 3D opens the 3D Settings menu.
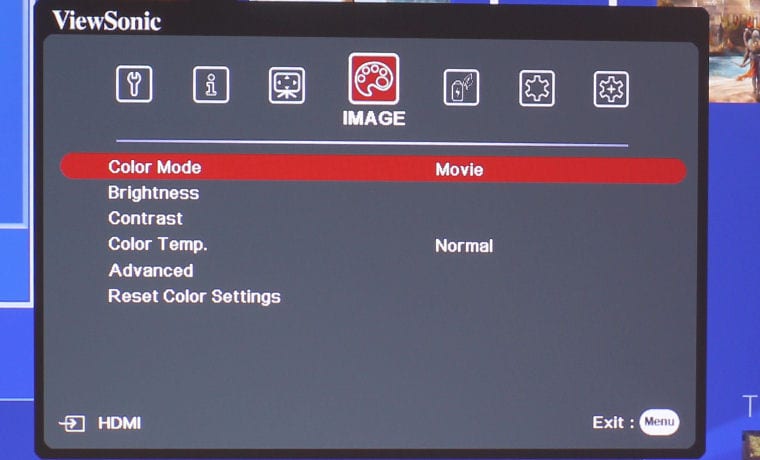
Volume controls follow in the next row, with a Mute button on the left, Volume Down in the middle and Volume Up on the right. There are three more rows of three buttons. In the first row, left to right, the first row is where you find Brightness, Contrast, Color Temperature. The second row allows one-touch access to color modes – they are Sports, Movie and Gaming. The final row consists of a green ECO Mode button, followed by Standard Mode, which control the brightness of the projector’s lamp. The last button is Audio Mode, which displays the Audio menu.
ViewSonic PX706HD Gaming Projector Display Menu: Screen Color, Aspect Ratio, Keystone, Position, Pase, H. Size, Zoom, OverScan, 3X Fast Input
ViewSonic PX706HD Gaming Projector Advanced Menu: 3D Settings, HDMI Settings, Lamp Settings, Filter Settings, DCR, Closed Caption, Reset Settings
ViewSonic PX706HD Gaming Projector Basic Menu: Audio Settings, Presentation Timer, Pattern, Blank Timer, Message, Splash Screen
ViewSonic PX706HD Gaming Projector Information Menu: Source, Color Mode, Resolution, Color System, Firmware Version, 3X Fast Input, Serial Number
© 2021 Projector Reviews