Posted on November 29, 2017 By Nikki Zelinger
AAXA M5 Pocket Projector Review – Hardware 2: Control Panel, Remote Control, Menus
The control panel on the AAXA M5 is the same as it is on the already-reviewed M6. For that reason, I have copied this information from the M6 review:
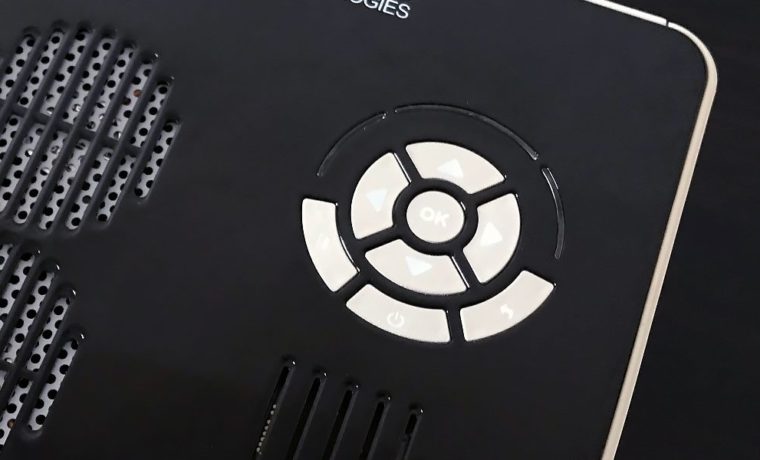
The control panel is as simple as the rest of the projector. There are, of course, the standard arrow keys surrounding the OK button used to select. Directly underneath, we have the Power button. On the left, of that Power button, there is a button that brings up the Settings menu. On the right, we have the Escape or Back button. The Settings button gives quick access to settings such as Brightness, Sound, Option, and Picture. This is particularly useful when setting up the projector quickly for a presentation.
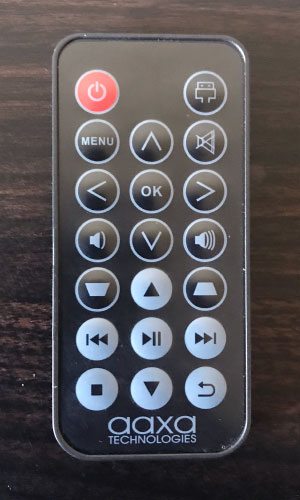
The remote control is one of those tiny credit-card type remotes. There is a red power button at the top left and a button that opens the Inputs Menu to the right. Below the power button is one to open up the Main Menu, and a mute button is its opposite. Wedged in between the two is the up directional arrow key, which is, of course, a part of the typical four directional arrow keys surrounding the OK button. On the left of the down arrow key is the button to lower the volume, and on the right, to raise it.
Underneath the two volume buttons are the buttons for Keystone Correction! Yay! This is good. Though a common feature on many projectors, the AAXA M6 did not have this, and I was sad. That the lower priced model does have it while the $100-more M6 doesn’t is a bit confusing to me, but I can let it go. You can, however, count that Keystone Correction as a definite plus over the M5’s otherwise-superior older brother.
Below all that are all the buttons you need to use the PC-Free Presenting feature of the AAXA M5. There’s rewind, play/pause, fast forward, stop, back, and up and down arrow keys. I did find this remote to be a little irritating because pressing the buttons didn’t always trigger the action, and I had to really press them sometimes. Honestly, I’d rather use the control panel.
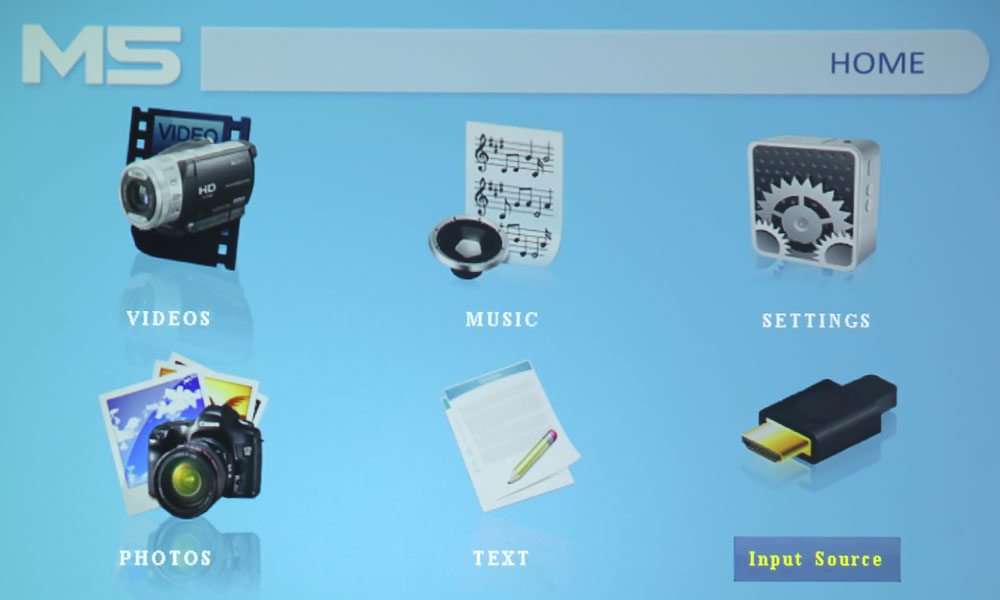
This is the main menu of the AAXA M5, where you can access the settings and inputs by device or in the inputs sub-menu.
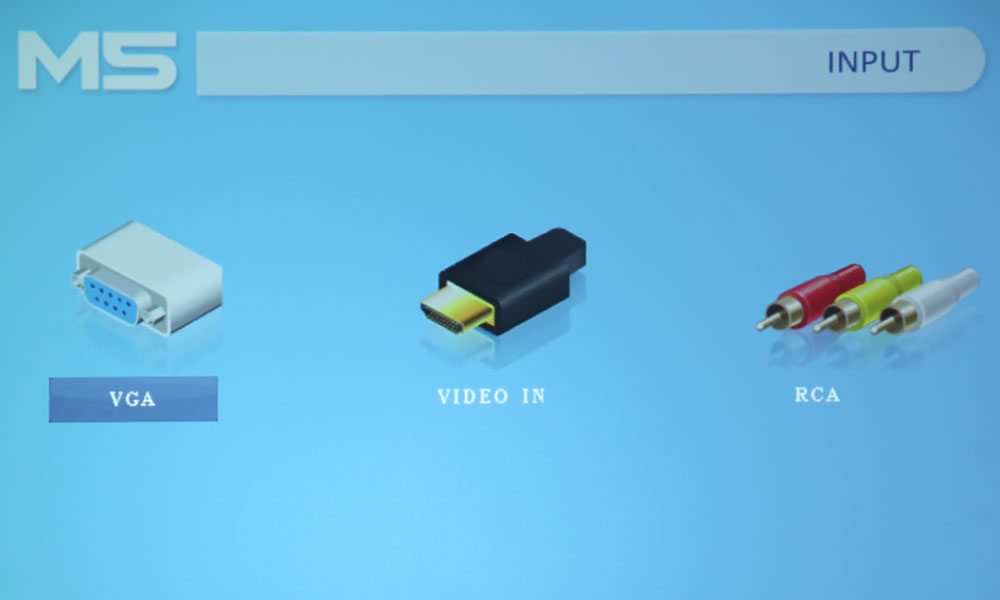
The AAXA M5 inputs menu contains options to choose from VGA, HDMI and RCA. To access photos, audio and video from a USB or Micro SD card, use one of the options on the Main Menu.
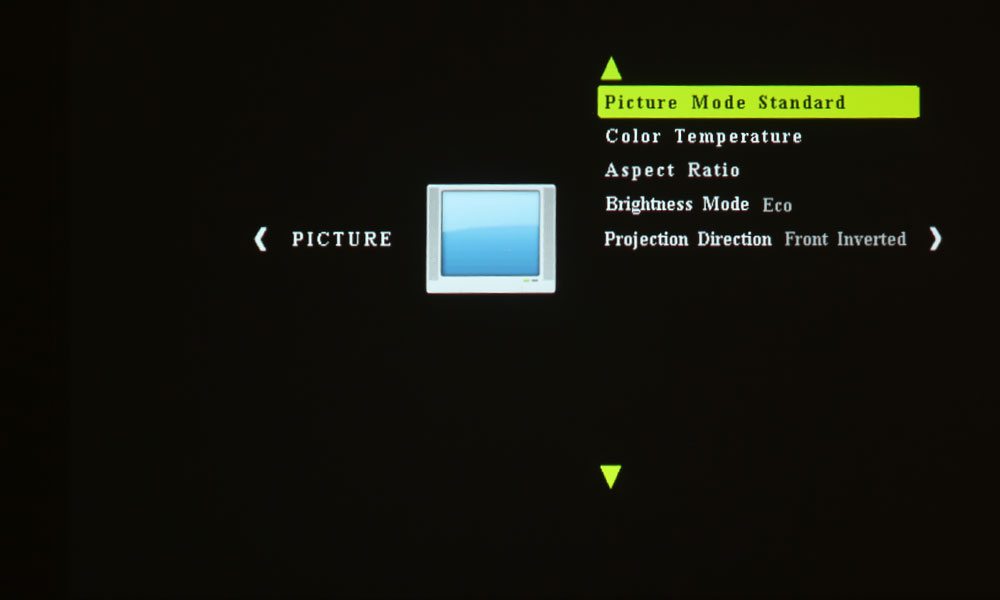
The AAXA M5 Picture Menu allows you to choose the Picture Mode, Color Temperature, Aspect Ratio, Brightness Mode and Projection Direction.
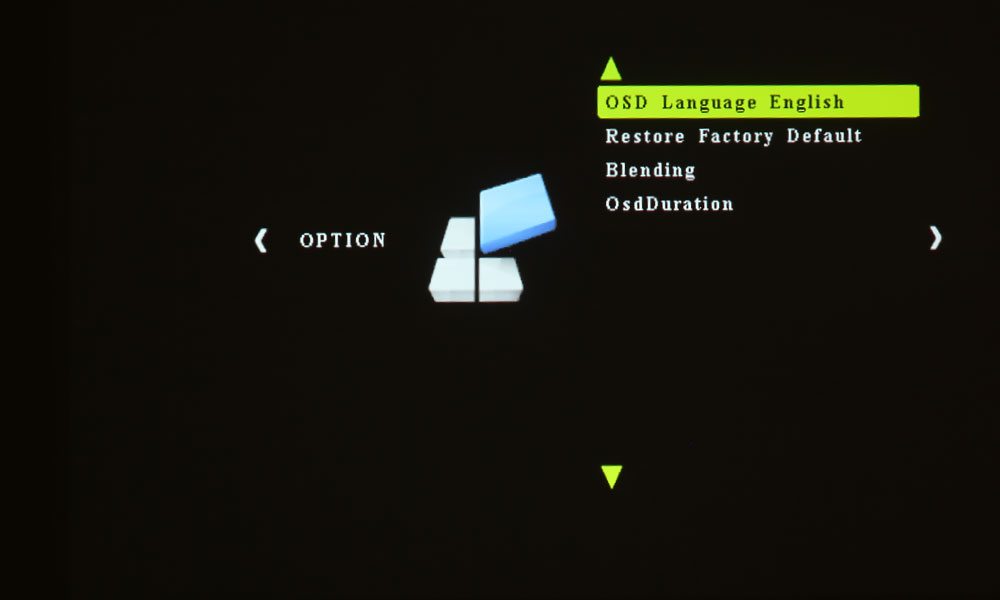
The Option Menu allows access to Language, Restore Factory Default, Blending, and Osd Duration.
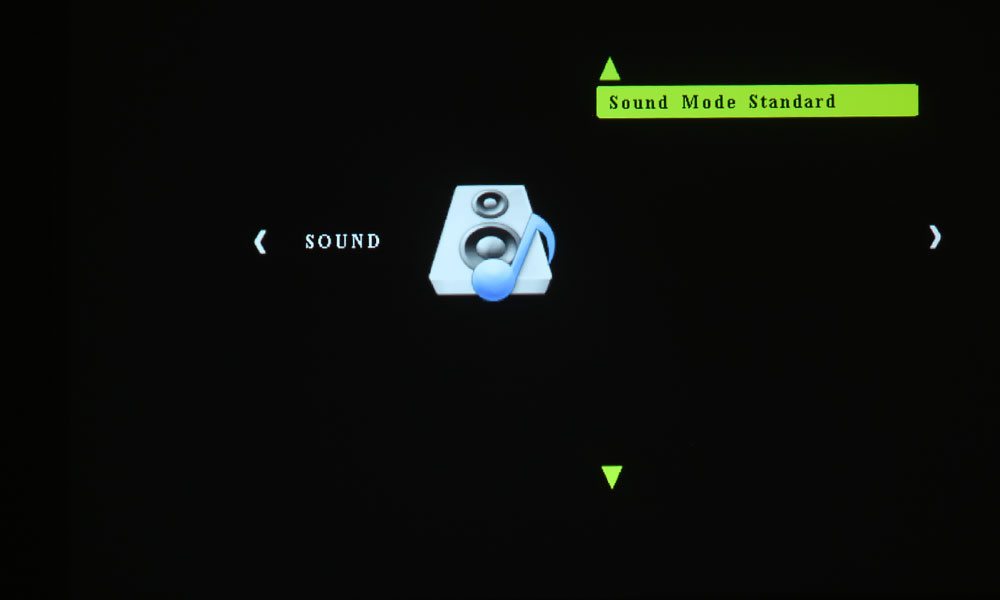
The Sound Menu has different presents for Movies, Sports, etc.
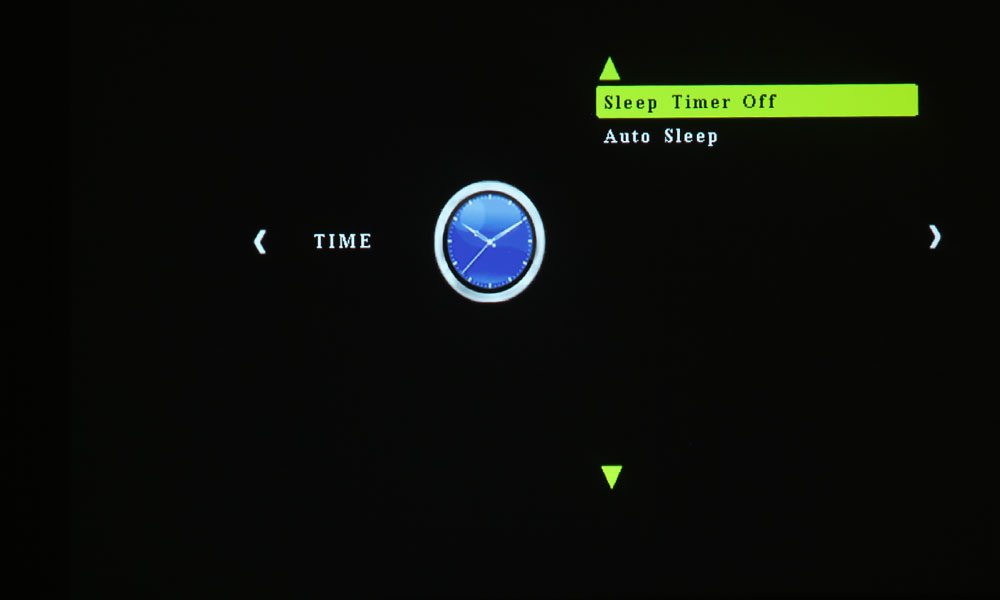
The Time Menu has Timer and Sleep Settings.
The Main Menu is accessible by pressing the Inputs button on the control panel, then pressing the back button.
That concludes our tour of the AAXA M5’s Hardware and our discussion of the Special Features. Equipped with a good amount of inputs and connectors, the M5 is suitable for home entertainment, as well as business and education applications where portability is a must. The control panel is well laid out, as is the remote (even though I don’t care for it), and are as simple in design as the projector.
The highly useful, built-in Media Player is highly useful allows for PC-free projection using several different types of media via USB and micro SD, which are easy to come by. A major plus of the AAXA M5 is that there is no installation necessary for PC-free.
The rest of the menus are easy to navigate and, though the parameters are simple, one can customize the picture and color to their liking, which I consider to be a selling point of the AAXA M5 Pocket Projector.
Now, onto the good stuff – Picture and Sound Quality, followed by Performance.
© 2021 Projector Reviews