Projector Reviews Images

BenQ HT1075 Projector Review - Hardware Tour

Posted on October 4, 2014 by Art Feierman
HT1075 PROJECTOR:  HARDWARE TOUR:  Overview and Lens, Control Panel, Inputs and Connectors, Lens Throw, Lens Shift

HT1075 Hardware - Overview and Lens

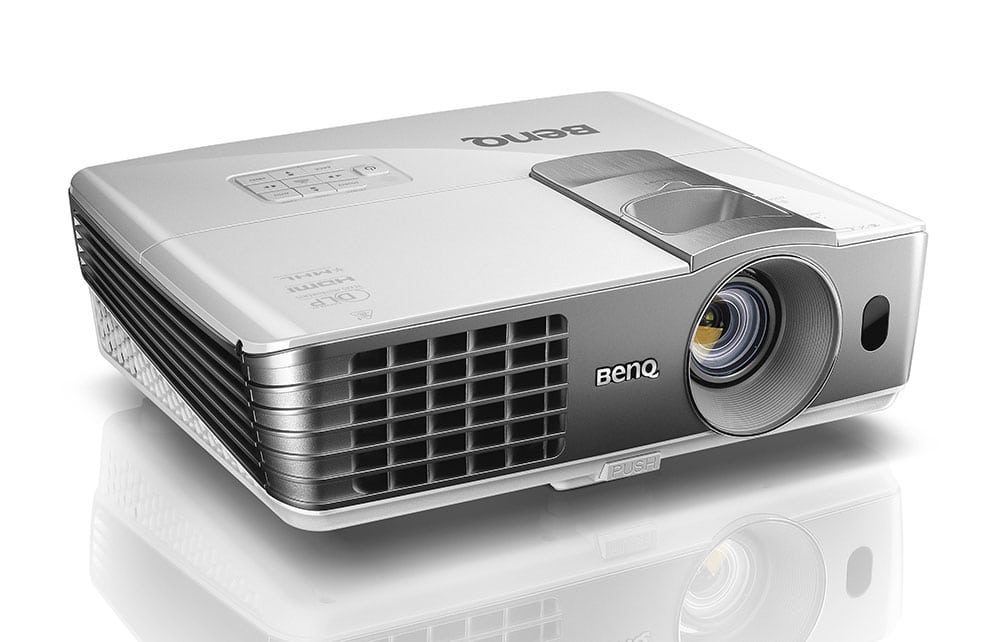
The HT1075 is a nice lightweight, and small projector.  It weighs in at around 6 pounds, and is therefore nicely portable for those not permanently mounting the projector.  Easy enough to take out of a closet and place on a a table for movies, TV, gaming, or sports, or maybe take outside for a summer movie night.

We'll start our tour in the front, as usual.  The 1.3:1 manual zoom lens if recessed and is located to the right of center if you are facing the projector.  1.3:1 zoom is a modest amount, but as much or more than found on most projectors in the price range.   Still, some can provide a lot more:  1.6:1 or even 2:1.

Also located on the front is the primary exhaust vent.  It's on the opposite side from the lens, and not only pumps out hot air, but it does leak more than a little light as well.  In the center is the front IR sensor for the remote control, and below it, the button to release/adjust the bottom front foot.  (There are two rear feet, unfortunately only one of those is adjustable.)

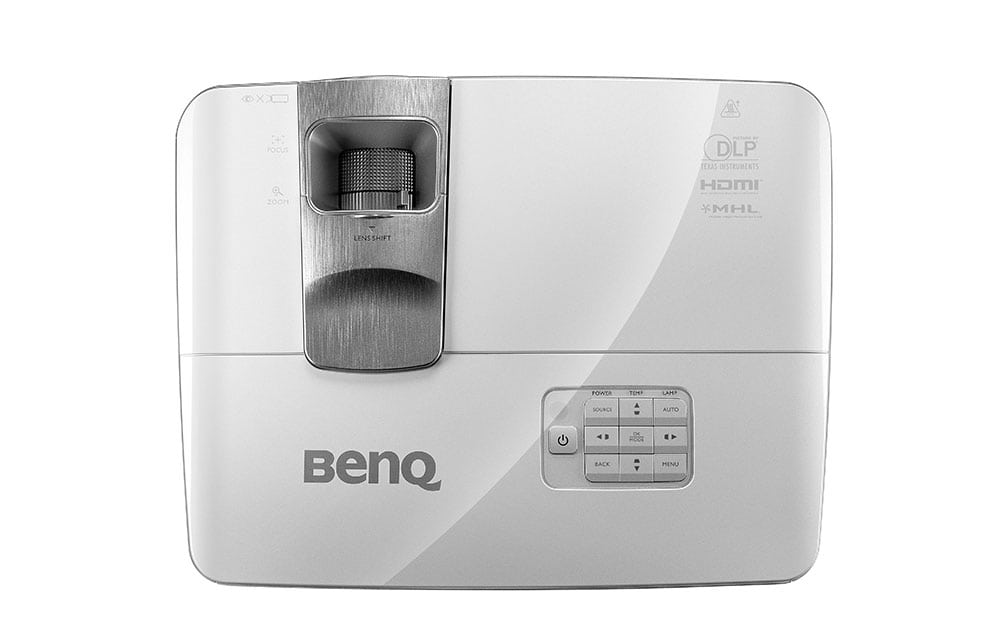
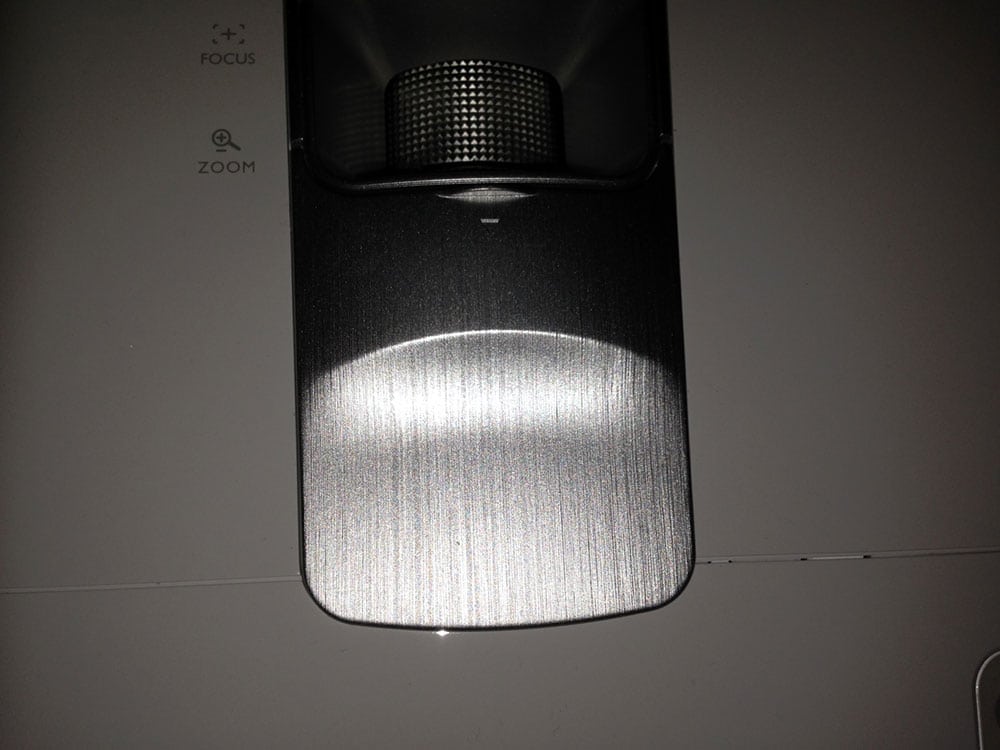
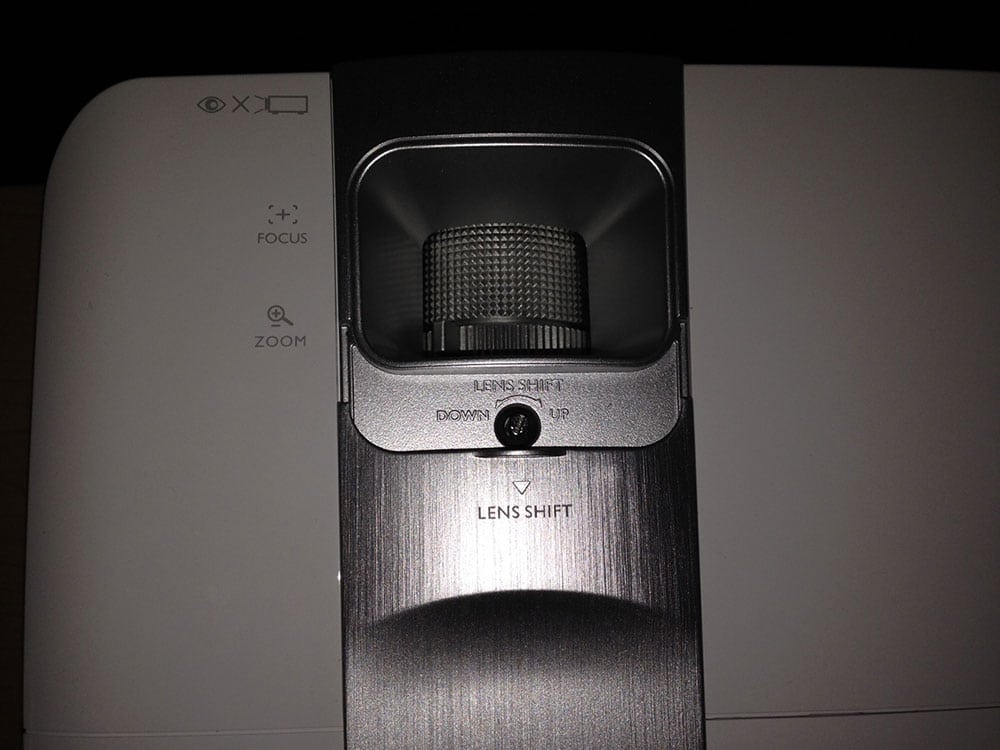
The top of the projector houses the recessed dial rings for focus and zoom, and then, hidden in a sliding panel just behind those rings is the small lens shift adjustment control.

Also found on the top of the BenQ HT1075 projector is the control panel.  All the inputs and other connectors are located on the back of the HT1075.  The single 10 watt speaker (which handles stereo sources) is located on the right side (if you are facing the projector), not ideal, but it gets the job done.  More to the point, the audio is reasonable sounding, not too high pitched so not tinny, despite no real bass to speak of.  Overall, it is room filling and while not great sound, effective.

HT1075 Control Panel

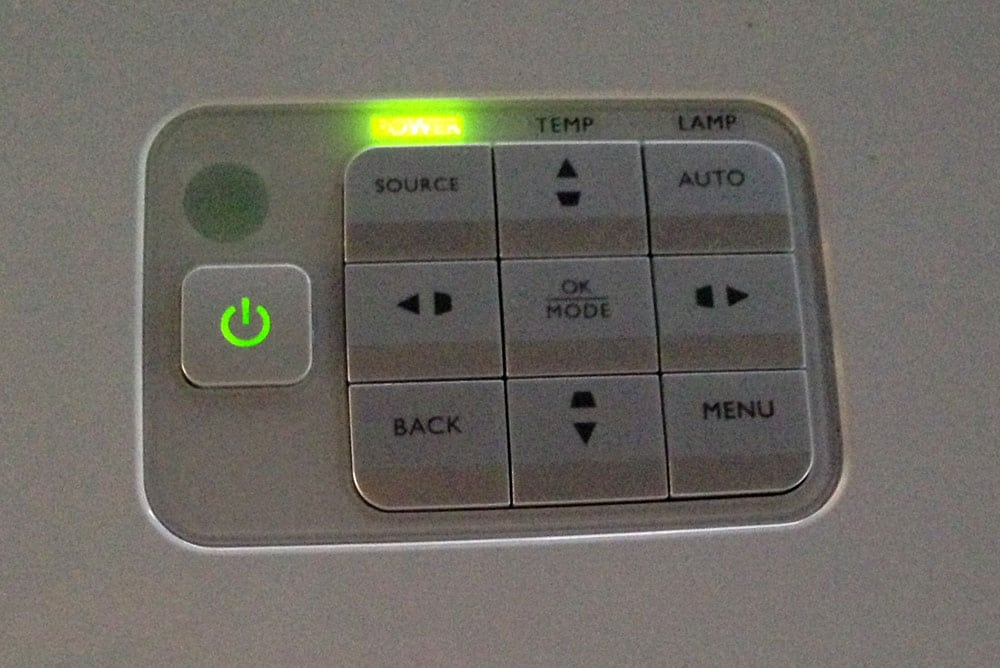
The control panel has no surprises, rather its very typical.  The power button is off to the left, and lights up in green when the projector is on.  Just above it is a faint circle which is the projector's top IR sensor for the remote control.  Moving to the right are the usual three indicator LED lights.

The rest of the control panel consists of three rows of three buttons.  When navigating the menus the four arrow keys are used, and are in a diamond shaped configuration.  In addition, the top left is the Source select button (note the BenQ offers manual or auto source selection - if on auto (a menu choice) if "finds" the first available source that's on.   On the top right is the Auto, for resetting the sync, primarily on analog computer sources, for the best possible picture.  The lower right offers up the Menu button while across from it on the bottom left is the Back button which takes you back up a level in the menu navigation (many projectors would label that Escape.   In the center is the OK button (aka:  Enter).

Click Image to Enlarge

When not in the navigation mode, the arrow buttons all take on a different purpose, bringing up keystone correction.  BenQ emphasizes that while we serious enthusiasts avoid using Keystone correction because it diminishes image quality, they point out that the kids just won't notice.

With keystone correction you can do some creative placement of the projector, for example having it lined up near the right side of the screen, rather than with the center.  Use it if you must, as it does soften/degrade the image.

My only complaint is that BenQ didn't need to make all four arrow keys capable of bringing up the keystone correction menu.  A better design would be to have two of them handle volume Up, and Down.  And perhaps use just one for Keystone correction, and the last one for toggling between Basic and Advanced menus?  (Sorry, just thinking out loud!)

HT1075 Inputs and Connectors

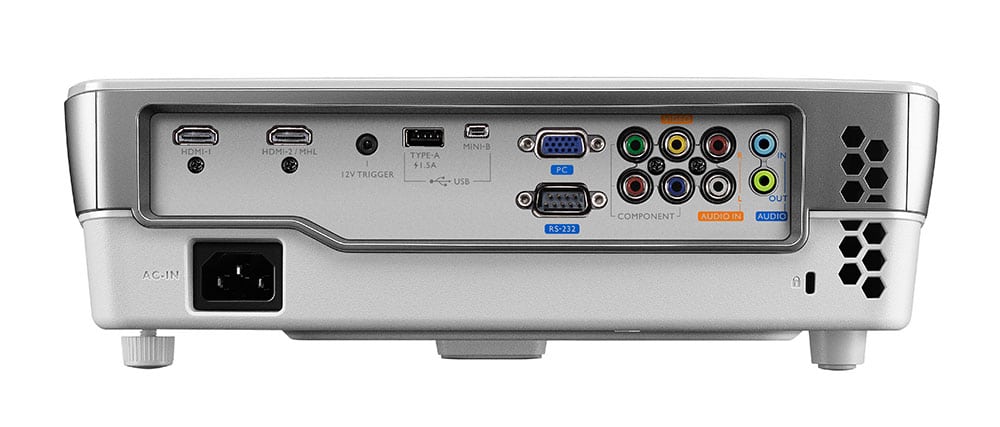
Let's consider all of the BenQ's connections on the back panel.  We'll start on the far left, with the pair of HDMI inputs.  Note that HDMI2 is the one that supports MHL, and therefore can accept a Roku stick, some Android tablets, and other MHL devices, which essentially make this projector "smarter".   MHL is primarily used for streaming content.

Next over is a 12 volt screen trigger for controlling a motorized screen (or some other function).  A pair of USB ports comes next.  The USB - A can be used for sources, while the USB - B type is used as a service port for the projector.

Next is an HD15 connector - your standard connector for analog computer sources, and often called a computer input, or VGA input, while below it is a DB9 connector which is a serial RS-232 port, normally used for "old school" command and control, such as controlling this projector from a room control system such as Crestron, Control4, etc.

The six RCA jacks that come next consist of R,G, and B which make up your component video input, and a Yellow one for composite video while the white and other red jacks are for stereo audio input.

Finally, on the far right are two more jacks, both stereo mini types. The upper one provides a second stereo audio input (I'm not counting HDMI inputs which also carry sound), while the lower one is a stereo audio out.

Time for me to complain about the stereo audio out.  Like just about every other manufacturer sporting a stereo audio out, BenQ got it wrong.

When you have a projector like this, with one or two internal speakers, and you want to watch a movie, the speaker system may have the volume to do good job, but let's face it, there's no chance of the kind of wall rattling bass that one should have with most action flicks (or, for that matter, music videos).

But the BenQ when you plug a jack into the Audio out, it turns off the internal speaker, and that's the problem.   On or off should be a user choice.  If this BenQ had that, I'd be able to recommend to everyone to go out and spend say $50 for a small, powered subwoofer, to complement the internal 10 watt speaker, and provide some of that wall rattling bass.  Instead, you have to feed the output to a complete sound system to get that extra bass.

BenQ, if you are reading this, how about you get it right next time (and you competitors as well).  Who knows, perhaps that could even be a firmware fix.

It should be noted that the back panel also has a power receptacle, and a Kensington lock slot for security.

HT1075 Lens Throw

The 1.3:1 zoom lens will provide this working range for a 100", 16:9 screen:

The BenQ projector (measured from the front of the lens) to the screen can be as little as 99 and a fraction inches.

The maximum for the same 100" screen would place the HT1075  as far back as 129. 5 inches.  That's respectable range for a projector in this class, better than most in fact, but some do offer a good deal more.

Not using a 100" screen?  So, how do you figure out the distances for another size?   Break out that calculator.  Let's say you have a 112" screen.  OK, then multiply the 100" distances by 1.12 since it's 12% larger.  Sure enough you'll get a close distance of just under 112 inches, and a furthest distance of 145 inches.  It's that easy.

HT1075 Lens Shift

Few DLP projectors near the price of the HT1075 offer any lens shift at all.  Mostly to find lens shift around this price point you need to look at 3LCD projectors.

From a practical standpoint lens shift adds lots of placement flexibility, but note that the BenQ projector has a minimal amount. In fact if you place the projector on a table, the center of the lens can be anywhere from 10% below the bottom of the screen surface to 20% above the bottom.   (Most projectors with a lot of lens shift might go from 30% below the bottom to 30% above the top of the screen!)

So, for our theoretical 100" diagonal 16:9 screen, that works out to the screen itself being almost exactly 50" high, so the 10% below translates to roughly from 5 inches below to 10 inches above the bottom.  For ceiling mounting it would be from 10" above the screen top, to 20" below the screen top.

Because the range is limited, you really can't mount the projector, right side up, high up, on a rear shelf, because you'd have to invert the projector (as with a ceiling mount) so that it would work.  That's OK, because of the limited zoom range, you probably couldn't place the projector on your back wall anyway.

Latest Reviews

February 25, 2024

Introducing the Hisense C1: A cube-shaped 4K UHD lifestyle projector with an RGB triple laser light source and integrated JBL ...

February 19, 2024

The BenQ X3100i is a 4LED, 4K UHD (3,840 x 2,160p) 0.65" DLP short-throw gaming projector that offers a BenQ-rated ...

© 2024 Projector Reviews

crossmenu linkedin facebook pinterest youtube rss twitter instagram facebook-blank rss-blank linkedin-blank pinterest youtube twitter instagram