I thought originally to try to separate smart features from the usual projector features, but Hisense does a very nice job of integrating them together.
The Photo player here starts with the Home screen buttons that overlay whatever’s on screen. From there we’ll explore each button – which I consider the major menus.
You will find a number of comments on various menus and options, in the captions in this player.
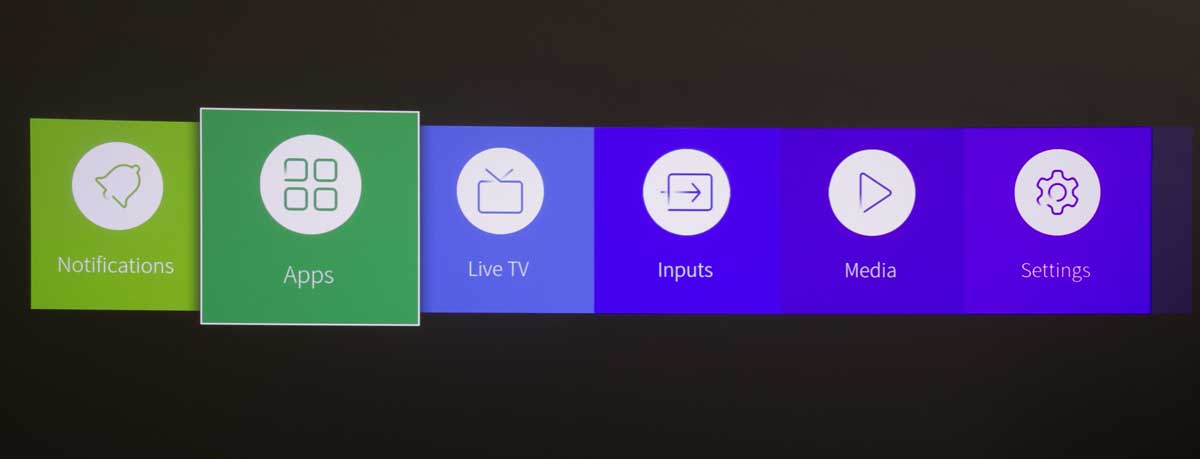
The Home Screen button itself brings up these main menus:
Notifications, Apps, Live TV, Inputs, Media, Settings, and Edit (which let’s you add additional buttons).
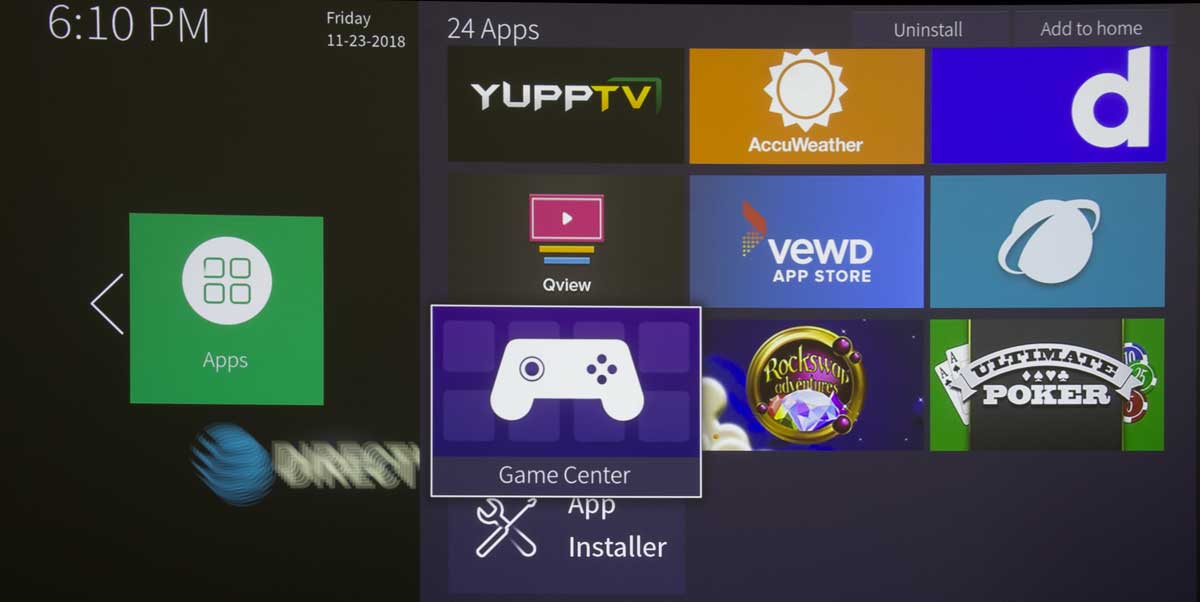
The Apps button starts with 21 Apps, but you can add more, by hitting the App installer button at the bottom. I notice that just above the App installer is a Game Center. FYI.
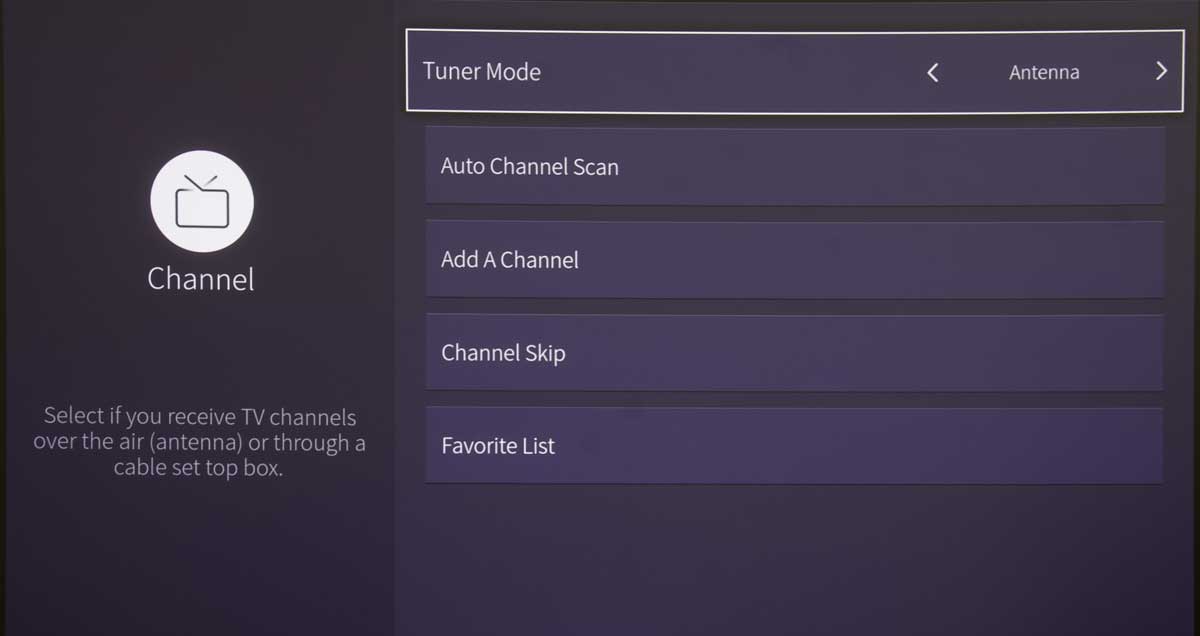
Next is the Live TV button in case you have a TV antenna. I did not test. I’m almost 60 miles from both LA and San Diego, no watching of broadcasts for me.
Inputs is the next button/main menu. In addition to the Live TV, VGA, and HDMI inputs there is an AnyviewCast – which is geared to allow you to receive and project casts from Android devices and other casting compatible devices.
The Media Menu is the next button.
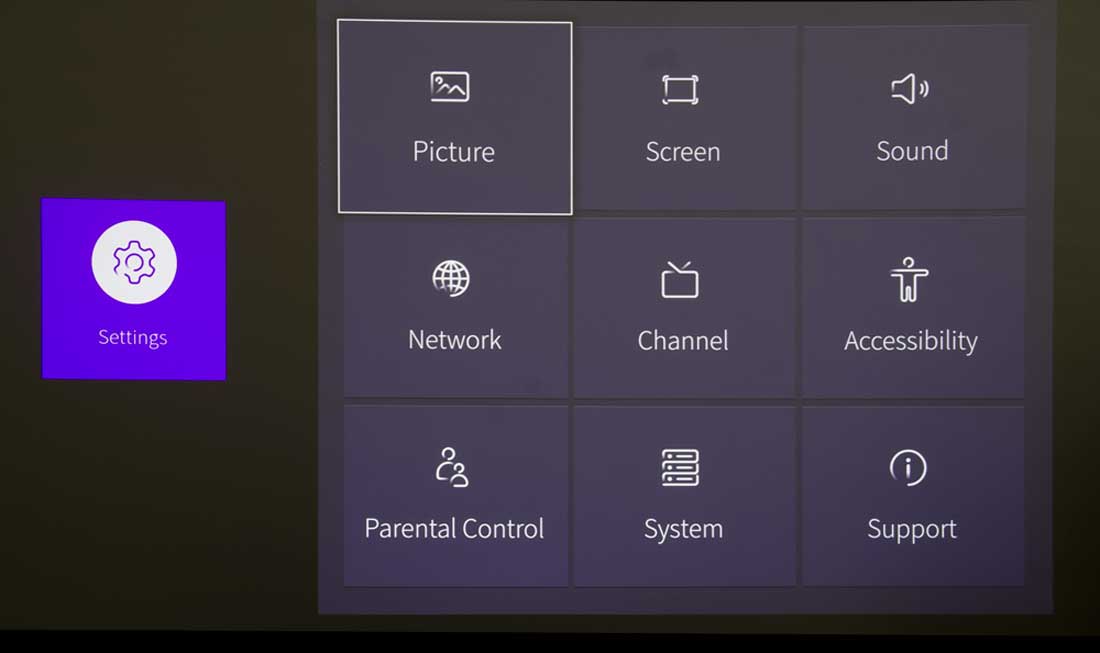
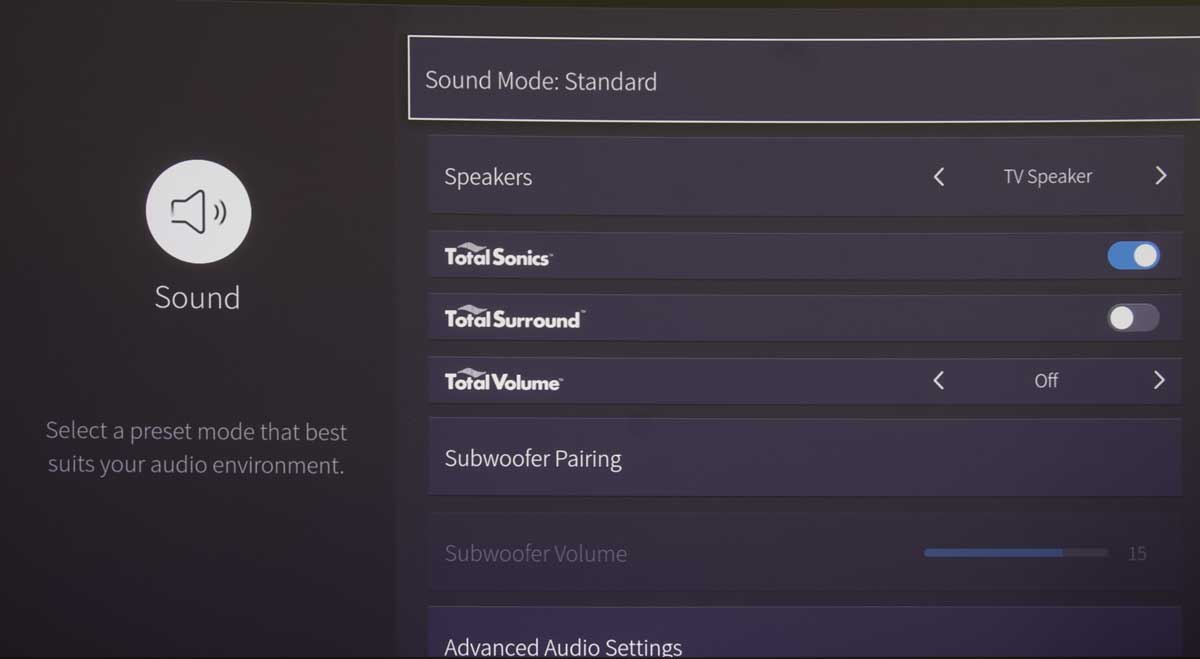
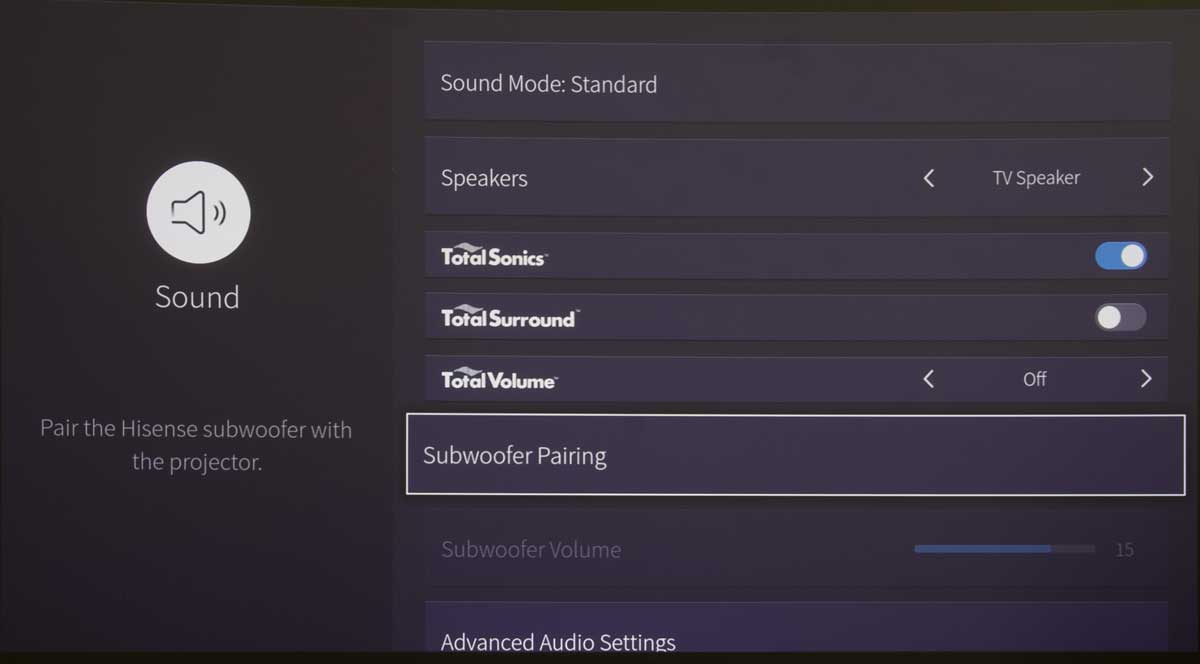
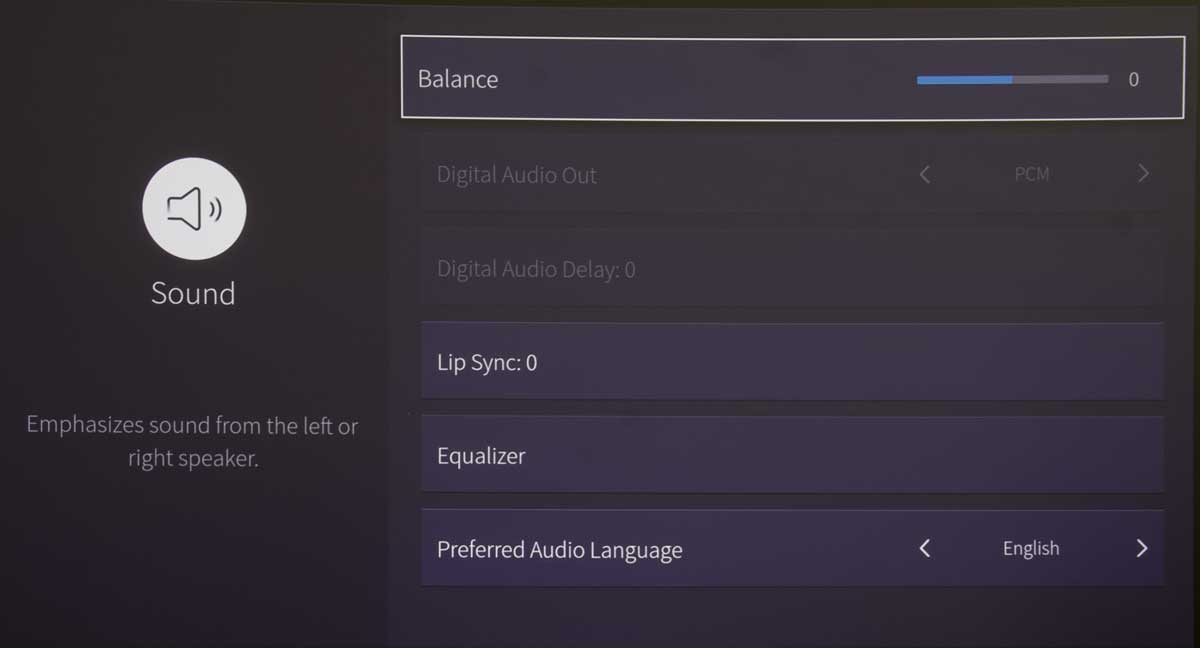
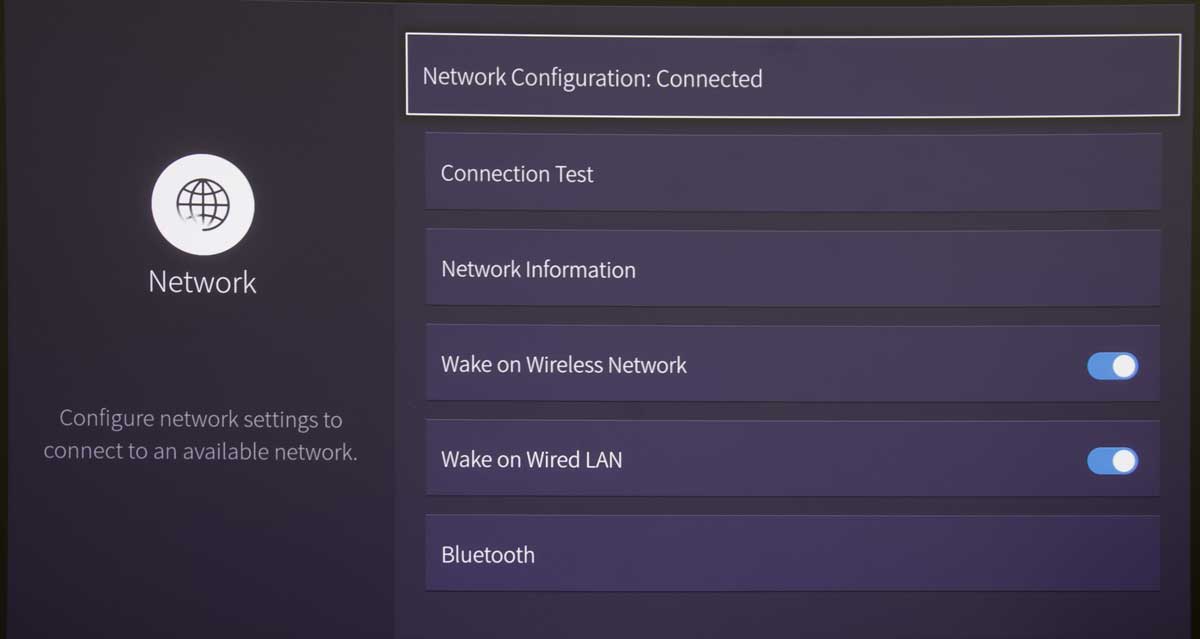
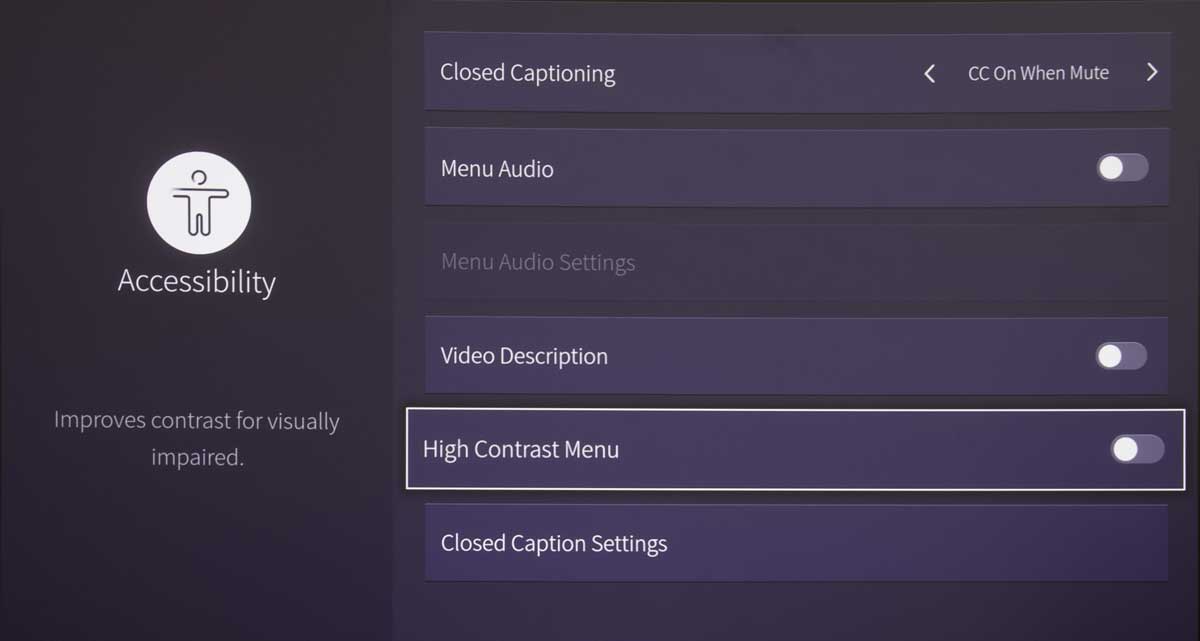
And last before the edit button, is Settings which bring up nine submenus:
Picture, Screen, Sound, Network, Channel, Accessibility, Parental Control, System, and a Support/Info button
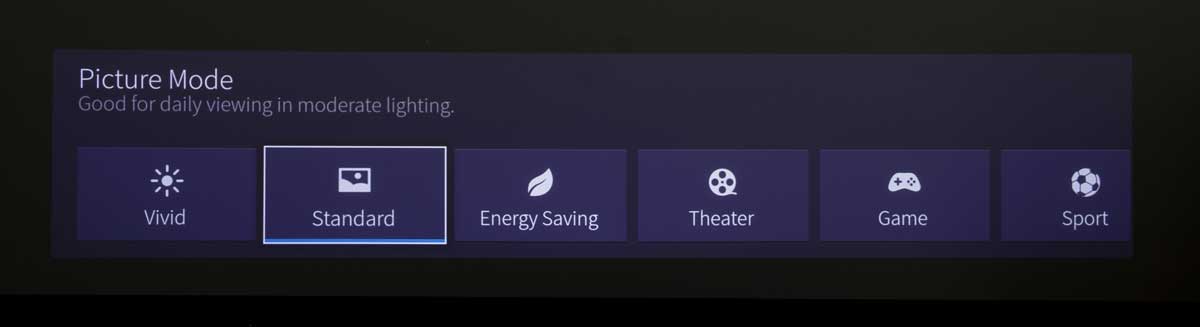
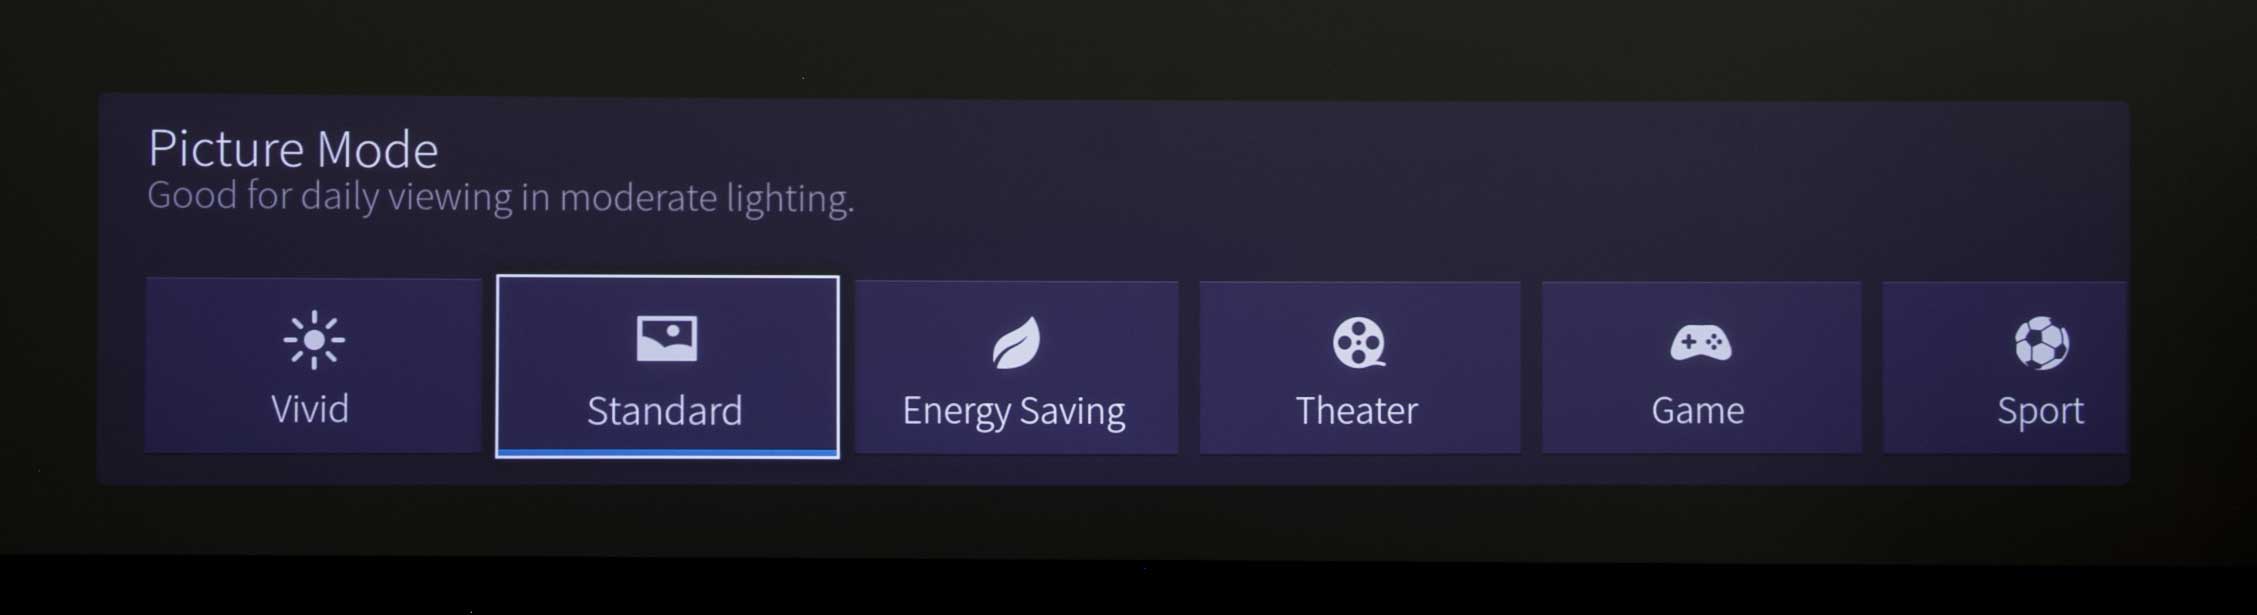
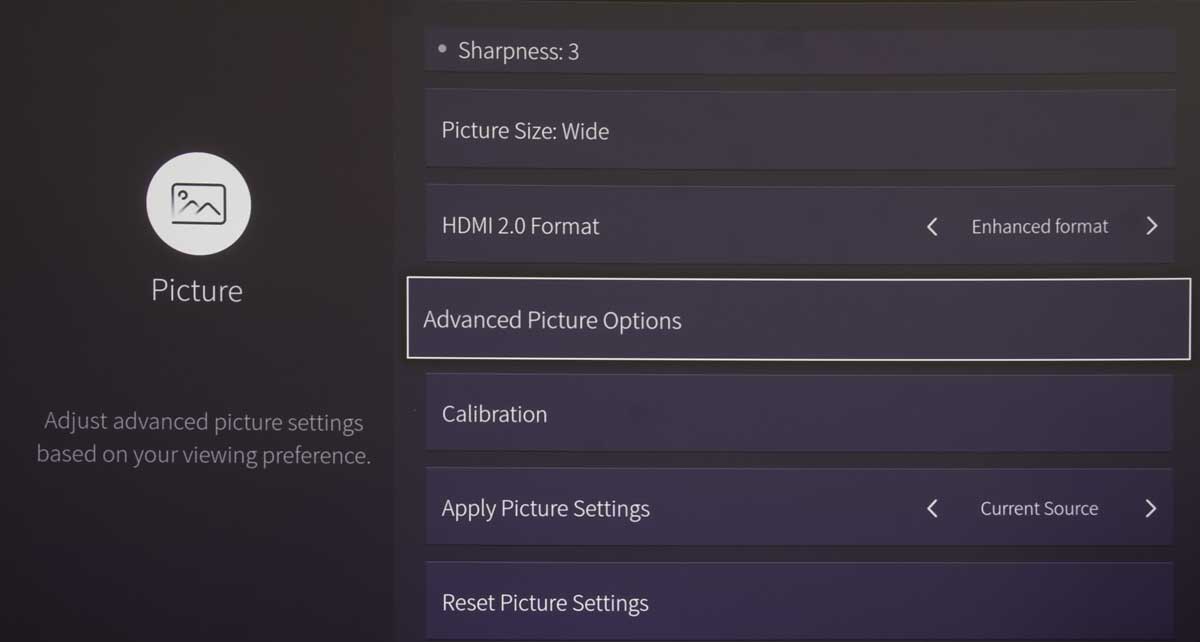
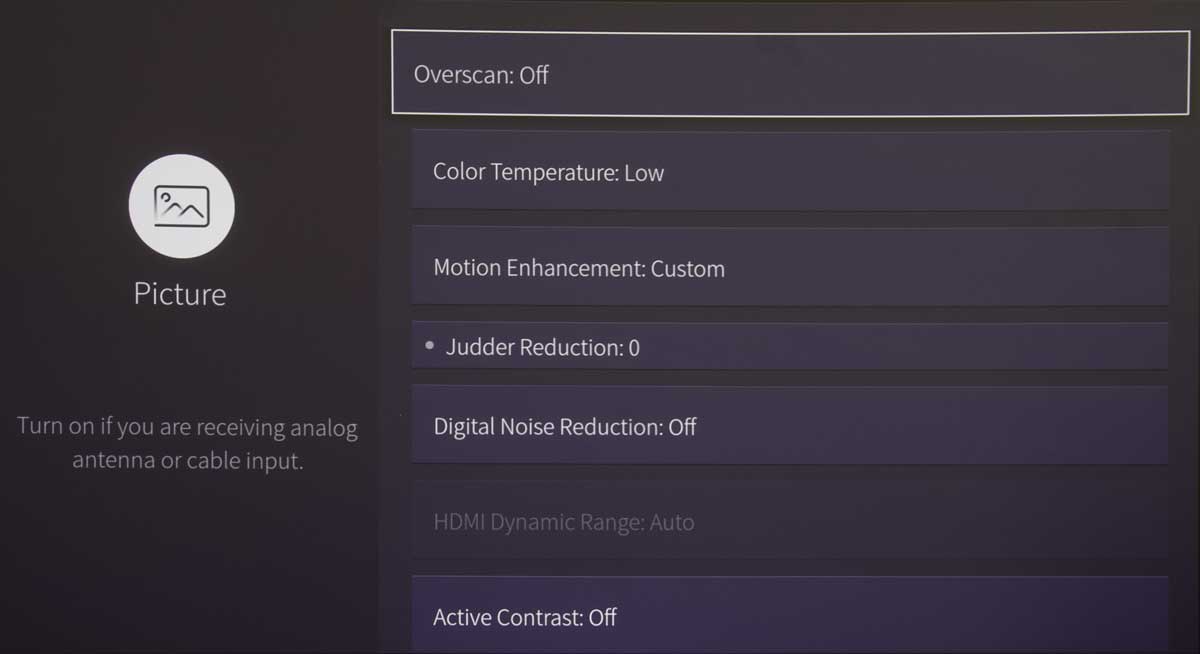
The Picture Submenu is where most of the “projector” control action exists. And within are even more submenus. You’ll see most of those in the player.
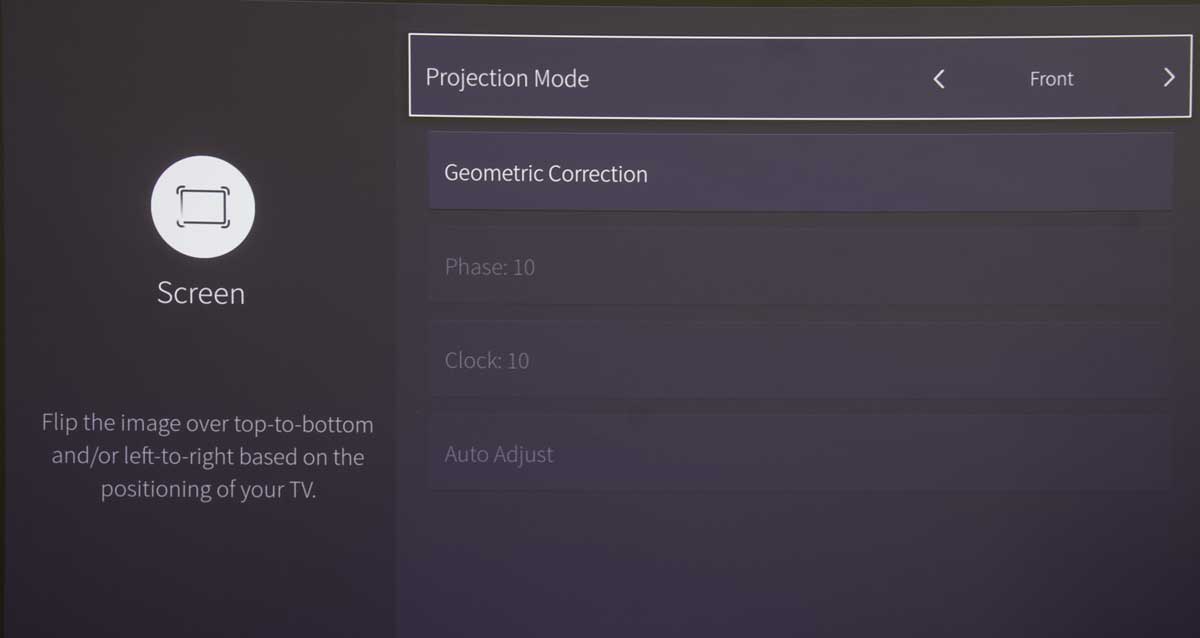
The Screen menu – Simple enough – a choice of orientation – that is front below the screen or front mounted above the screen.
There’s also geometric correction, which I avoided. It seems that it is an easy way to fill the screen exactly, but that can normally be done with precise placement of the projector and proper use of the feet. Using geometric projection may be a faster solution, but it no doubt uses compression technology, which we always recommending avoiding, because compressing some lines to fit exactly eliminates the 1:1 pixel mapping – one pixel of data for each one pixel the device can project. We always recommend not using anything that compresses unless there are no other, better, options.
It took an extra couple of minutes, but I was able to get the image to completely and properly fill the 100” screen as well as anyone could expect. Then I moved the projector to my theater and was able to accomplish the same even quicker. There I have a different screen but again, was able to fill it exactly as it should be done. I highly recommend doing it right! What’s the point of spending for 4K if you are going to start off by compromising the resolution slightly? Save geometric correction for if you find you can’t place the projector exactly where it should be placed!
Other comments about the menus are in the form captions below their photos, as you saw above.
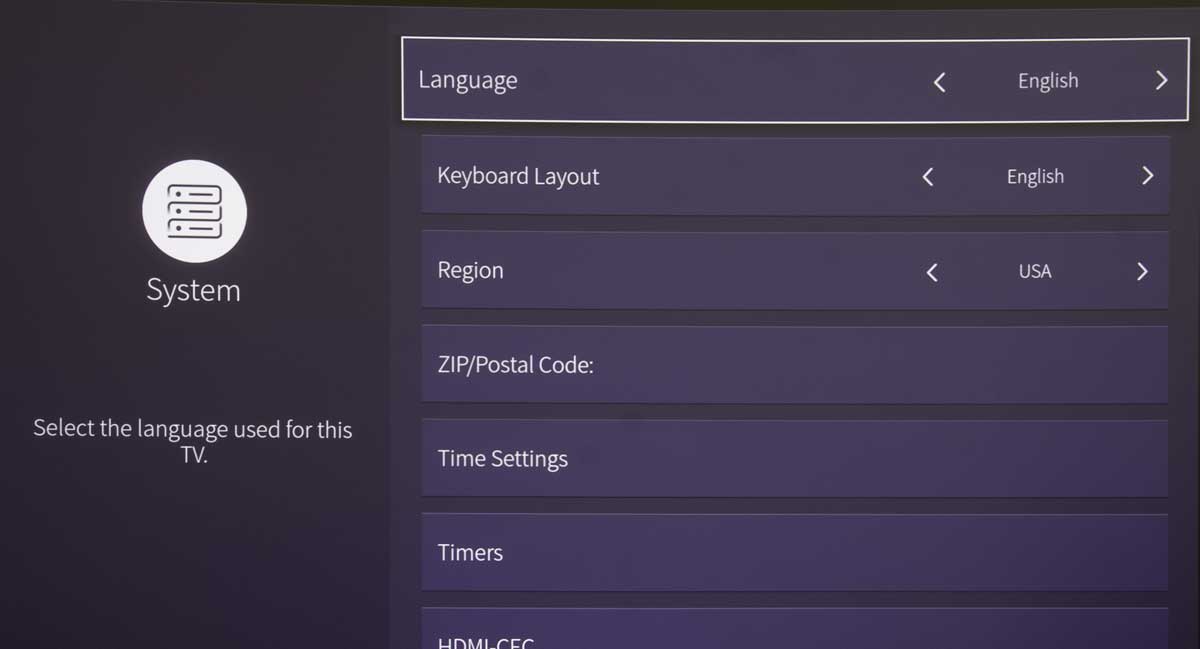
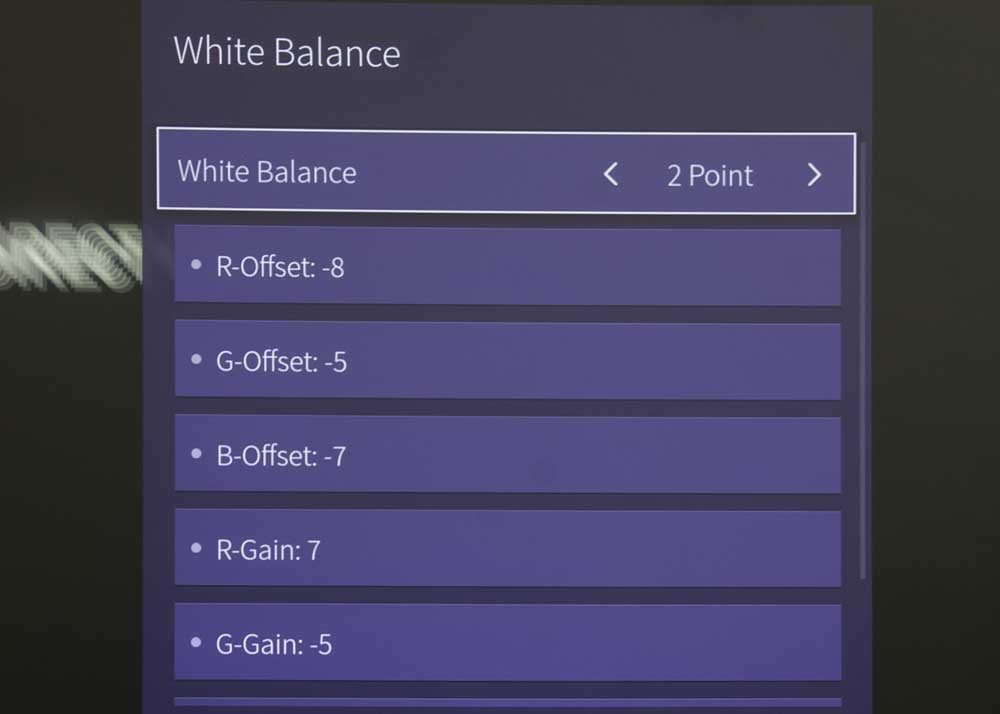
That concludes our section on menus, other than to say that some of the menus you can scroll down despite no indication. Best example, the Picture menu. If you don’t try scrolling down past Picture Mode, Contrast, etc. You may never see Advanced Picture Options and the Calibration menus.
Overall, I found the smart menus worked well. The more projector oriented features weren’t laid out like a lot of other projector menus but that didn’t pose any problems. And note that instead of Lamp or Laser settings such as Full Power, Eco, etc., the Hisense calls their control over how bright the laser engine is: Light Level: - and it’s the first menu item on the Picture menu.