The Optoma UHL55 delivers a great image and it does it in a small audio filled footprint. The projector itself weighs in at 8.7lbs. There is even an optional carrying handle you may purchase if you plan to tote the UHL55 around from room to room.
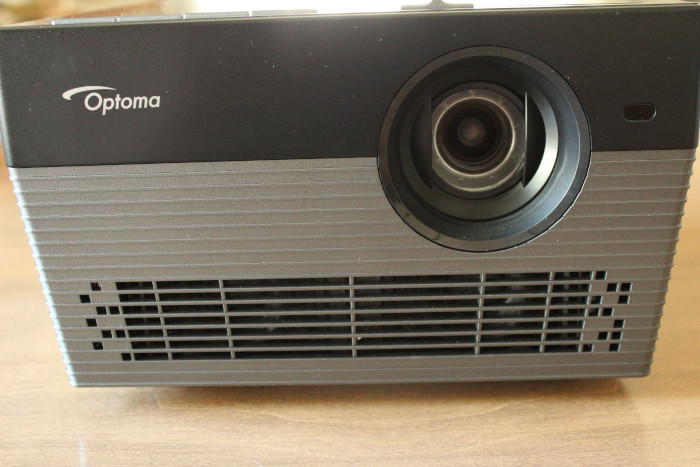
Optoma UHL 55 4K UHD Front
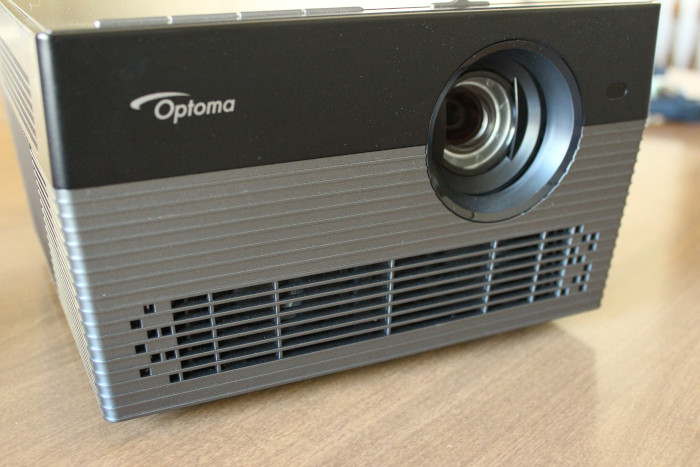
Optoma UHL 55 4K UHD Front with lens cover closed.
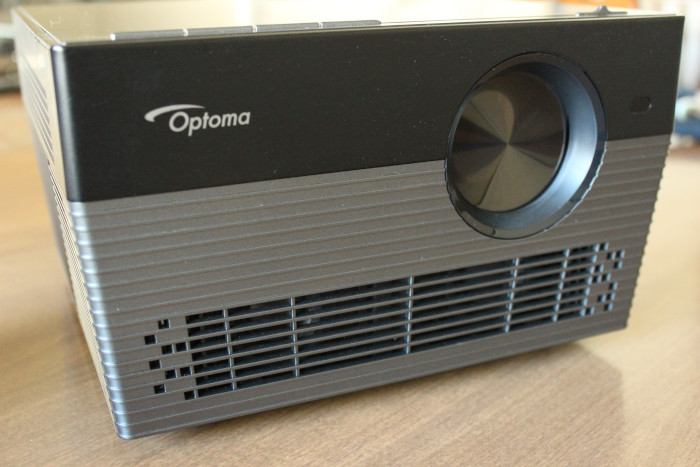
Optoma UHL 55 4K UHD Front
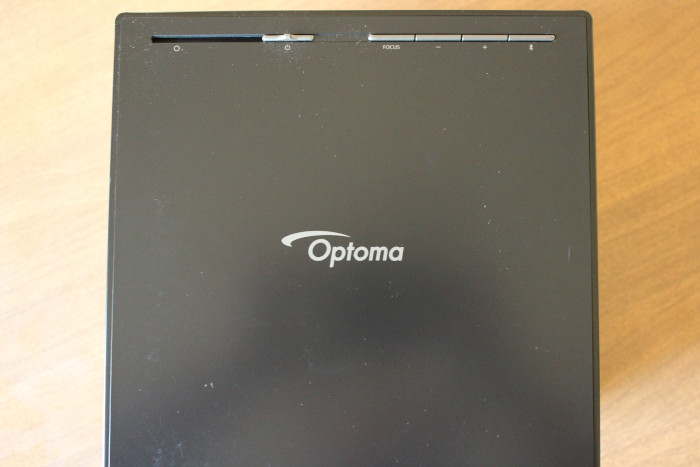
Simple Controls a the top of the Optoma UHL55
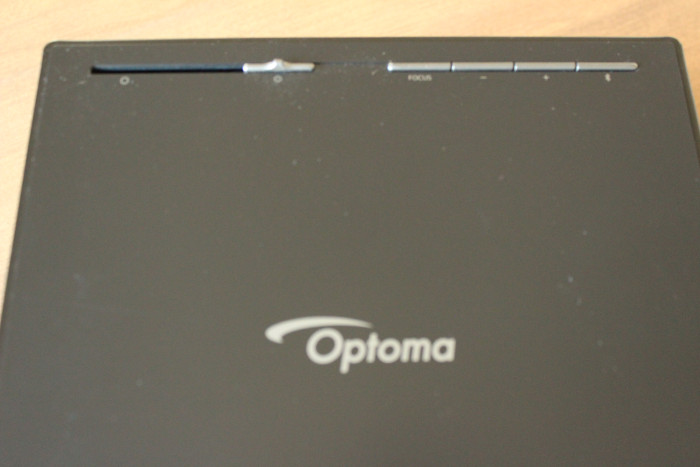
Lens Open / Close on the left, Focus and Bluetooth controls on the right
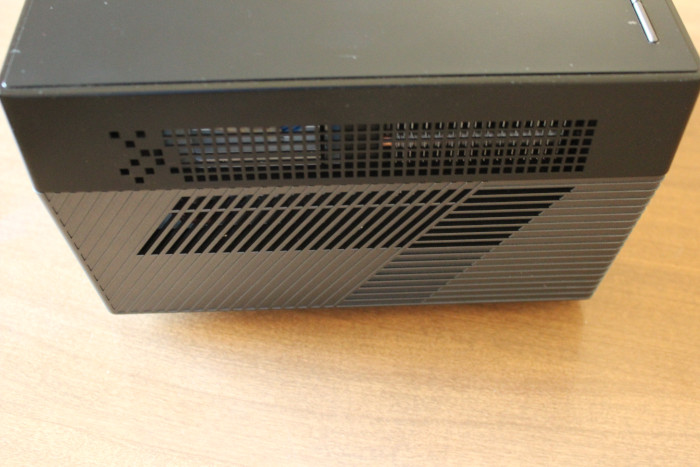
Optoma UHL55, left side
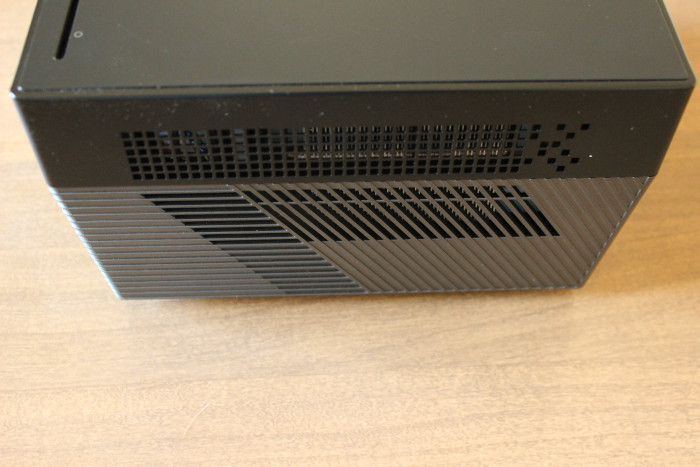
Optoma UHL55 Left Side
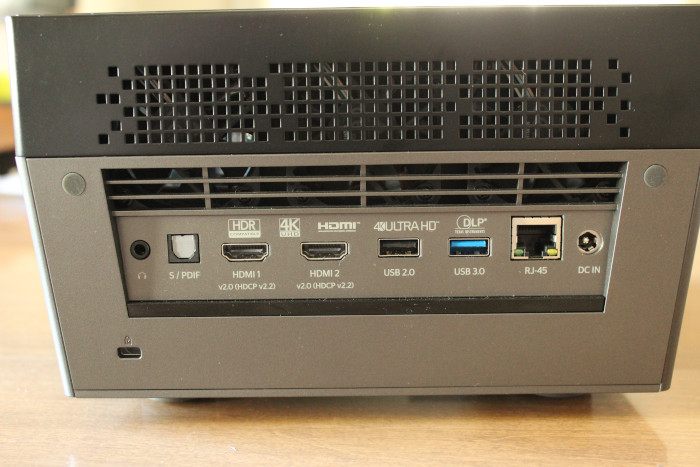
Optoma UHL55 input panel
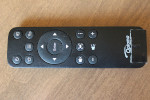
Optoma UHL55 Bluetooth remote
❮
❯
Optoma did a most excellent job with the cooling of the UHL55. The airflow has intakes on the front and sides, while the back is where the exhaust is. This is great keeping all the hot air away from the lens. Not to mention it is very quiet. Being LED and not having a color wheel makes it whisper-like.
One of the very unique features of the UHL55 is the integrated lens cover, which is also the power switch. So as you turn the projector on, it opens the lens. In the same manner when you close the lens cover the projector shuts off. Brilliant! I was very pleased with this functional design.
The UHL55 is a great form factor, almost cube-like. Being 8.6”x 5.3” x 8.6” it will fit nicely on any end table or coffee table. Equipped with a 1.2 throw ratio you can have a good size image from only a few feet away. While I mention the UHL55 being great for tabletop projection. It supports many modes for your installation needs. The Optoma UHL55 fully supports Front, Rear, Ceiling mount, and tabletop. This allows you to mount it if you wish, or enclose it in that pool facing rear projection application. The lens is fixed, as I mentioned so you may want to use an adjustable mount if you do ceiling mount it. There is always some tolerance with optics. Another avenue is to turn in on, hold it up and mark exactly where the lens should be. Then install it for that position. When you do not have zoom, there isn’t a lot of room for mistakes. The UHL55 does have digital zoom, but who wants to sacrifice pixels to fit the image on their screen.

