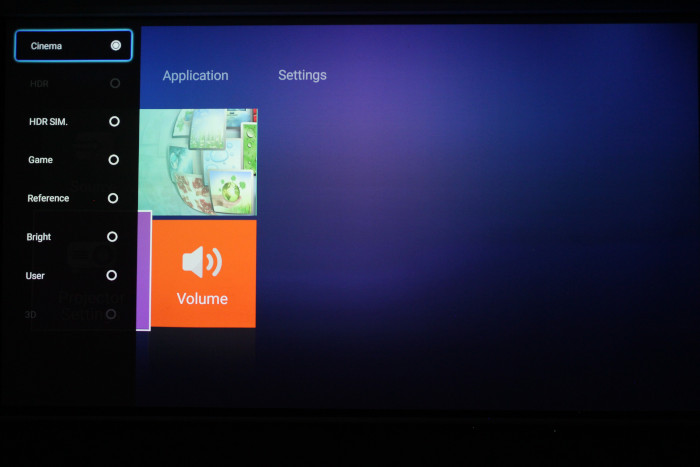
The Optoma UHL55 does an Excellent job of integrating the Android system with the projector Menus. So many projectors on the market treat them as separate menu systems usually with very different look and feel. The Menu is organized in an easy to use intuitive fashion. Upon boot up you are presented with the home screen.
Download Apps to the Optoma UHL55 from the Marketplace
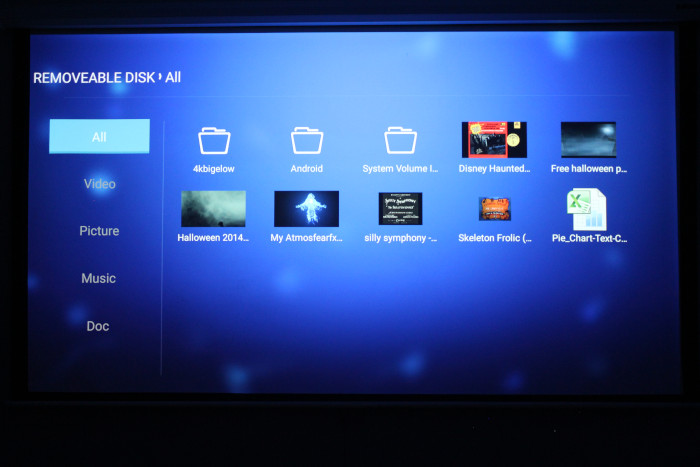
Easily find your content in the integrated 4K media player menu
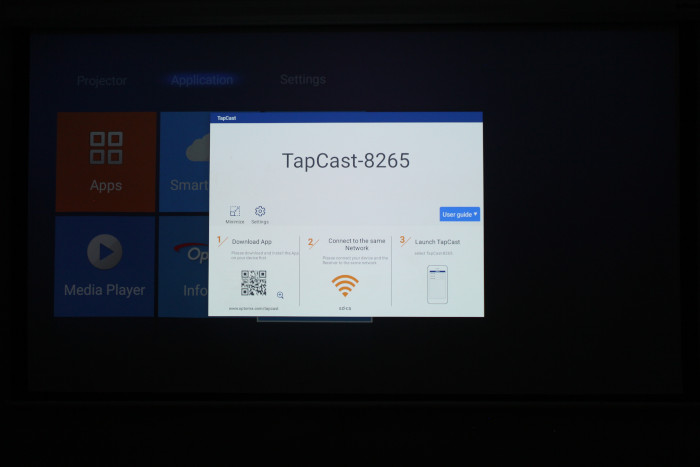
Tap cast to send all your mobile content straight to your UHL55
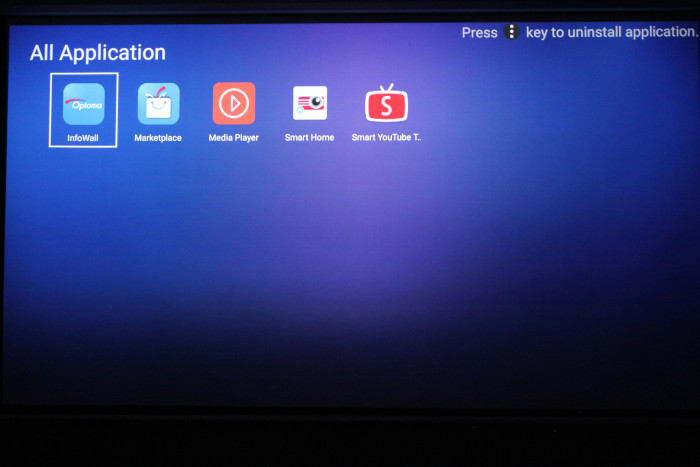
The Application section lets you customize your Optoma UHL55
❮
❯
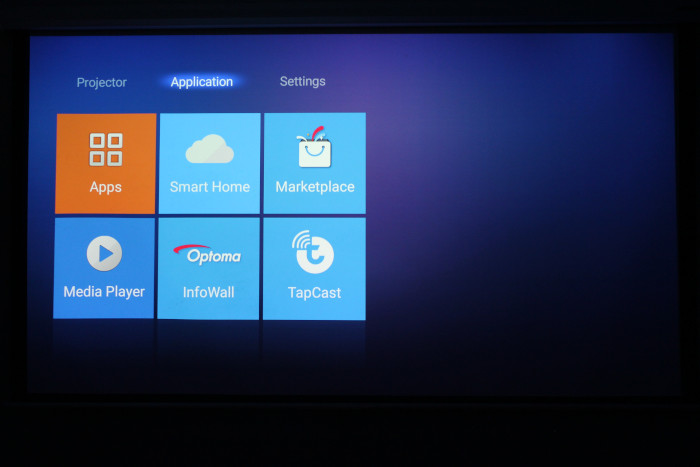
The Top-level of the Menus is broken down into three groups of settings. You have the start page that allows you to switch source, enter the projector settings menu and adjust the volume. The second page which is titled Application, allows you to access installed apps, enter the Smart Home configuration screen, the Optoma MarketPlace, Media Player and other options.
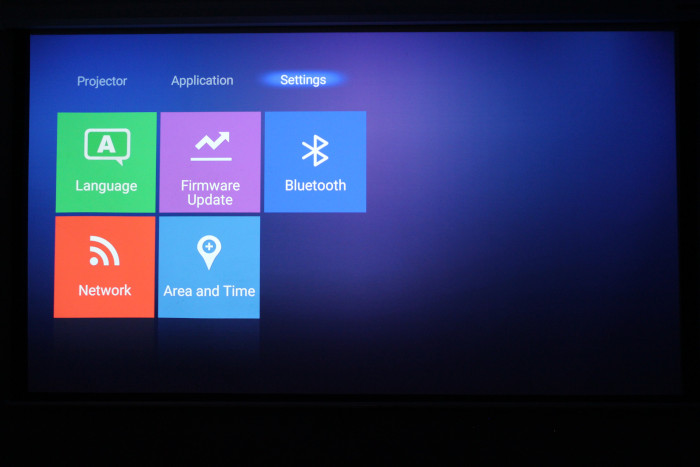
The third section is titled Settings. On the settings page, you can change the menu languages, update the firmware, access bluetooth settings, network settings and set your area and time. One of the best features of the Optoma UHL55 is the firmware will update over the network. You don’t have to go and download a file and place it on a USB stick. Then do some finger gymnastics to flash the projector. I did have to leave mine overnight a couple of times to get it to finish, but it did update over the network and that's the great part.
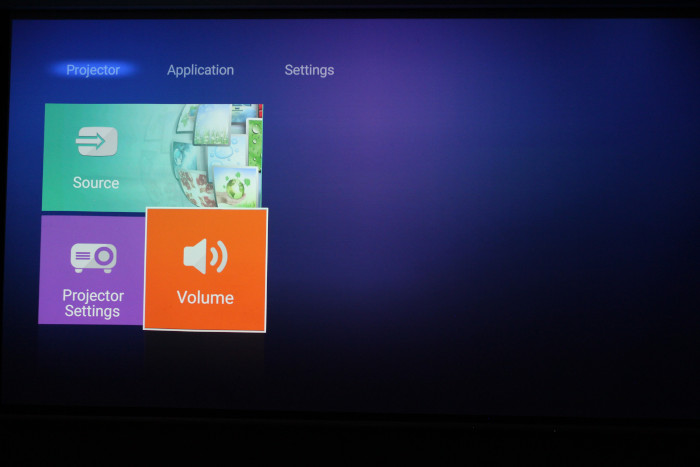
Main screen when starting your Optoma UHL55
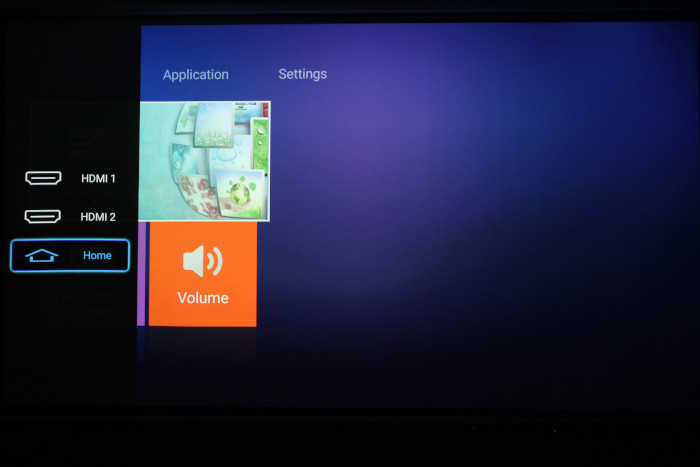
Optoma UHL55 Input Selection
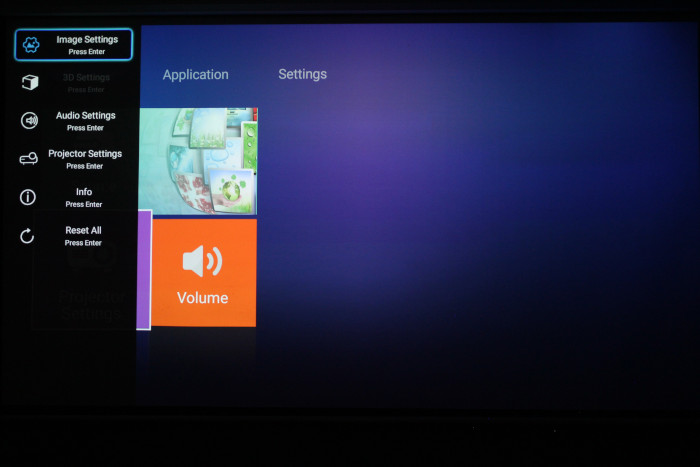
Image Settings, Optoma UHL55
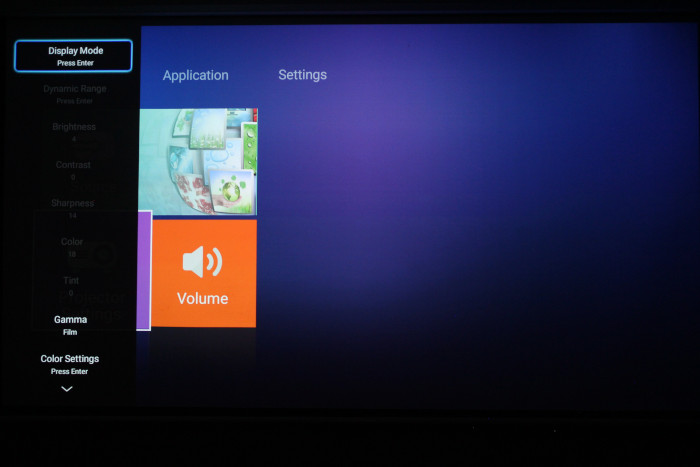
Display Mode Settings, Optoma UHL55
Color Modes, Optoma UHL55
Settings, Optoma UHL55

Optoma UHL55, Image Settings
Gamma and brightness adjustments, Optoma UHL55
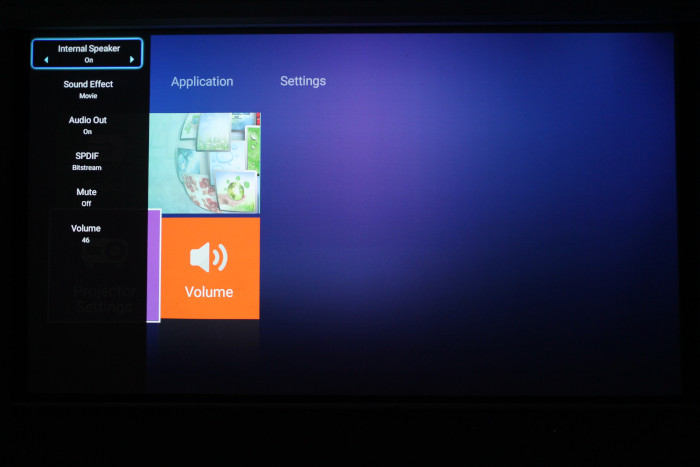
Audio Adjustments, Optoma UHL55
❮
❯
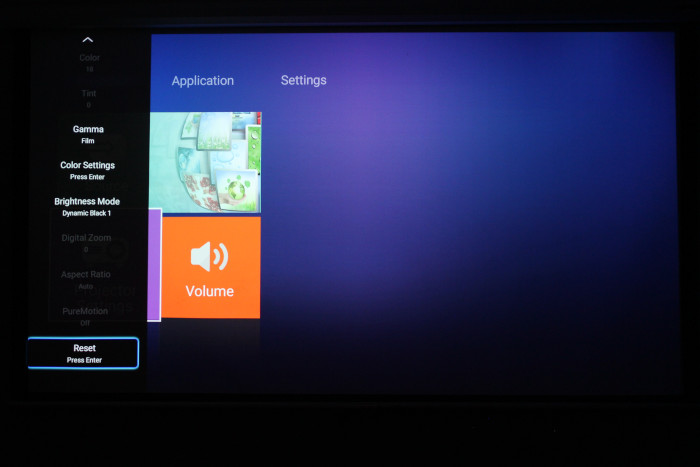
The other section of menus are accessed by entering the Projector Settings. I found the menu’s to be quite useful. I liked the vertical organization. The menu stayed on the right side of the screen so if you do make any changes to the image, you could see it displayed and continue to make adjustments.
The projector has all the adjustments you could ask for. You have all the basic settings like adjusting your color settings and contrast, but there are also more advanced settings. Here is a summary below.
Image settings - In this section you can adjust between the 8 different color modes, and even enable ISF Day/Night modes for custom adjustments.
Gamma Settings - You can adjust between Film, Video, graphics or 1.8 to 2.4.
Color Space - The choice of Auto, or you have full RGB, YUV controls as well as Red, Green, Color Matching - Full Red, Green, Blue, Cyan, Yello, Magenta, White. You can also adjust Hue / Red, Saturation / Green Gain, and Blue Gain.
[sam_pro id=1_20 codes="true”]
