Projector Reviews Images

Optoma ZU506T-W Professional Installation Laser Projector Review- Hardware Page 2

Posted on December 10, 2019 by Dave Duncan

Optoma ZU506T-W Professional Installation Laser Projector Review – Hardware 2: Control Panel, Remote Control, The Menus

Control Panel

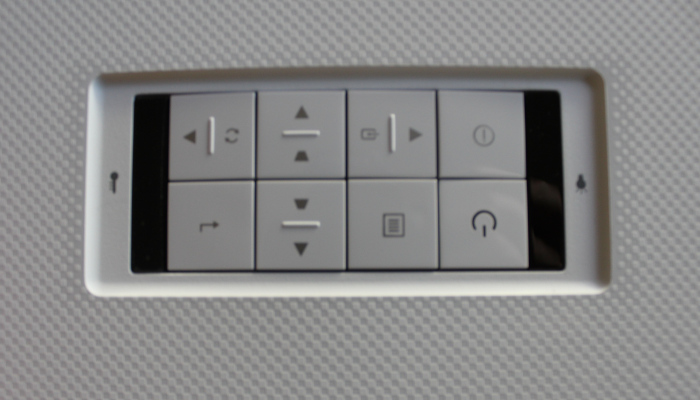
OptomaU506T-W-review-Keypad

When you are using a projector in desktop mode, the control panel can be an important feature. We have all had one of those devices that has 3 keys with 12 functions and you have to count the button presses and do some finger origami to accomplish anything. Rest assured, that is not the case on the ZU506T-W.

The control panel is very nicely located on the rear center of the top case. There are eight buttons. You have 4 directional buttons. These also have double duty, the up and down arrows also give you instant access to the keystone correction. The left and right arrows can help you change inputs, and resync if needed. There are discreet buttons to enter and menu, which I prefer. As well as there is a single power button and an information button. There are two very minimal indicator lights, a light bulb on the left and a temp light on the right.

It is a very nice control panel. The buttons have a real feel to them, they aren’t just silkscreen sitting on aluminum foil. Very nice.

Remote Control

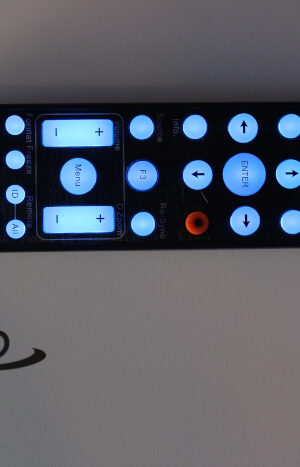
OptomaU506T-W-review-Remotelights

The Remote for the ZU506T-W is fully featured and then some. It feels like its well made, even has a brushed carbon finish. One of the nice features is a back light when in operation, all of the buttons light up blue to help you find the right button to press.

The remote like most has a few main areas. There is the top power section, where there are two discrete power buttons, one button for off, one button for on. This is a great feature if you use an IR controller or programmable remote. It will be able to learn the commands directly. The next two a button for Geometric Correction or four corner correction as its called in most places and Picture in Picture. This shows me that this remote must be shared between products as there is a lot of functionality and buttons that I didn’t find straight away on the ZU506T-W.

The next section is all about Menu navigation. At the bottom, you have the Menu key in the center, bookended by the Volume key and Digital Zoom key. Above those, you have a Source Key, programmable F3 Key, and a Re-Sync Key. Then the Laser! Lasers on remotes can be expensive so its great to see one. Above the laser, you have the left and right arrows and enter key.

The bottom of the remote has a lot of advanced functionality. You have numbers 0-9 and Remote ID controls for programming. This allows you to use multiple projectors and remotes, and pair them together. So they only respond to certain remotes. There are also listings for the individual inputs, so you can program a smart remote or IR control system.

The Optoma ZU506T-W ships with a great remote with a huge amount of functionality. It really does compliment the Installation capabilities. Discreet codes and buttons for so many functions. Including it in the box was a great move.

The Menus

Here are individual trees of the ZU506T-W projector Menu’s

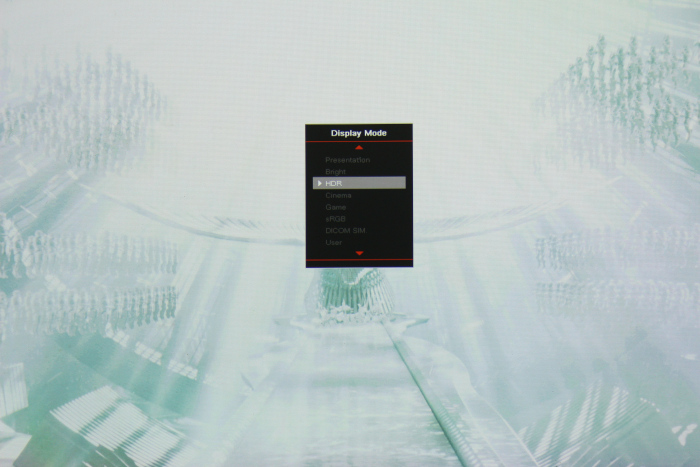
Display Mode - Presentation, Bright, HDR, Cinema, Game, SRGB, DICOM SIM, user

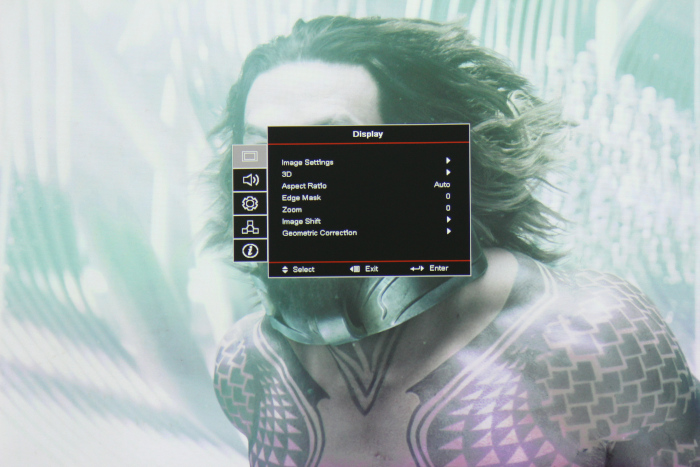
Display - Image Settings, 3D, Aspect Ratio, Edge Mask, Zoom, Image Shift, Geometric Correction

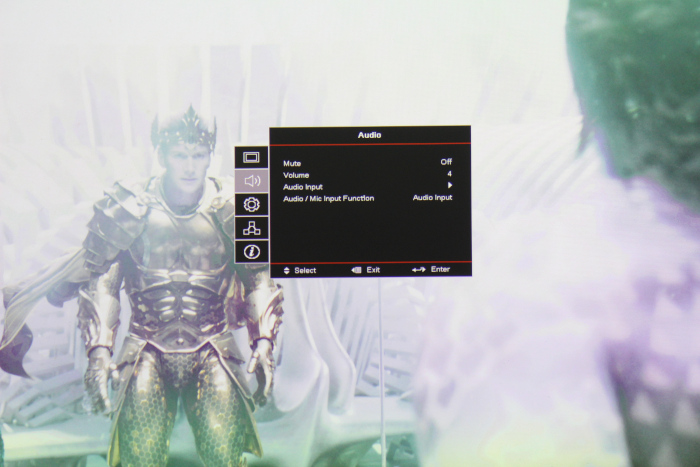
Audio- Mute, Volume, Audio Input, Audio / Mic Input Function

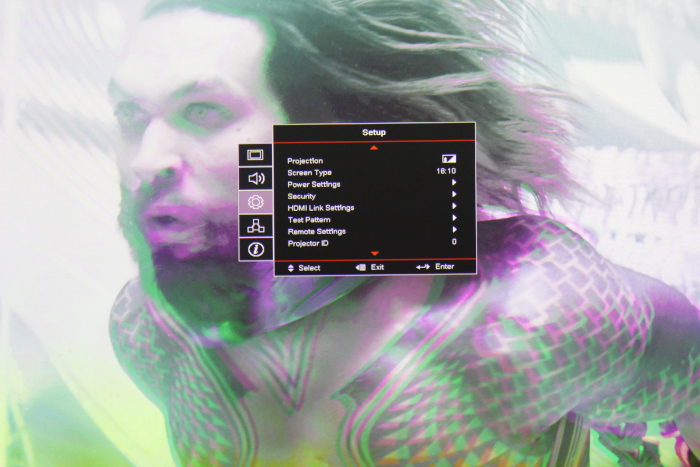
Setup - Projection, Screen Type, Power Settings, Security, HDMI Link, Test Patterns, Remote Settings, Projector ID

Network - LAN, Control

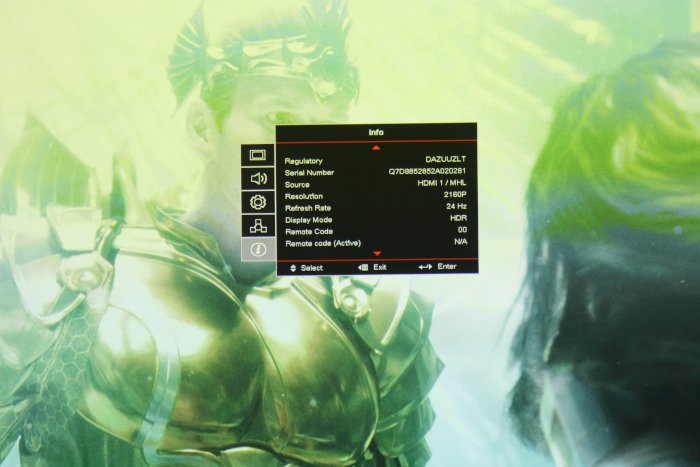
Info - Regulatory, Serial Number, Source, Resolution, Refresh Rate, Display Mode Remote Code, Remote code (Active)

The Optoma ZU506T-W has a great Menu system.  It is sectioned into 6 areas, to break it down and make it easy for you to find what you are looking for.  You have the Display Mode which is where you can choose your projector orientation and display settings. Then you can scroll down and set up your audio.  All of the advanced settings are located under setup. Then the other controls for the network are right where you would expect them. The Info section has a wealth of information about the projector setup as well as the incoming signals.

Latest Reviews

February 25, 2024

Introducing the Hisense C1: A cube-shaped 4K UHD lifestyle projector with an RGB triple laser light source and integrated JBL ...

February 19, 2024

The BenQ X3100i is a 4LED, 4K UHD (3,840 x 2,160p) 0.65" DLP short-throw gaming projector that offers a BenQ-rated ...

© 2024 Projector Reviews

crossmenu linkedin facebook pinterest youtube rss twitter instagram facebook-blank rss-blank linkedin-blank pinterest youtube twitter instagram