The ViewSonic X10-4KE Main Menus
The ViewSonic X10-4KE Main Menus
The ViewSonic X10-4KE Main Menus
The ViewSonic X10-4KE Main Menus
The ViewSonic X10-4KE Main Menus
The ViewSonic X10-4KE Main Menus
The ViewSonic X10-4KE Main Menus
The ViewSonic X10-4KE Main Menus
The ViewSonic X10-4KE Main Menus
The ViewSonic X10-4KE Main Menus
The ViewSonic X10-4KE Main Menus
The ViewSonic X10-4KE Image Setting Menus
The ViewSonic X10-4KE Image Setting Menus

The ViewSonic X10-4KE Image Setting Menus
The ViewSonic X10-4KE Image Setting Menus
The ViewSonic X10-4KE Image Setting Menus
❮
❯
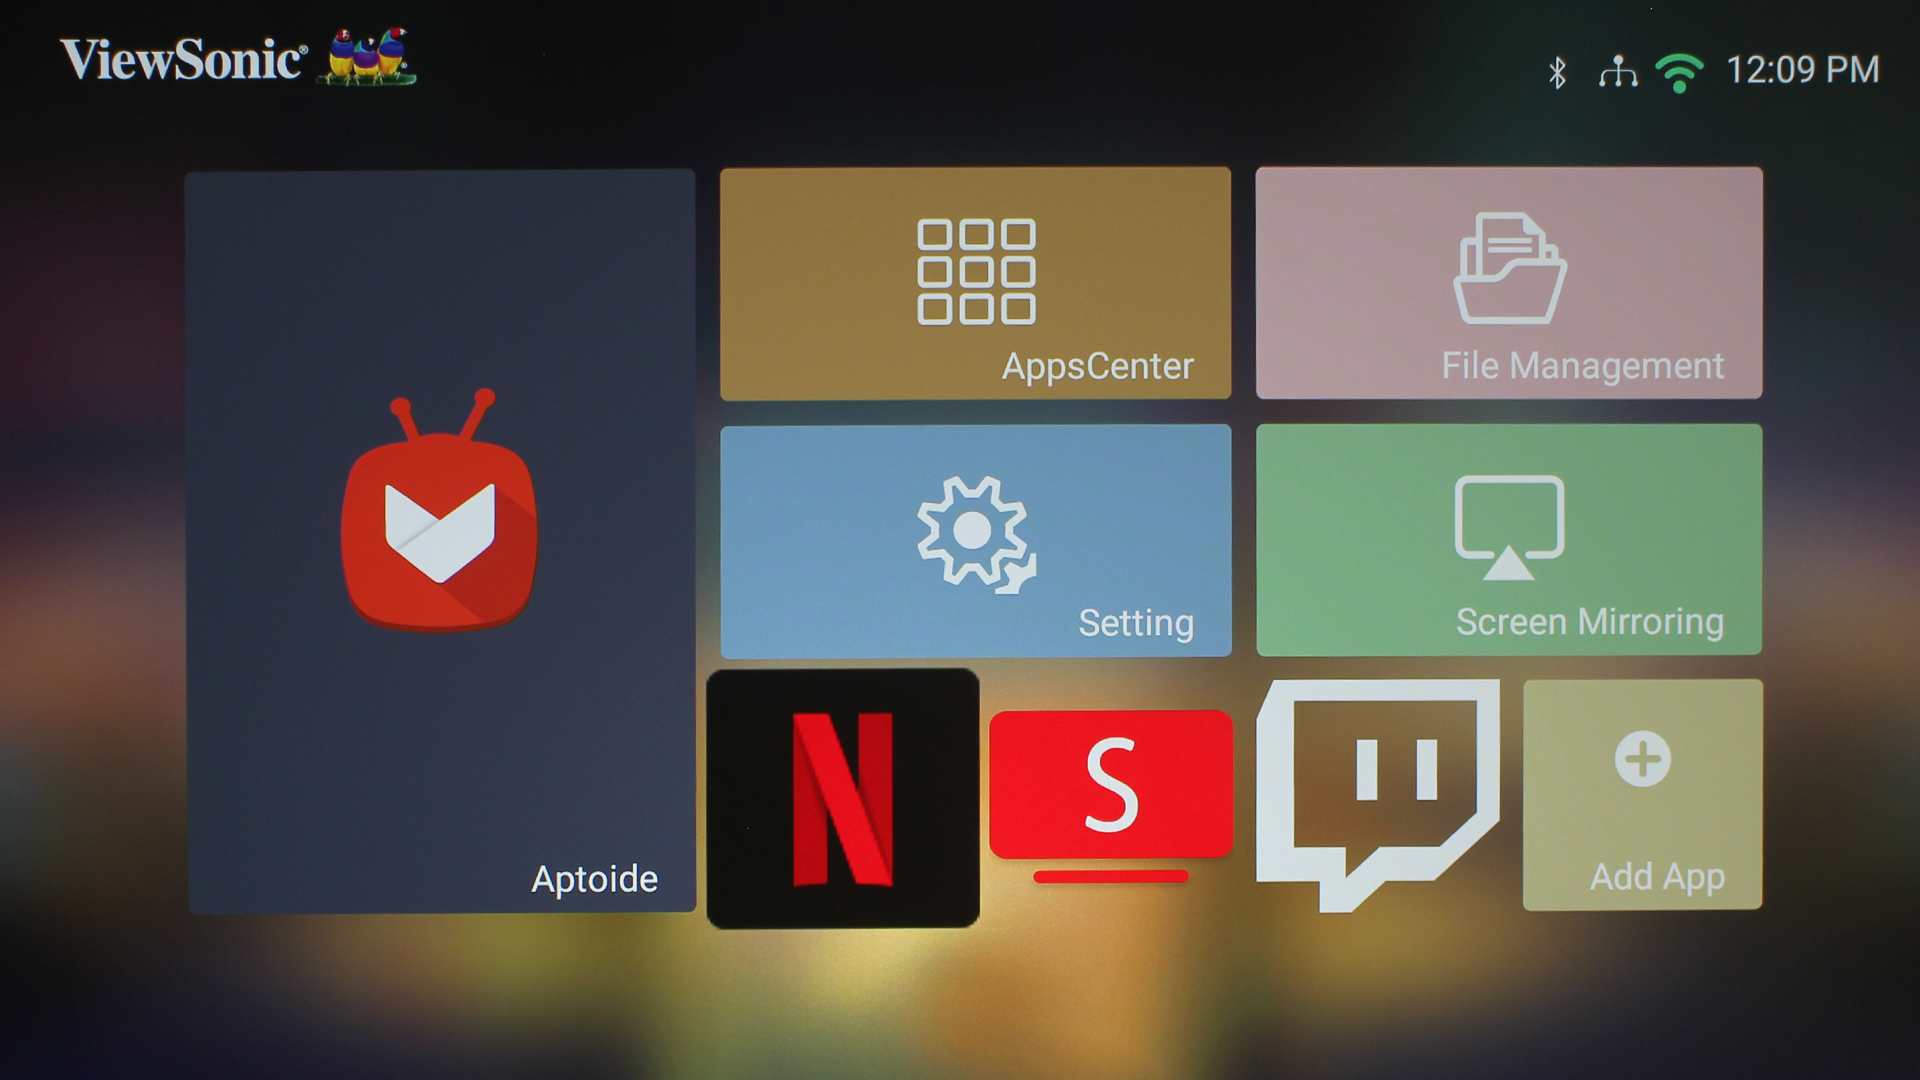
The ViewSonic X10-4KE has several sets of menus. There’s the Home Menu that appears when you first power on the projector. It is quite visual, and makes things super easy to navigate. There is a long rectangular button you can select that will bring you to the Aptoid TV store. To its right, there are four rectangular buttons.
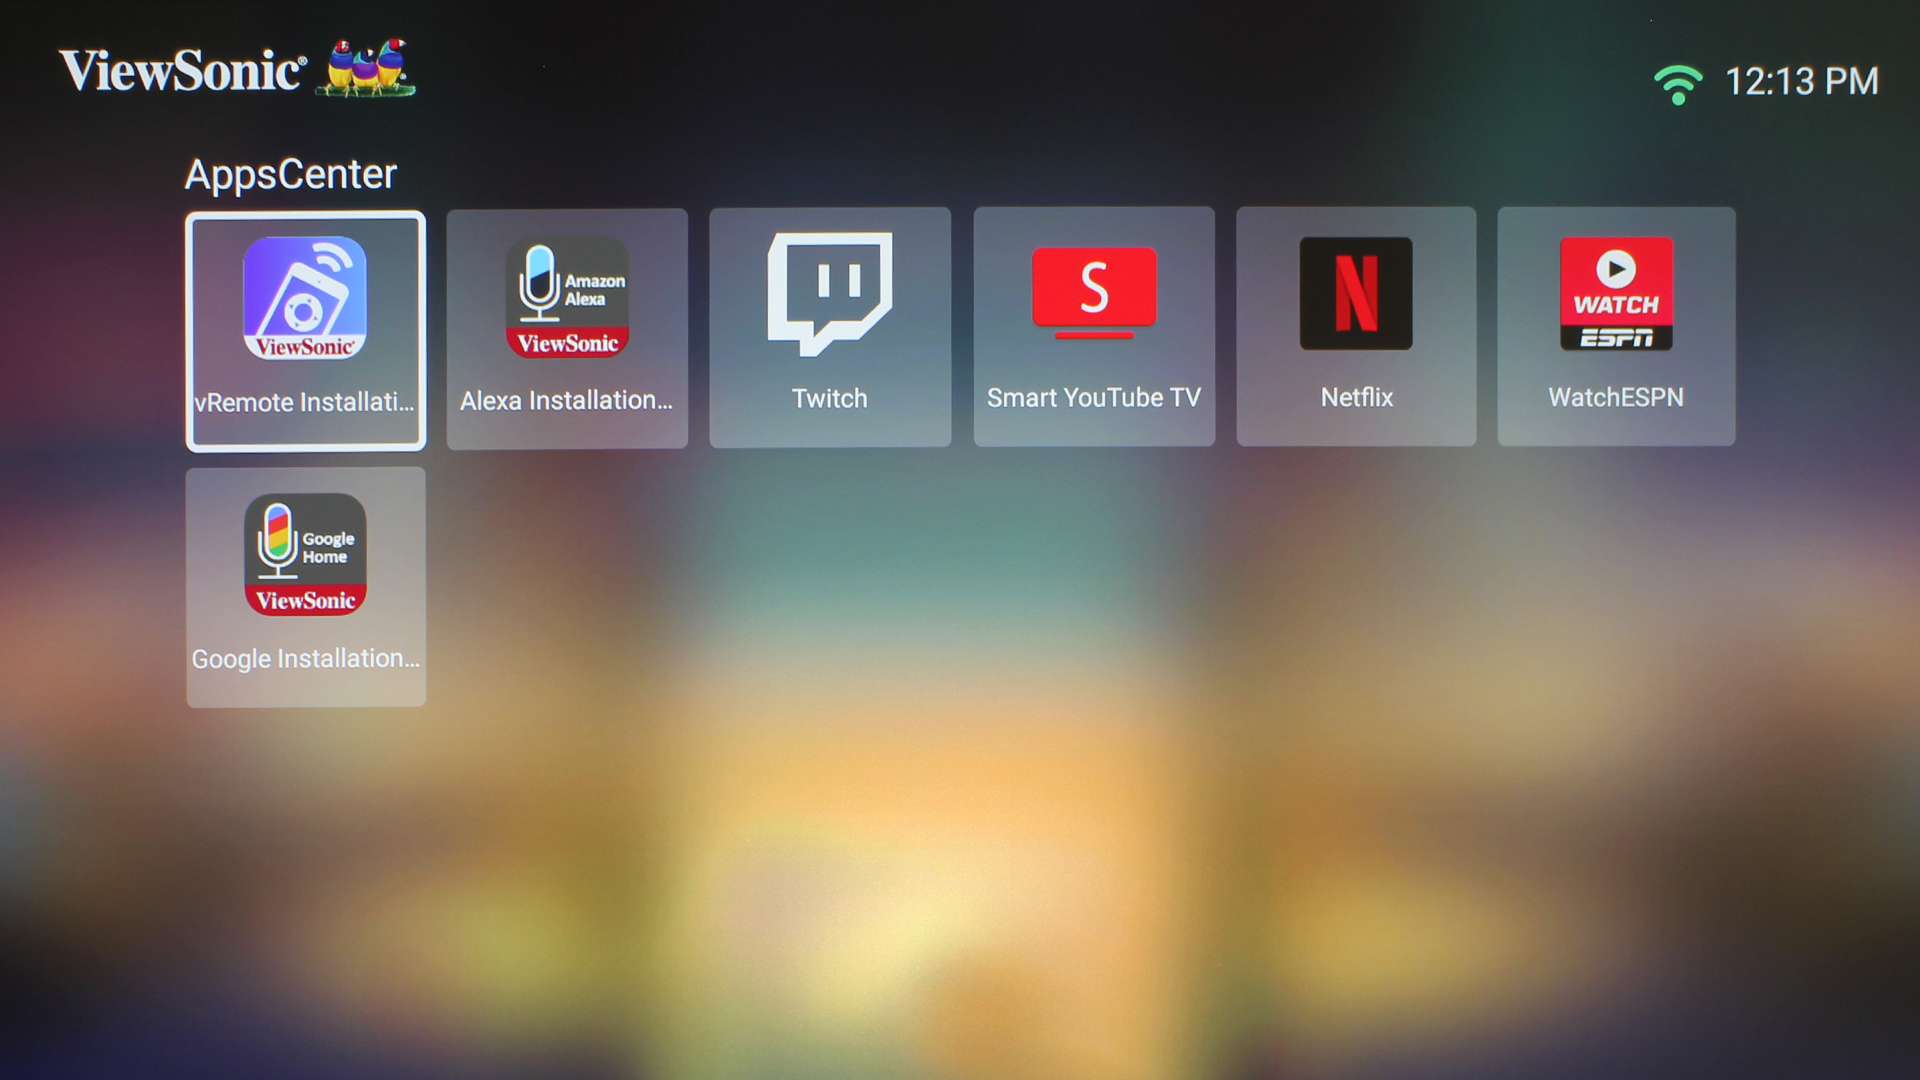
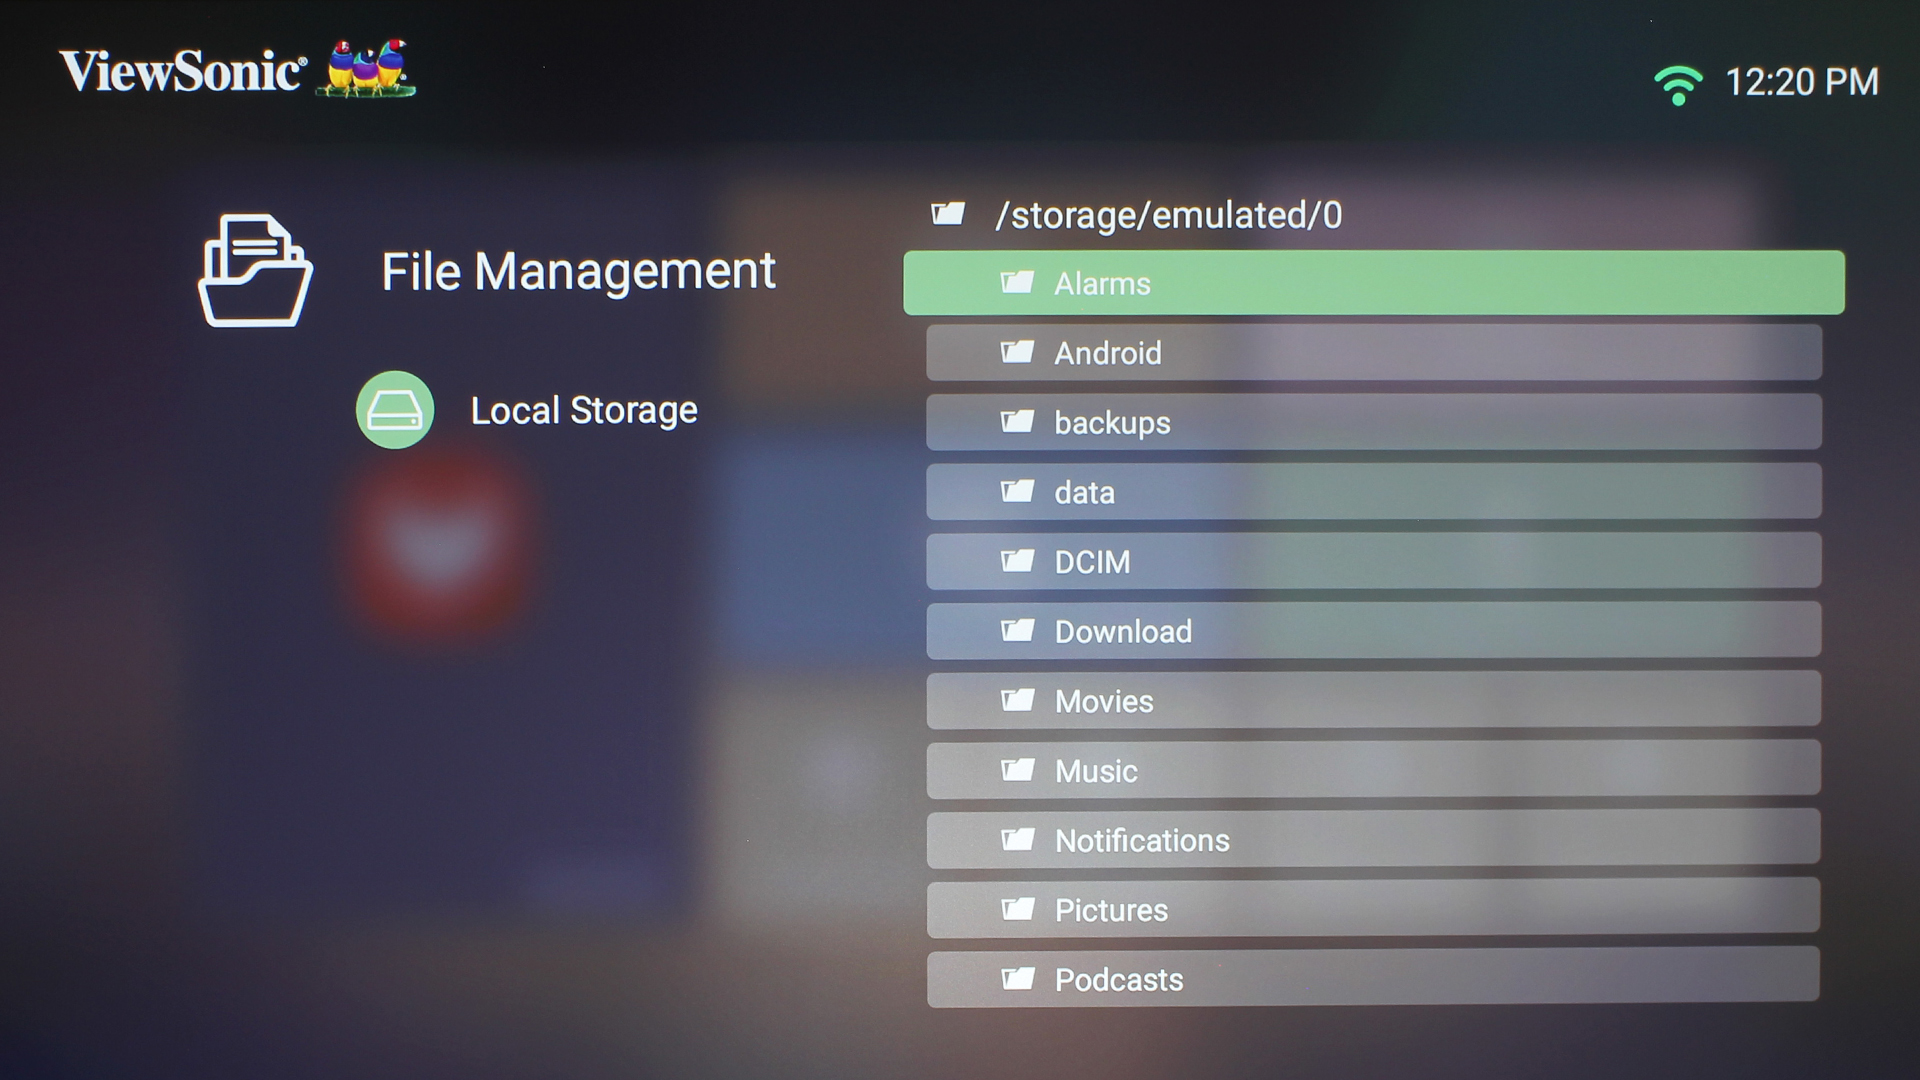
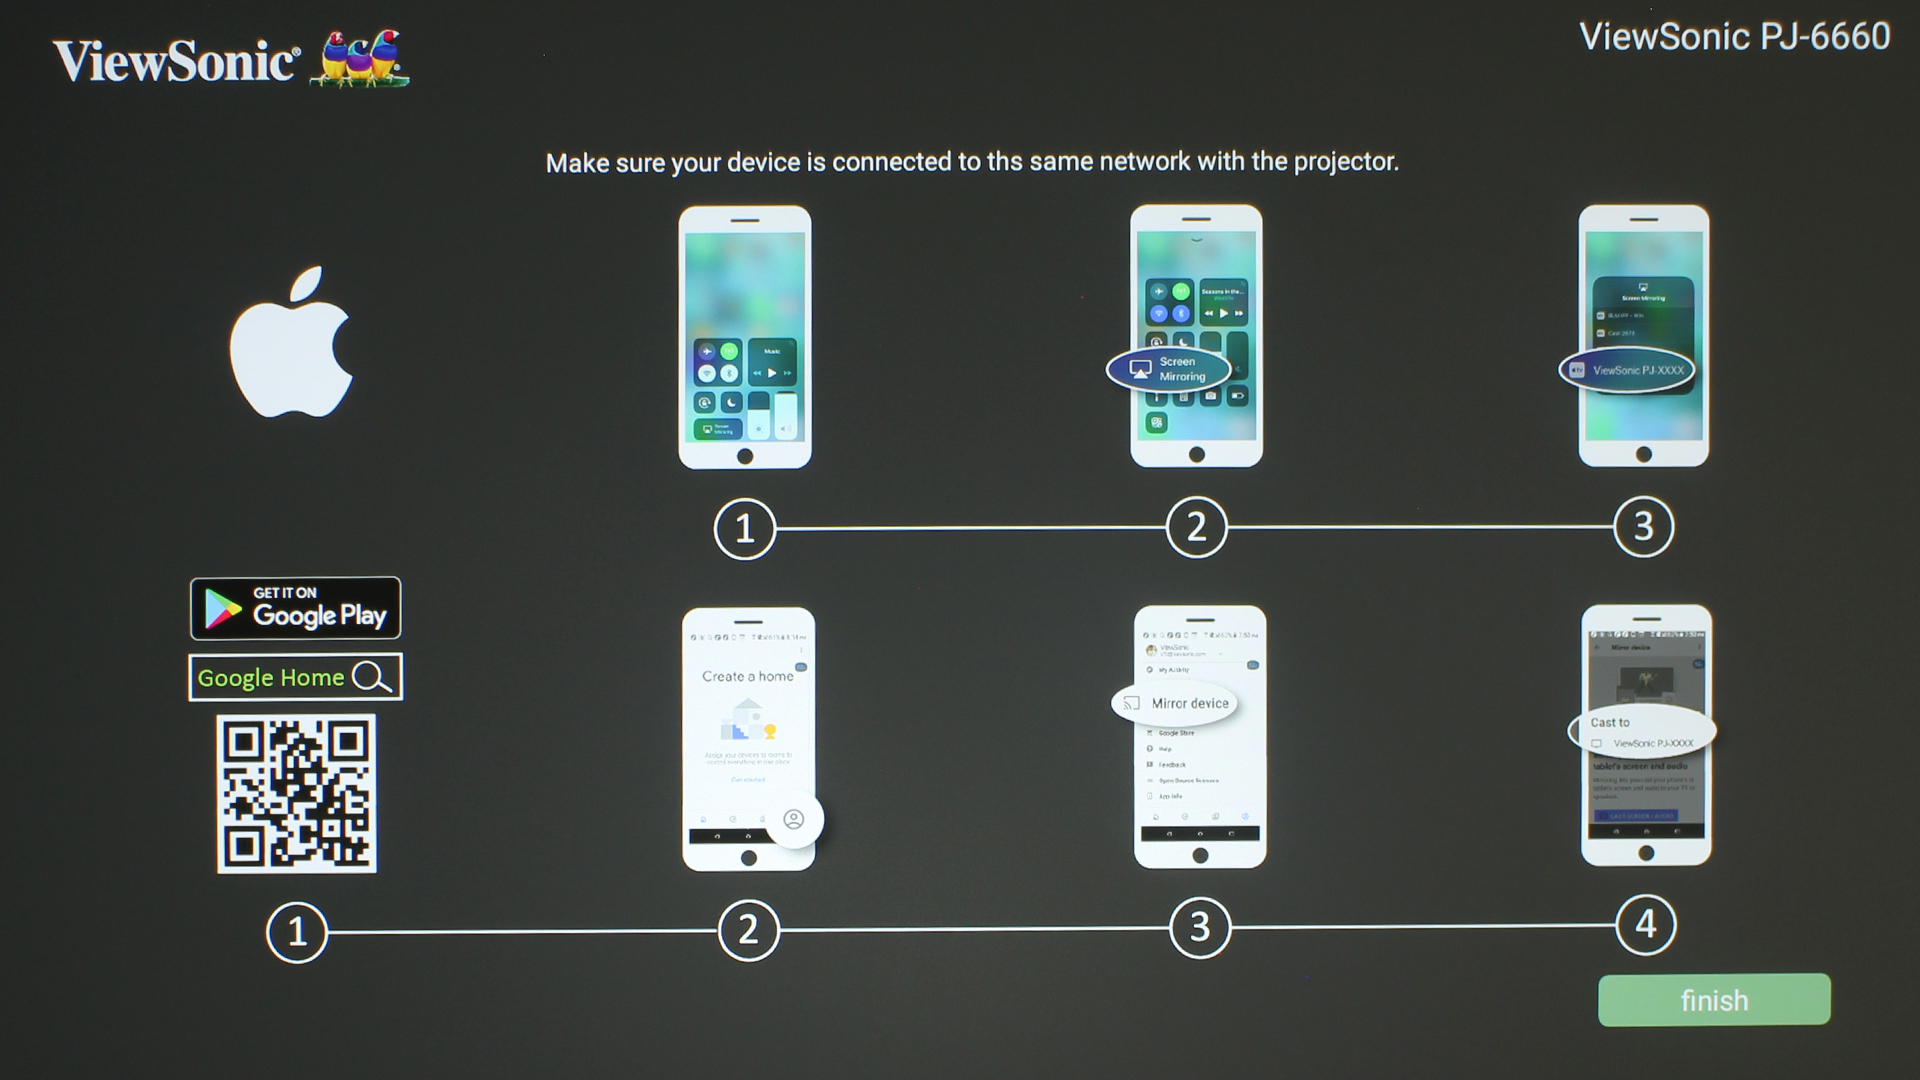
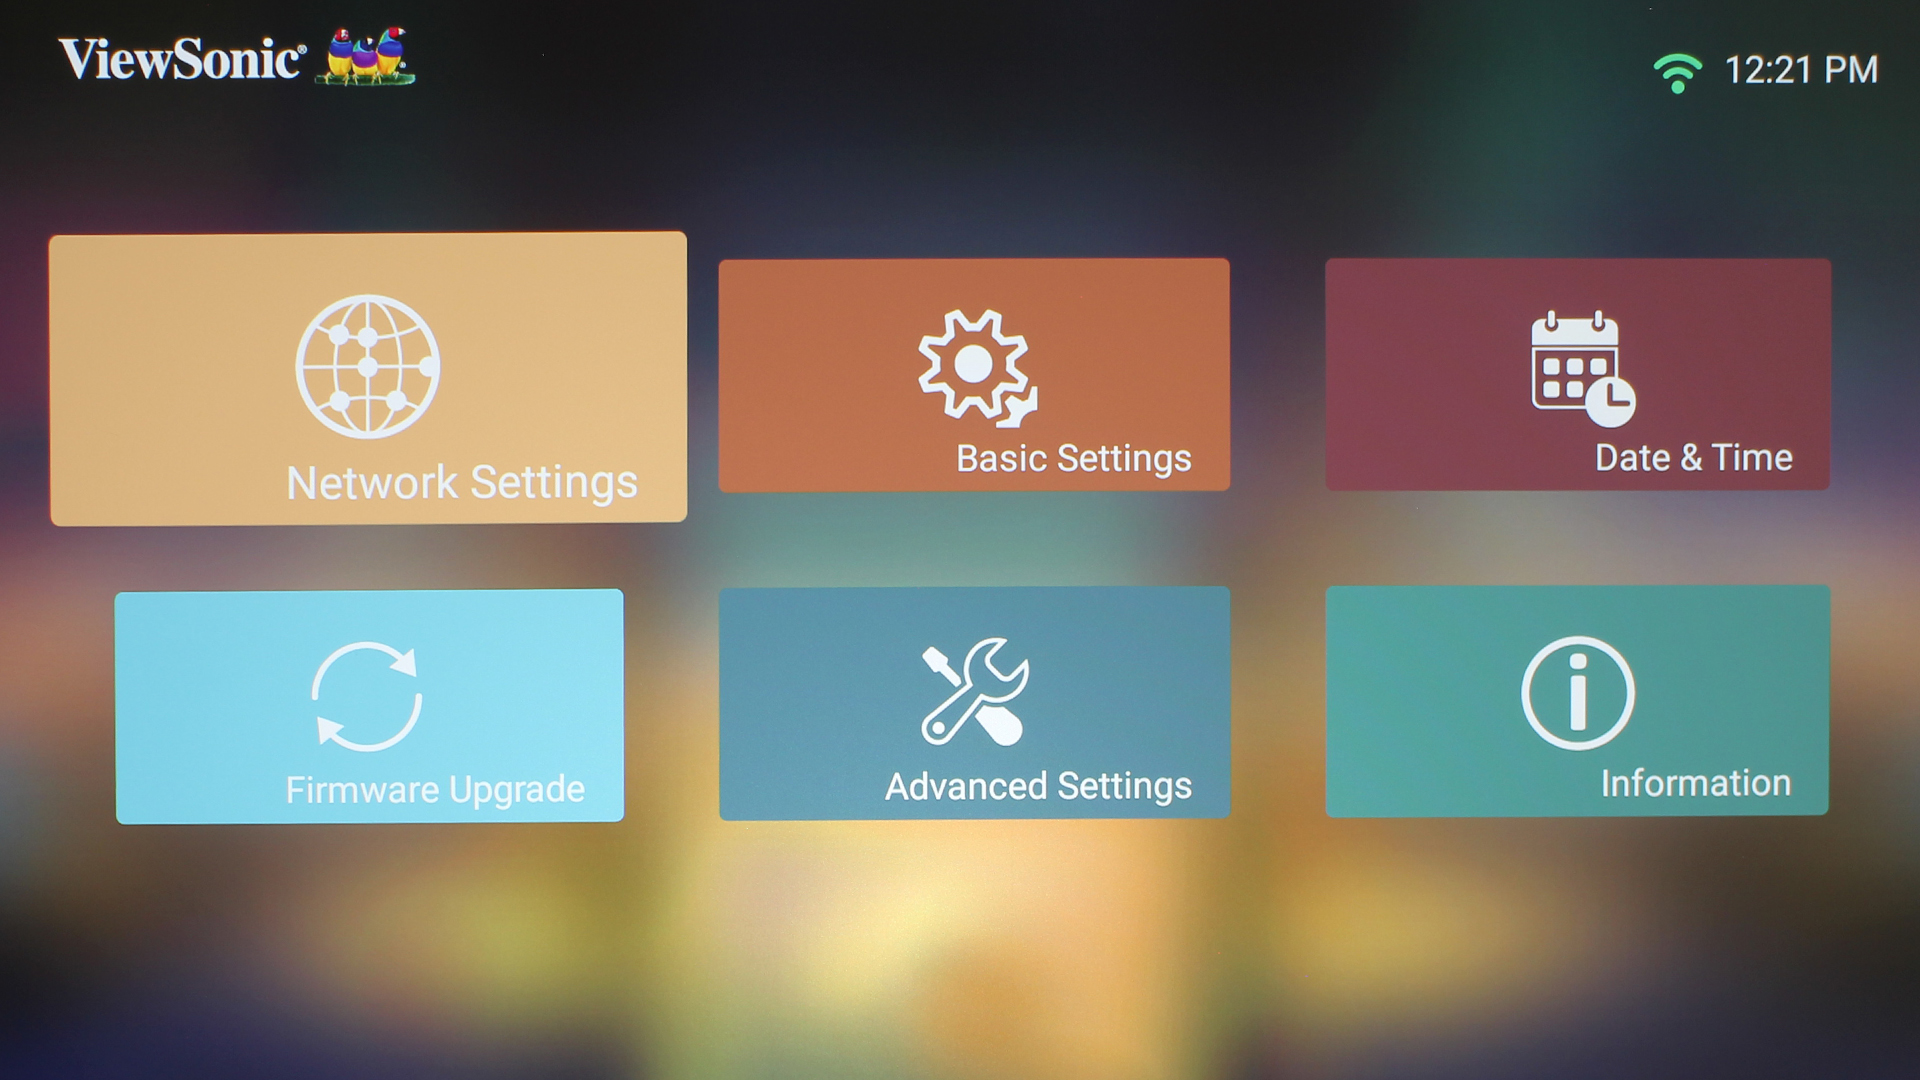
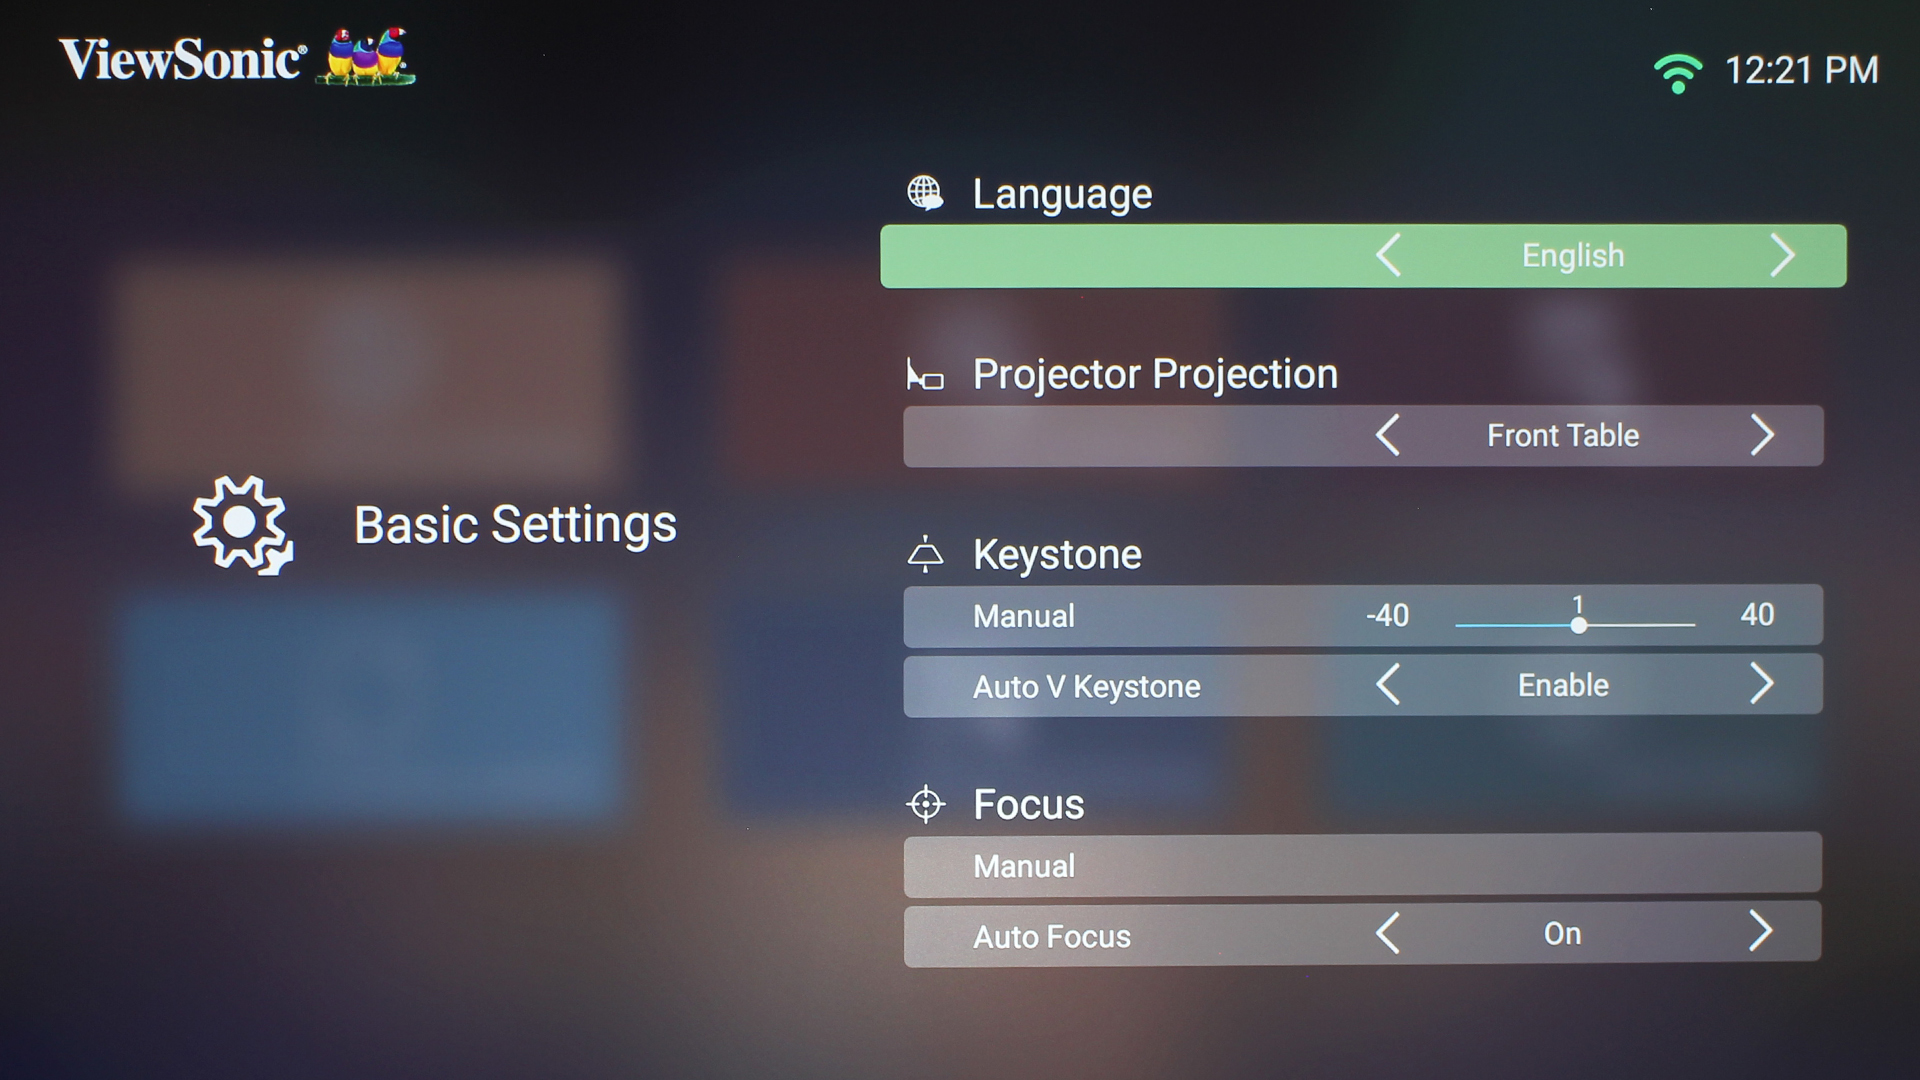
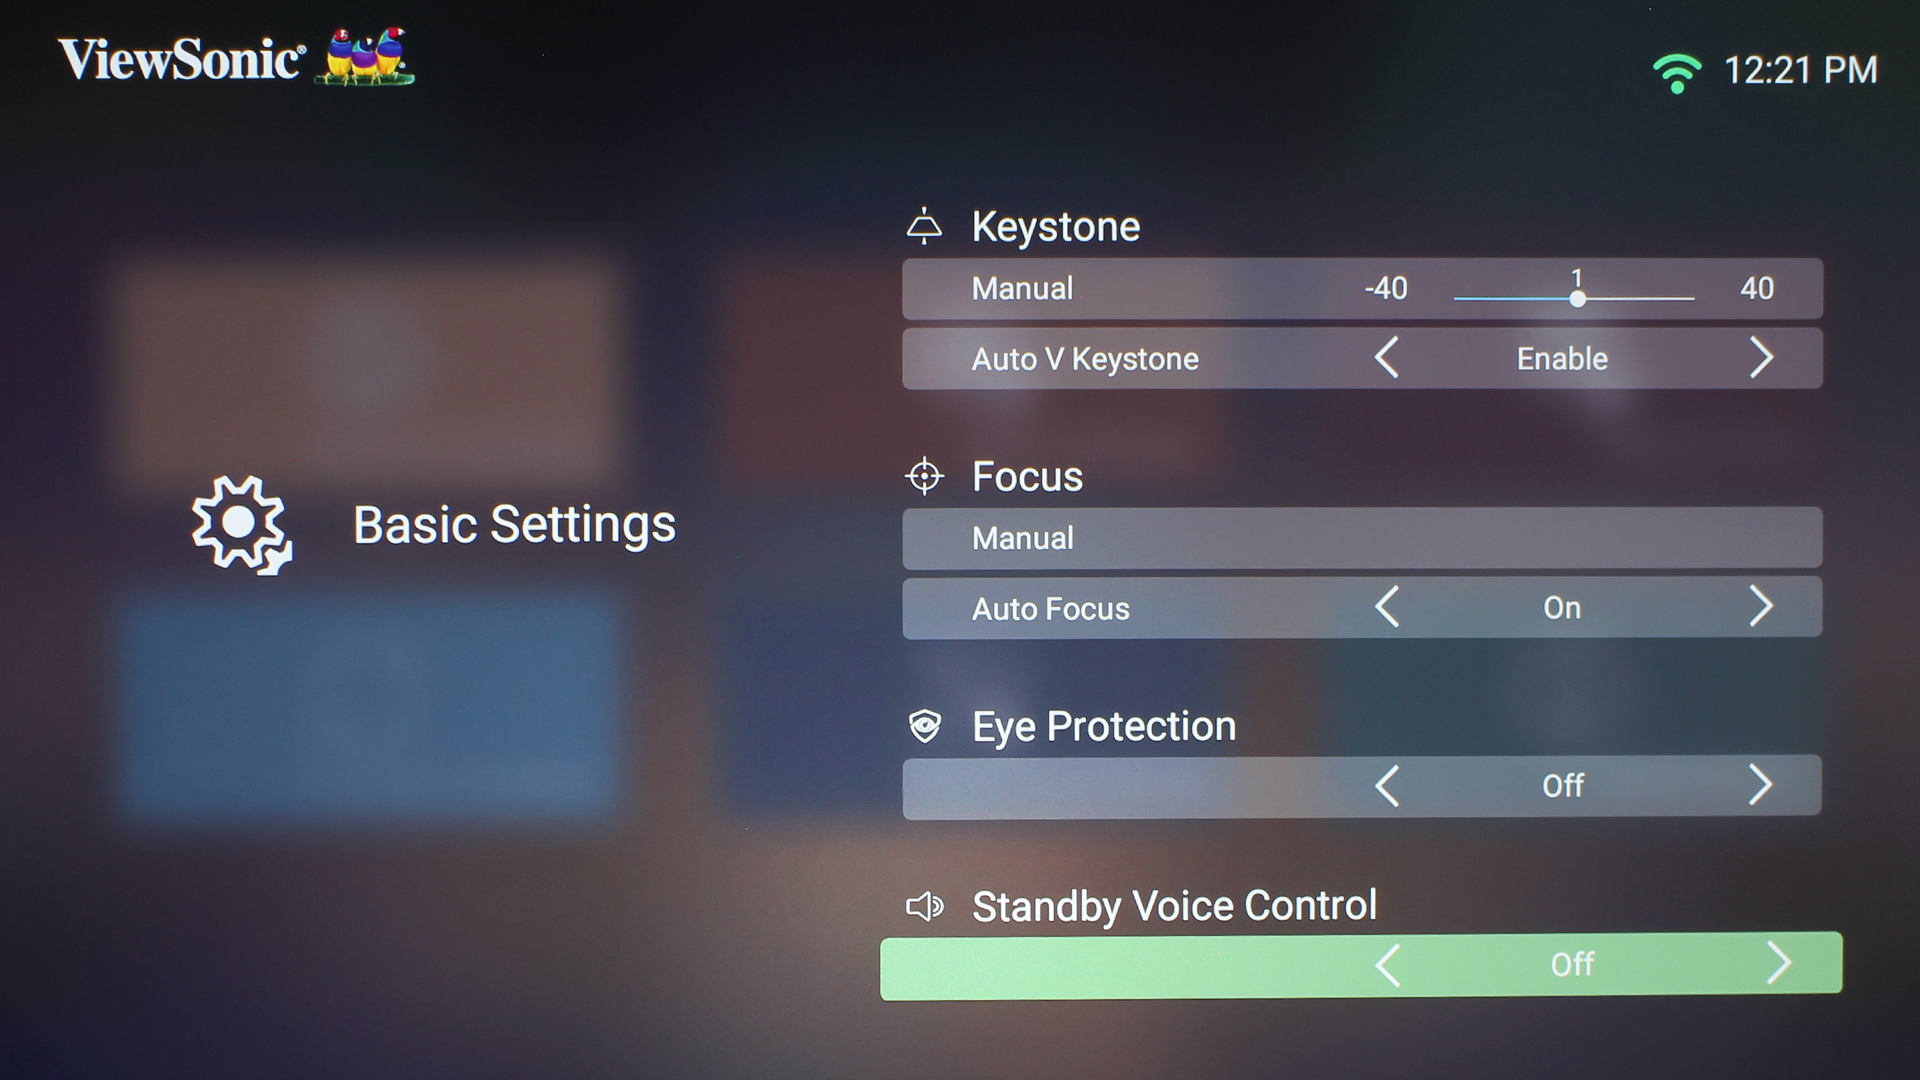
The first, in the top left corner of this configuration, is for the Apps Center, which is home to all of your downloaded apps. To its right is a button for File Management, which is for managing your files via the onboard media player. Below the Apps Center button is a Setting button, which pulls up the Basic Settings Menu, followed by a button for Screen Mirroring.
Below all of that are four square slots for assigning your most used apps to. I assigned Netflix and YouTube to these slots, though I am confident I would never use the Netflix app on this projector. That 480p nonsense just doesn’t cut it for me, when I can just plug in my 4K Sony smart player as a source and stream 4K UHD.
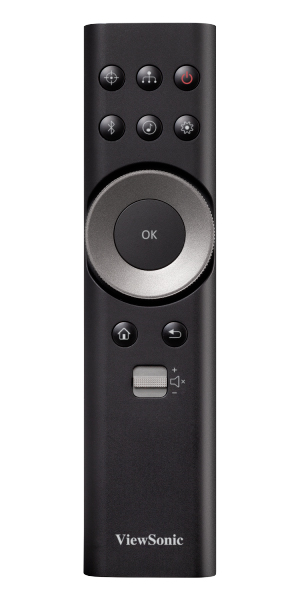
When in this Menu System, you can simply press the Inputs button on the remote control to select an input. The available inputs pop up at the bottom of this screen. Inputs that have something plugged into them are represented by a green dot next to the name of the input, so you can easily see which ones your devices are connected to without having to check the back of the projector.
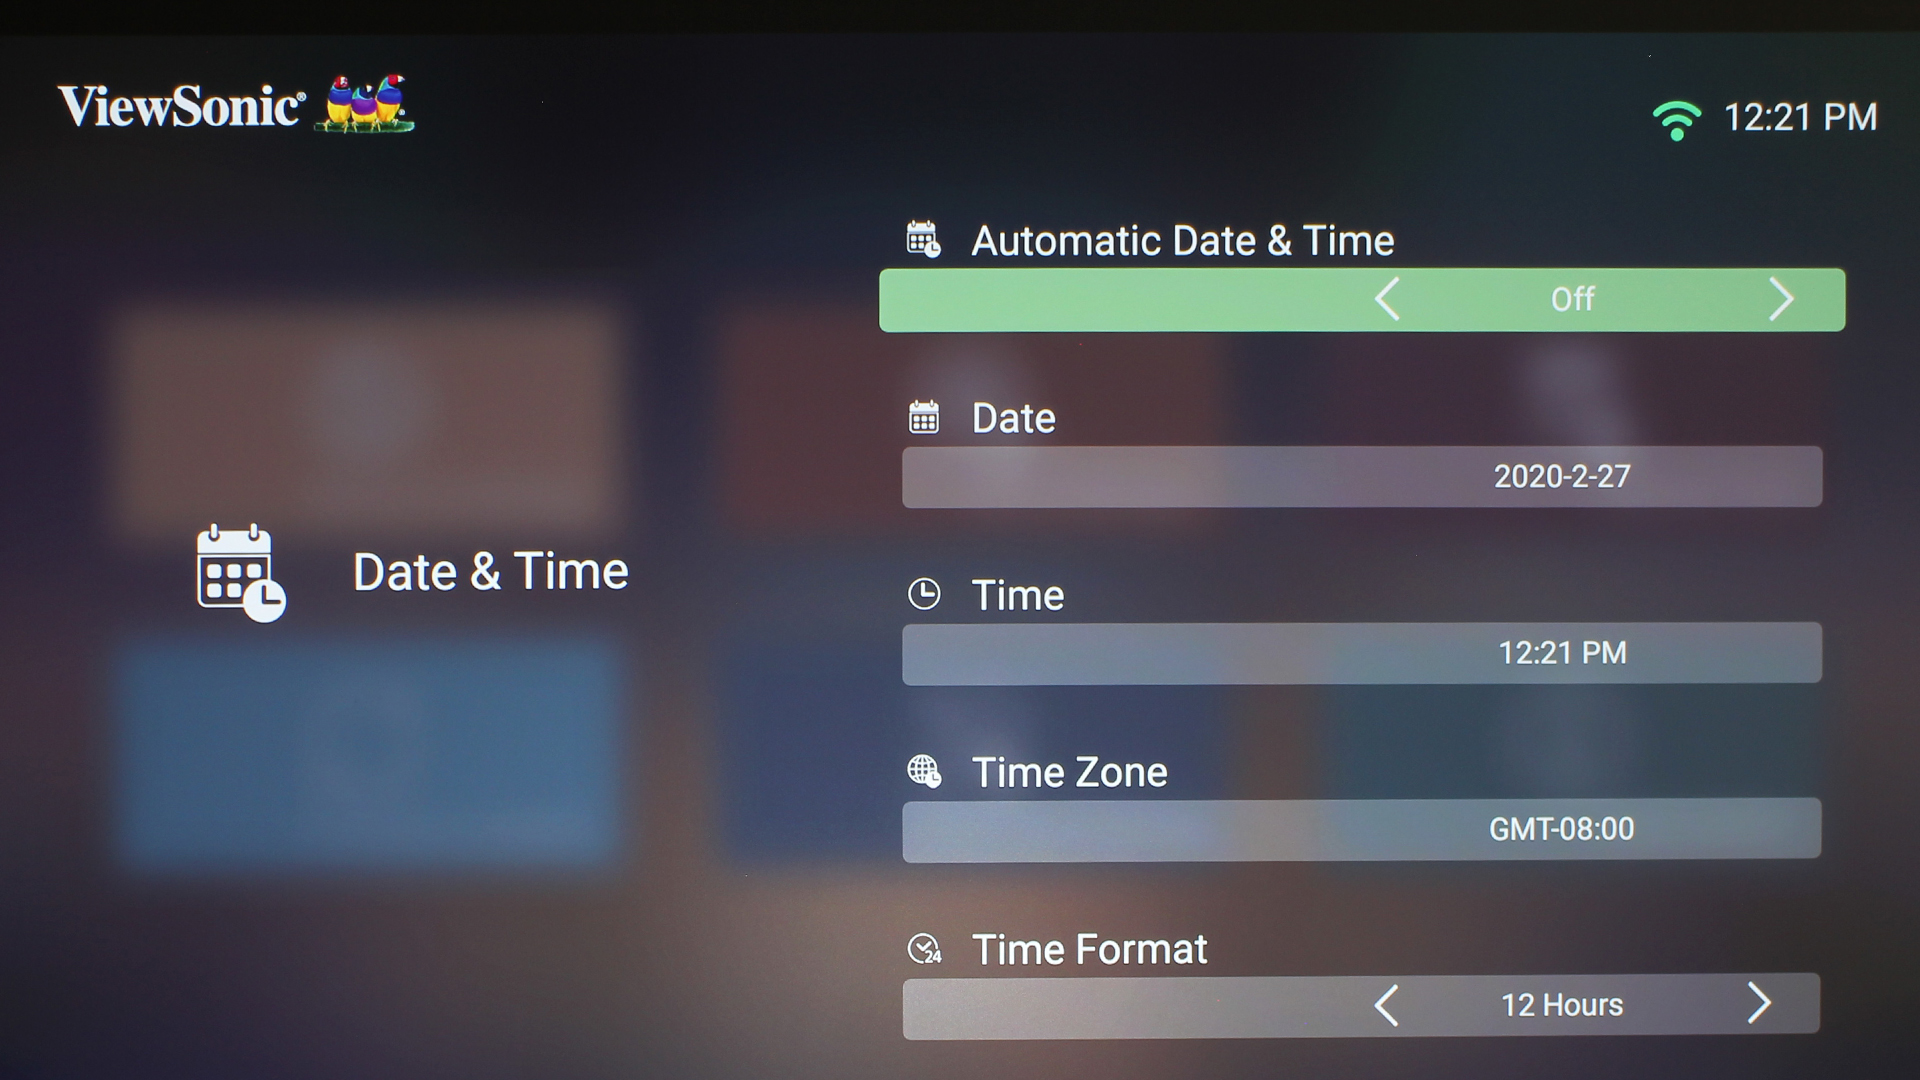
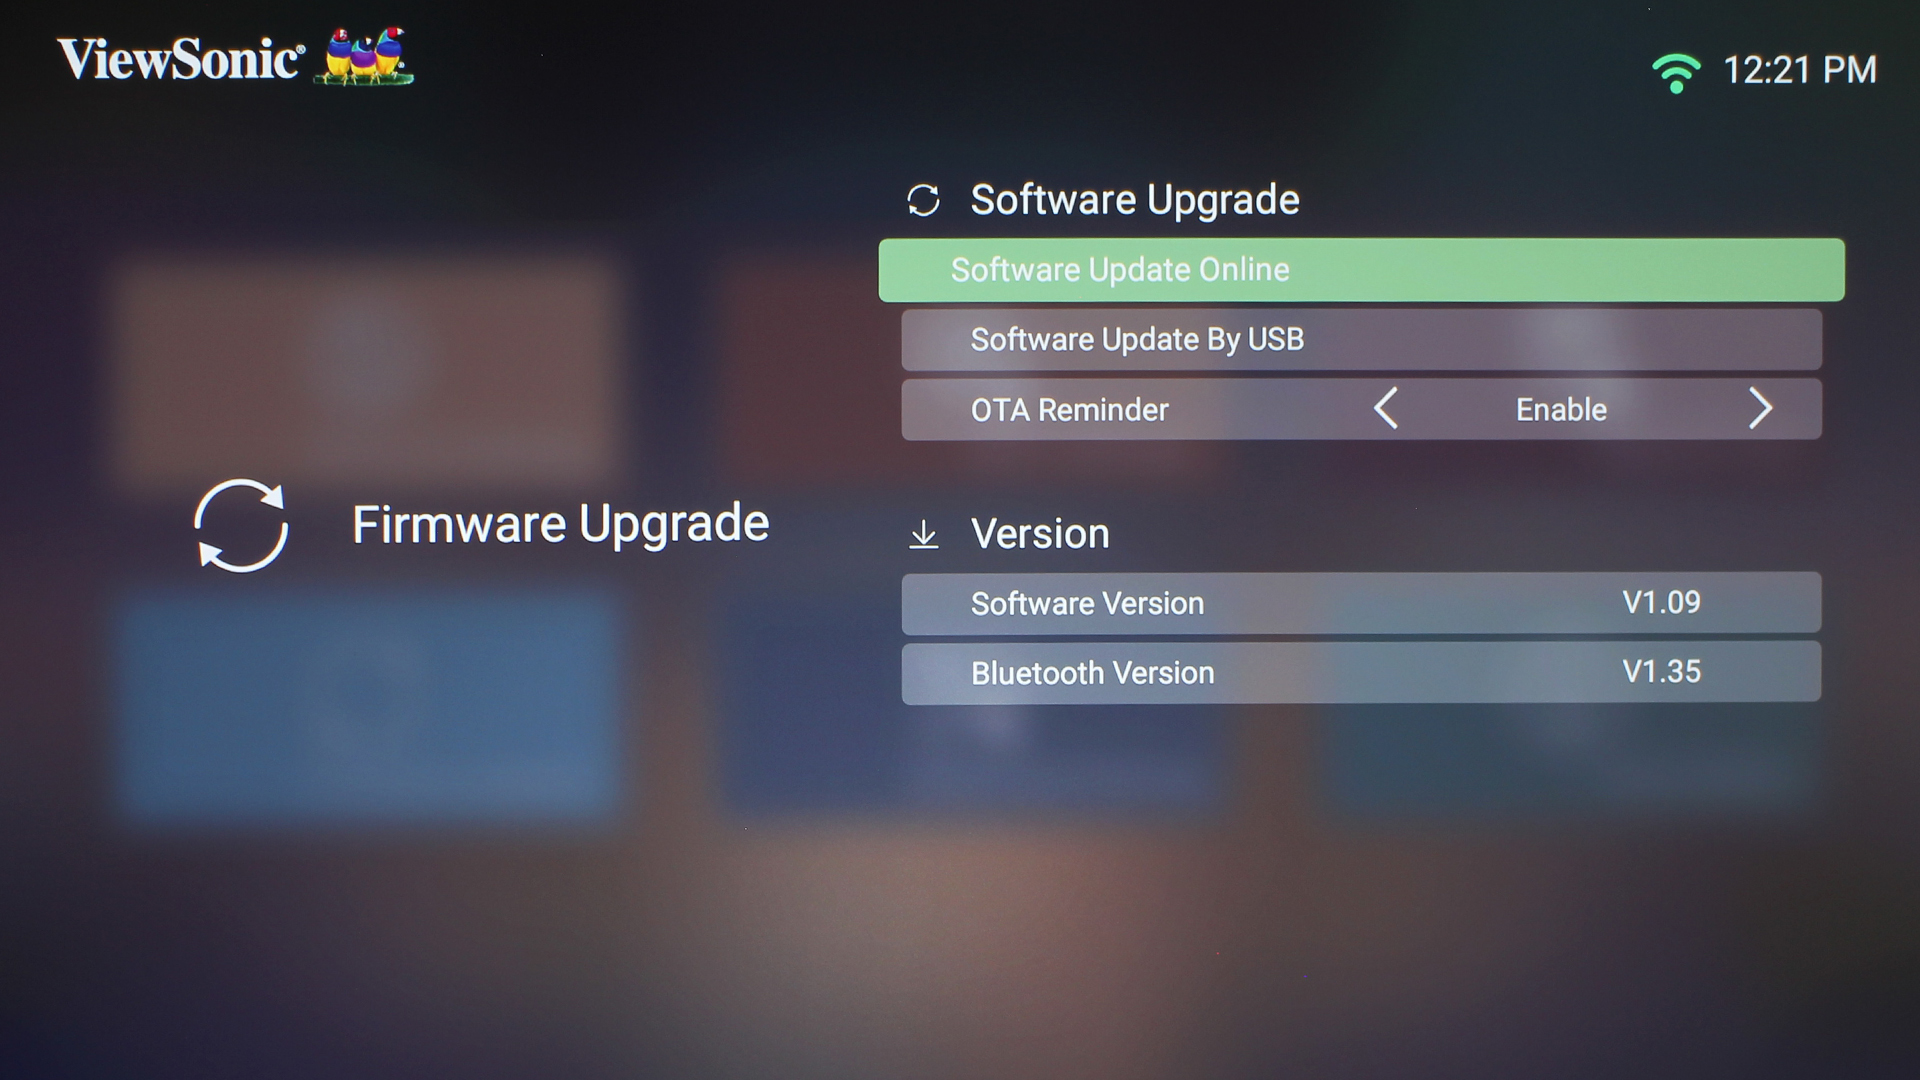
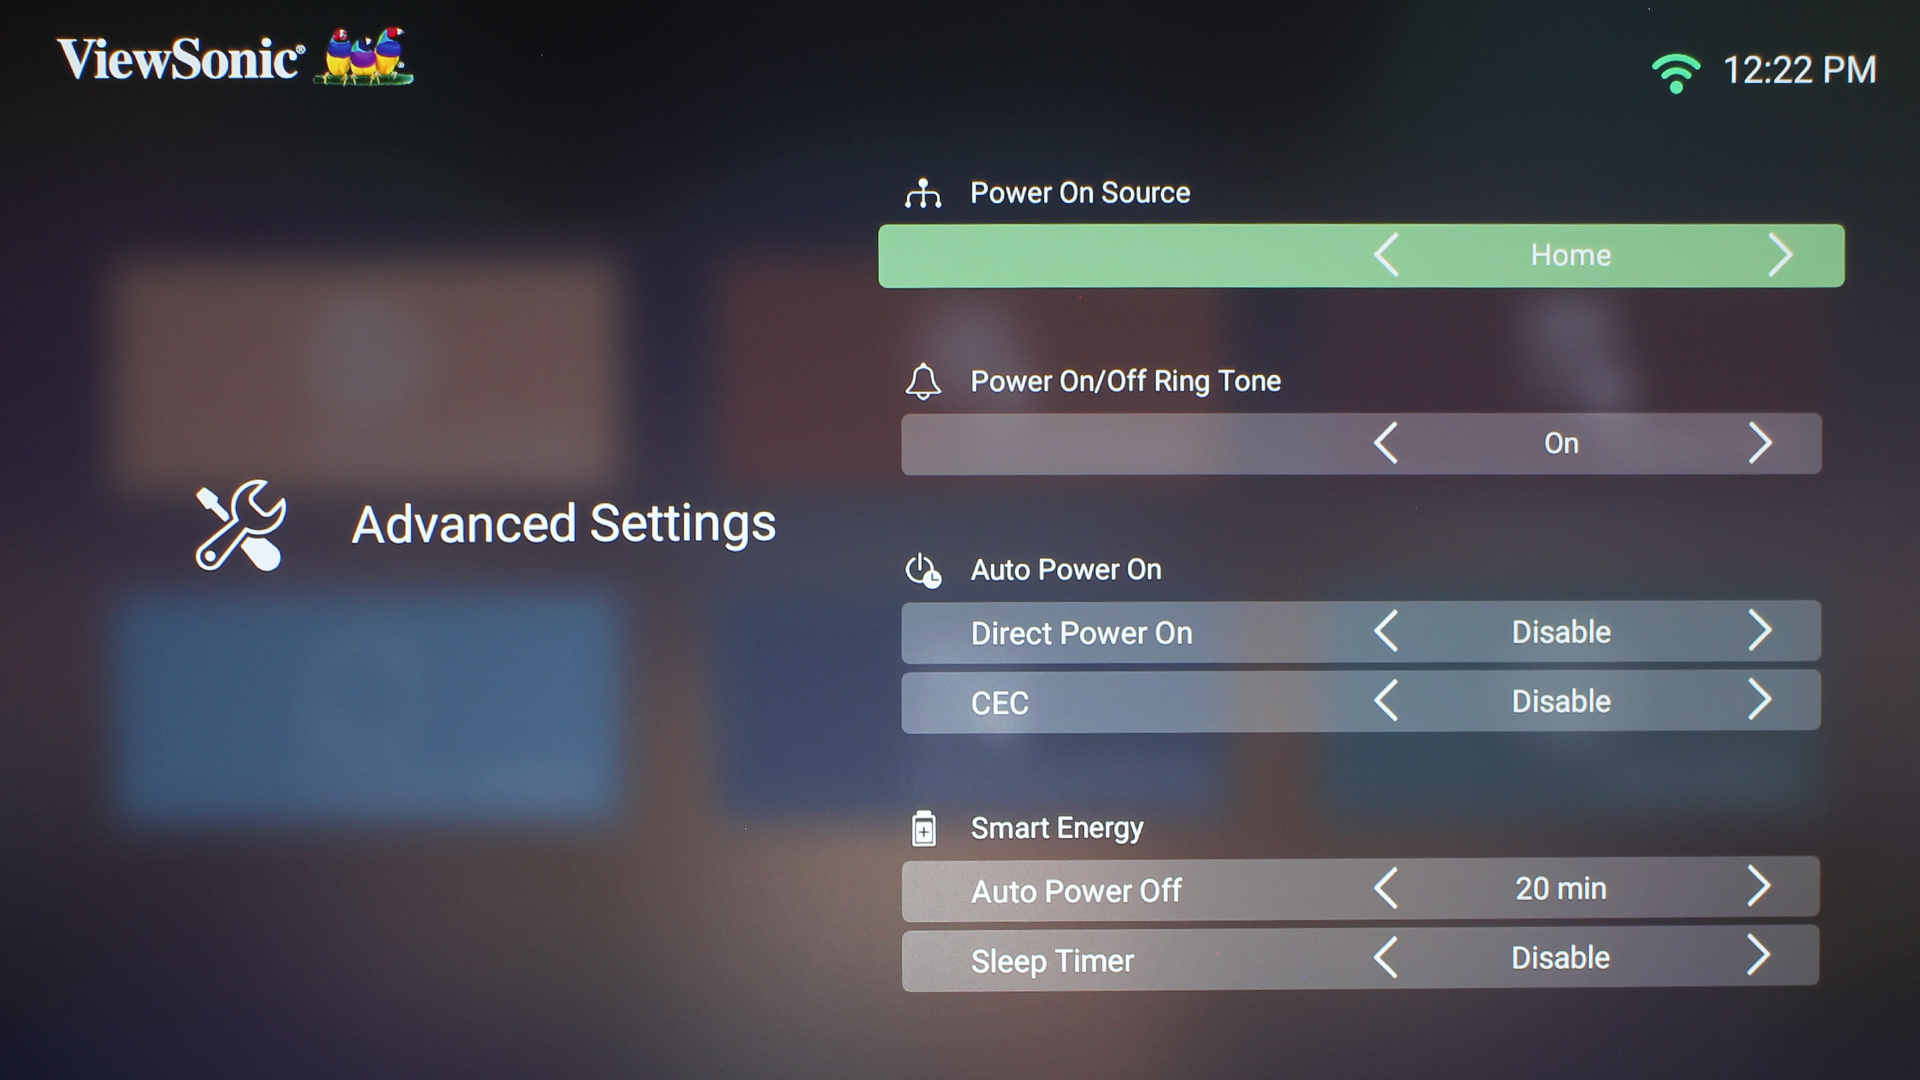
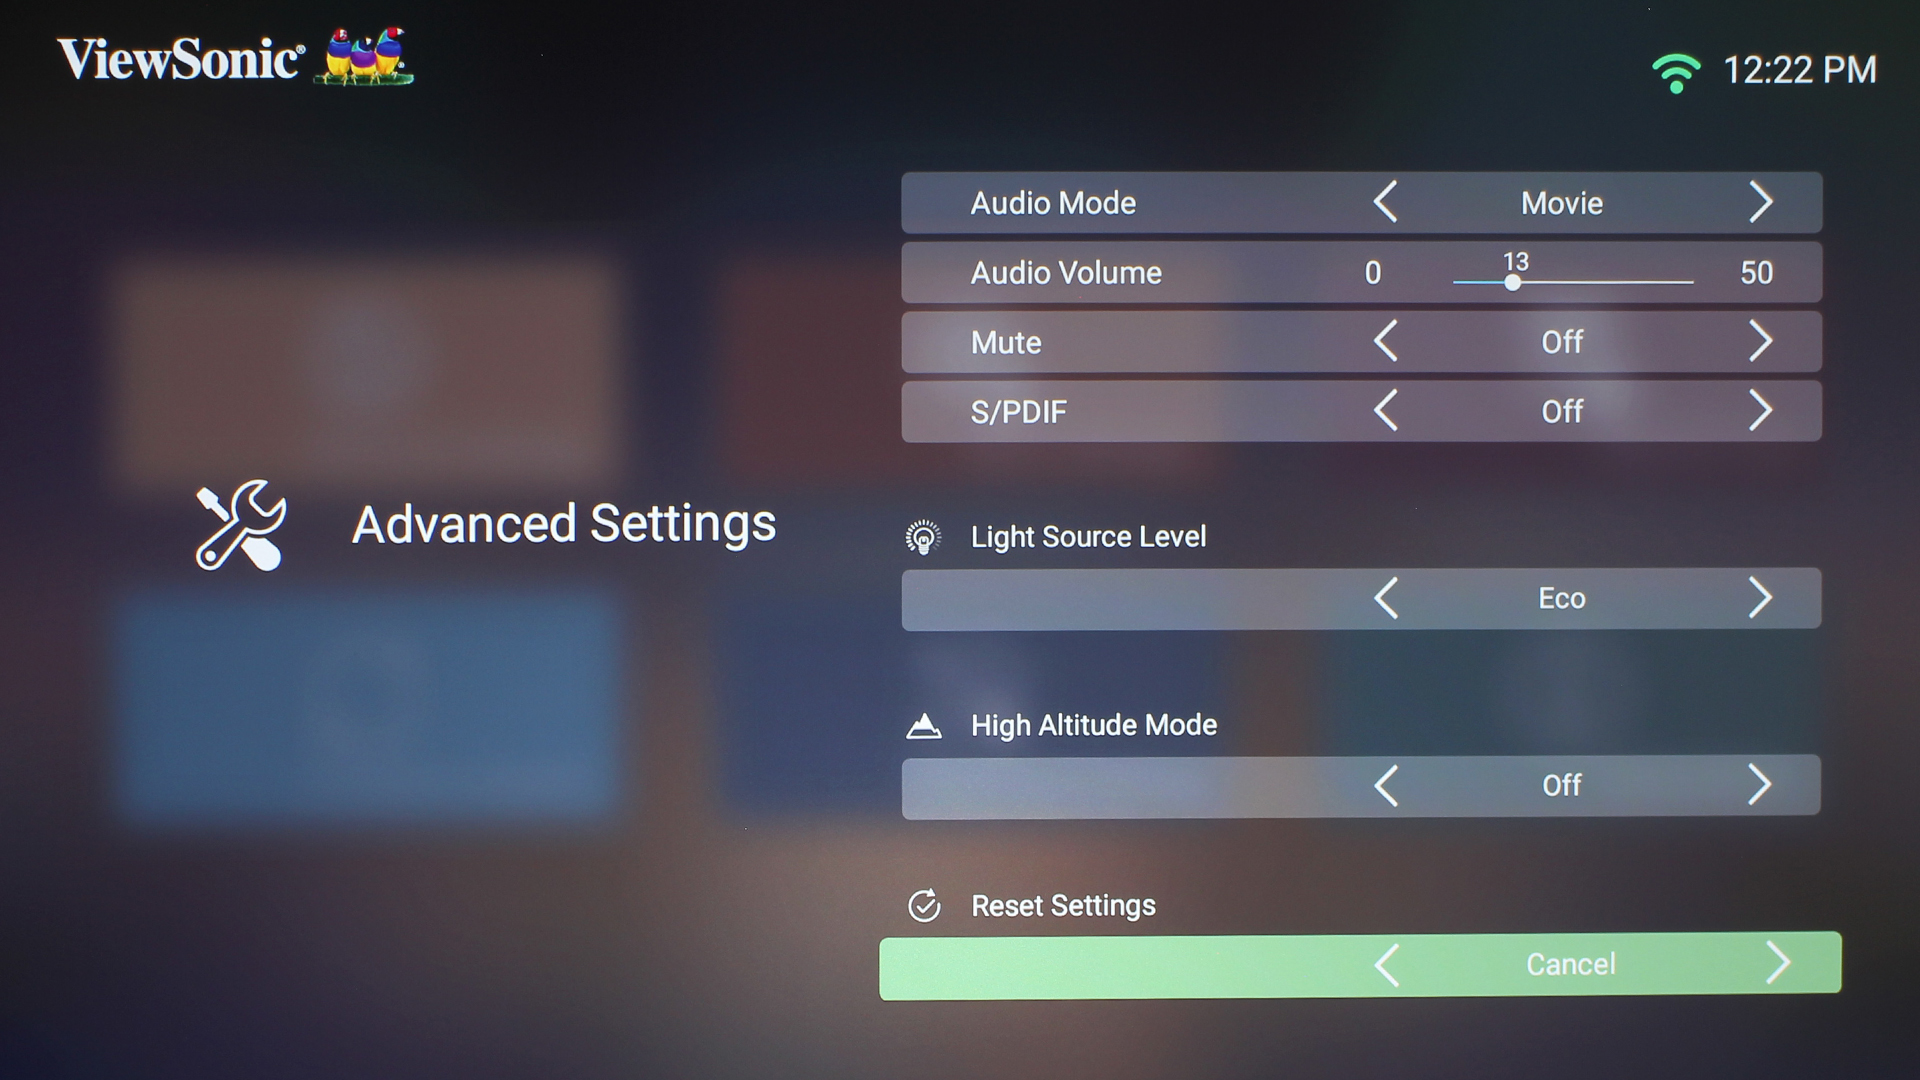
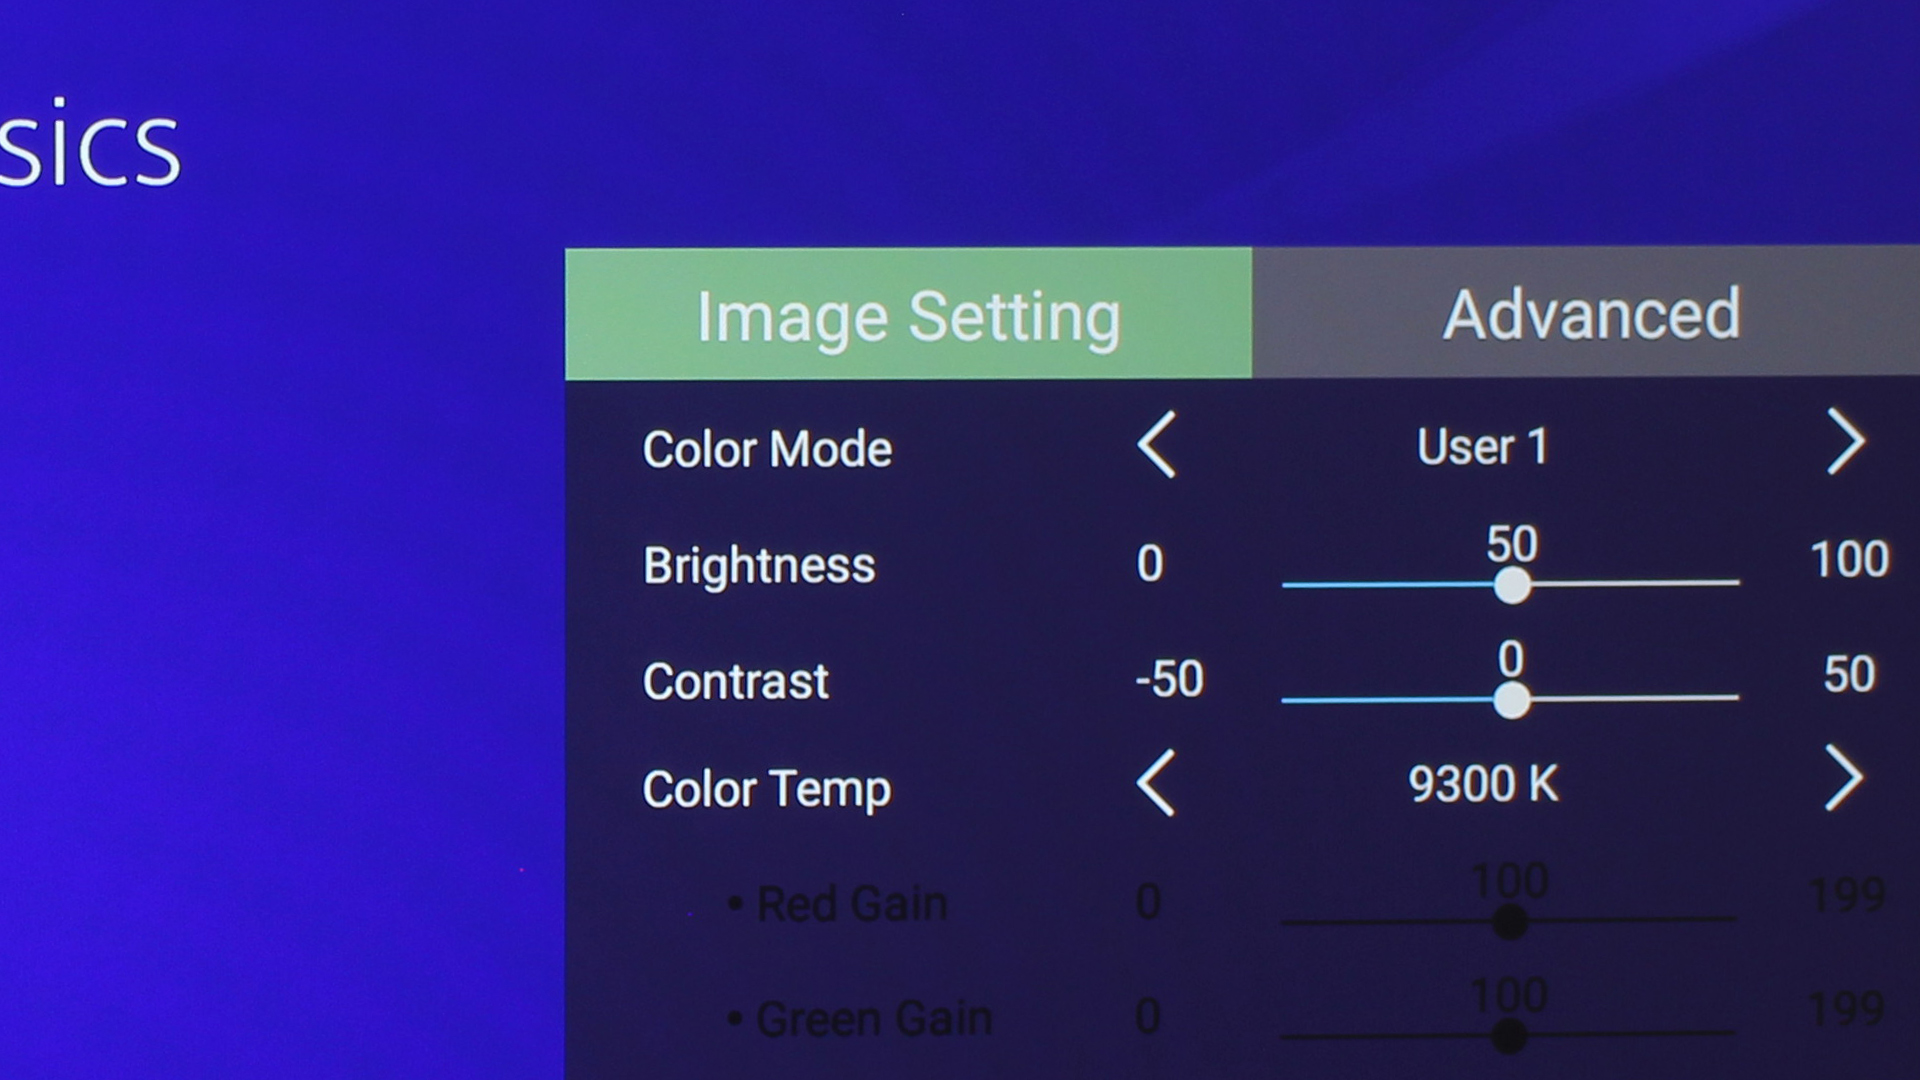
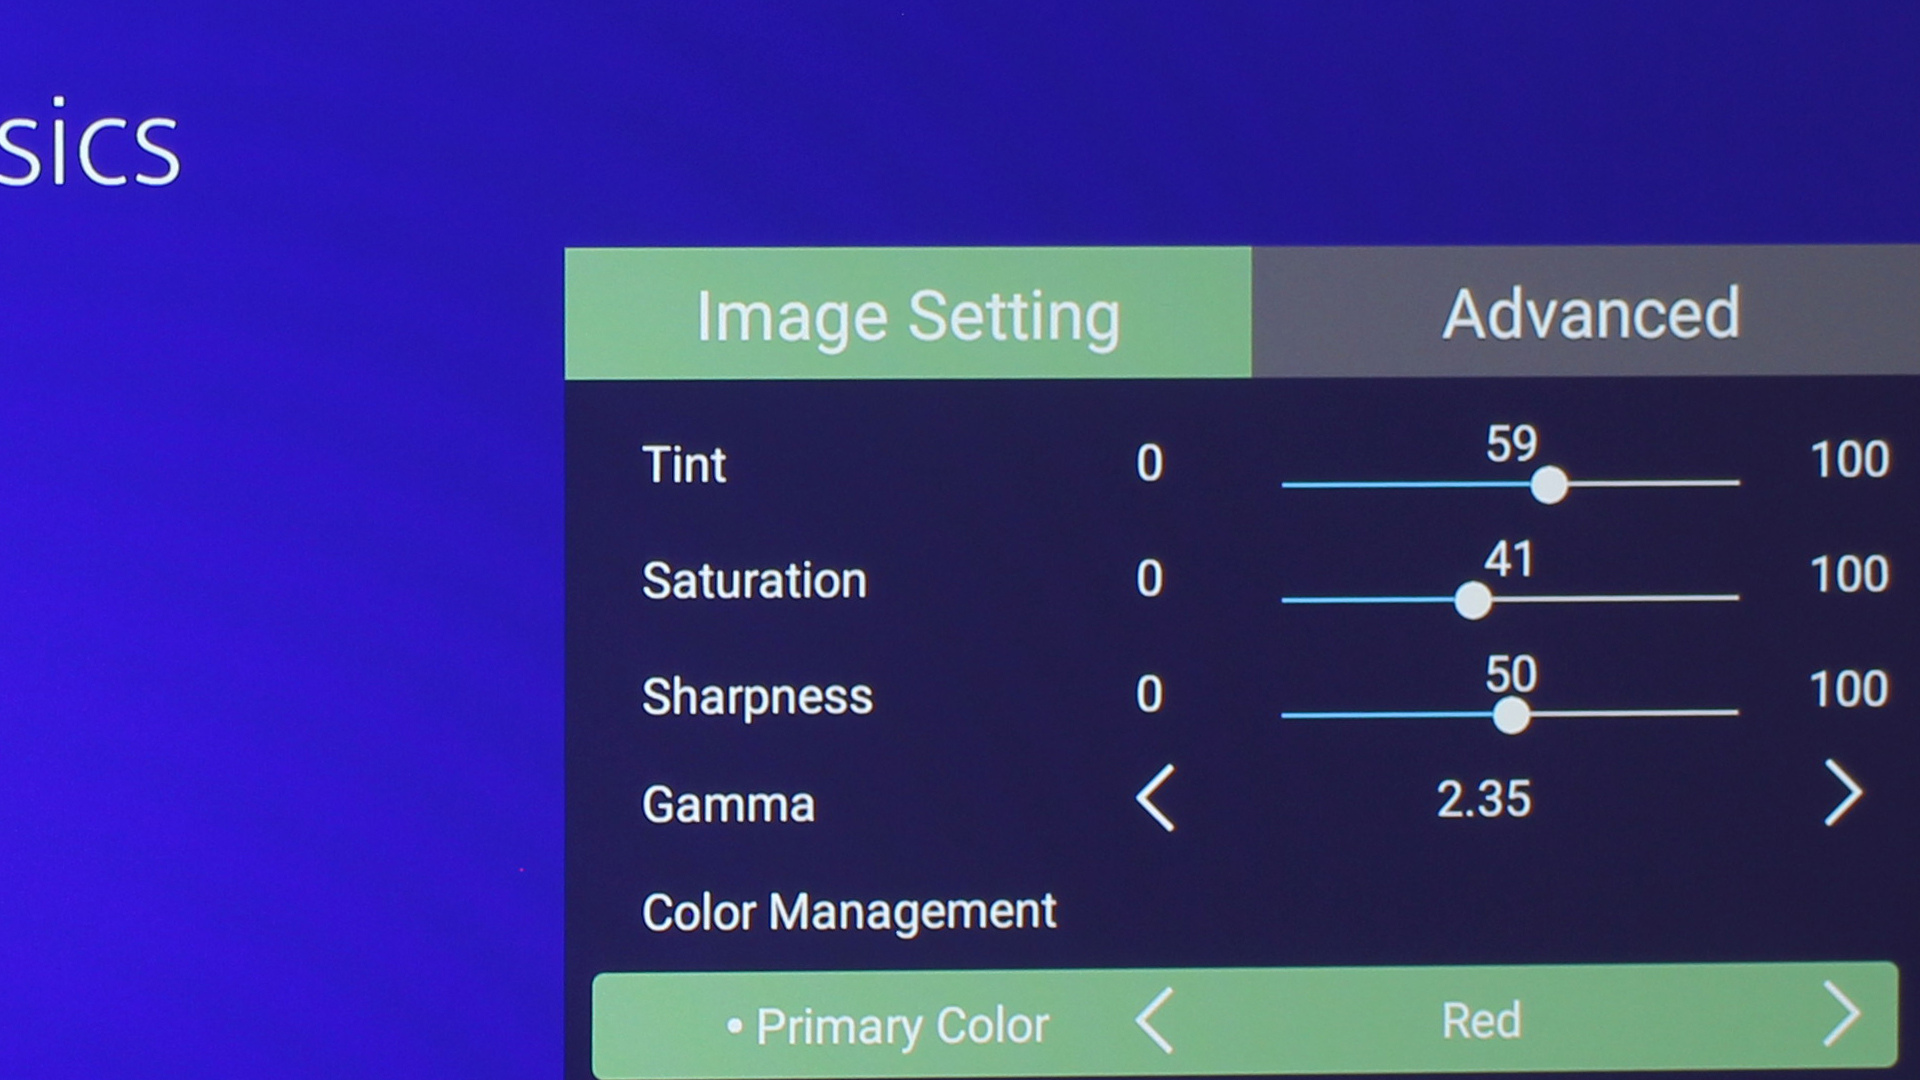
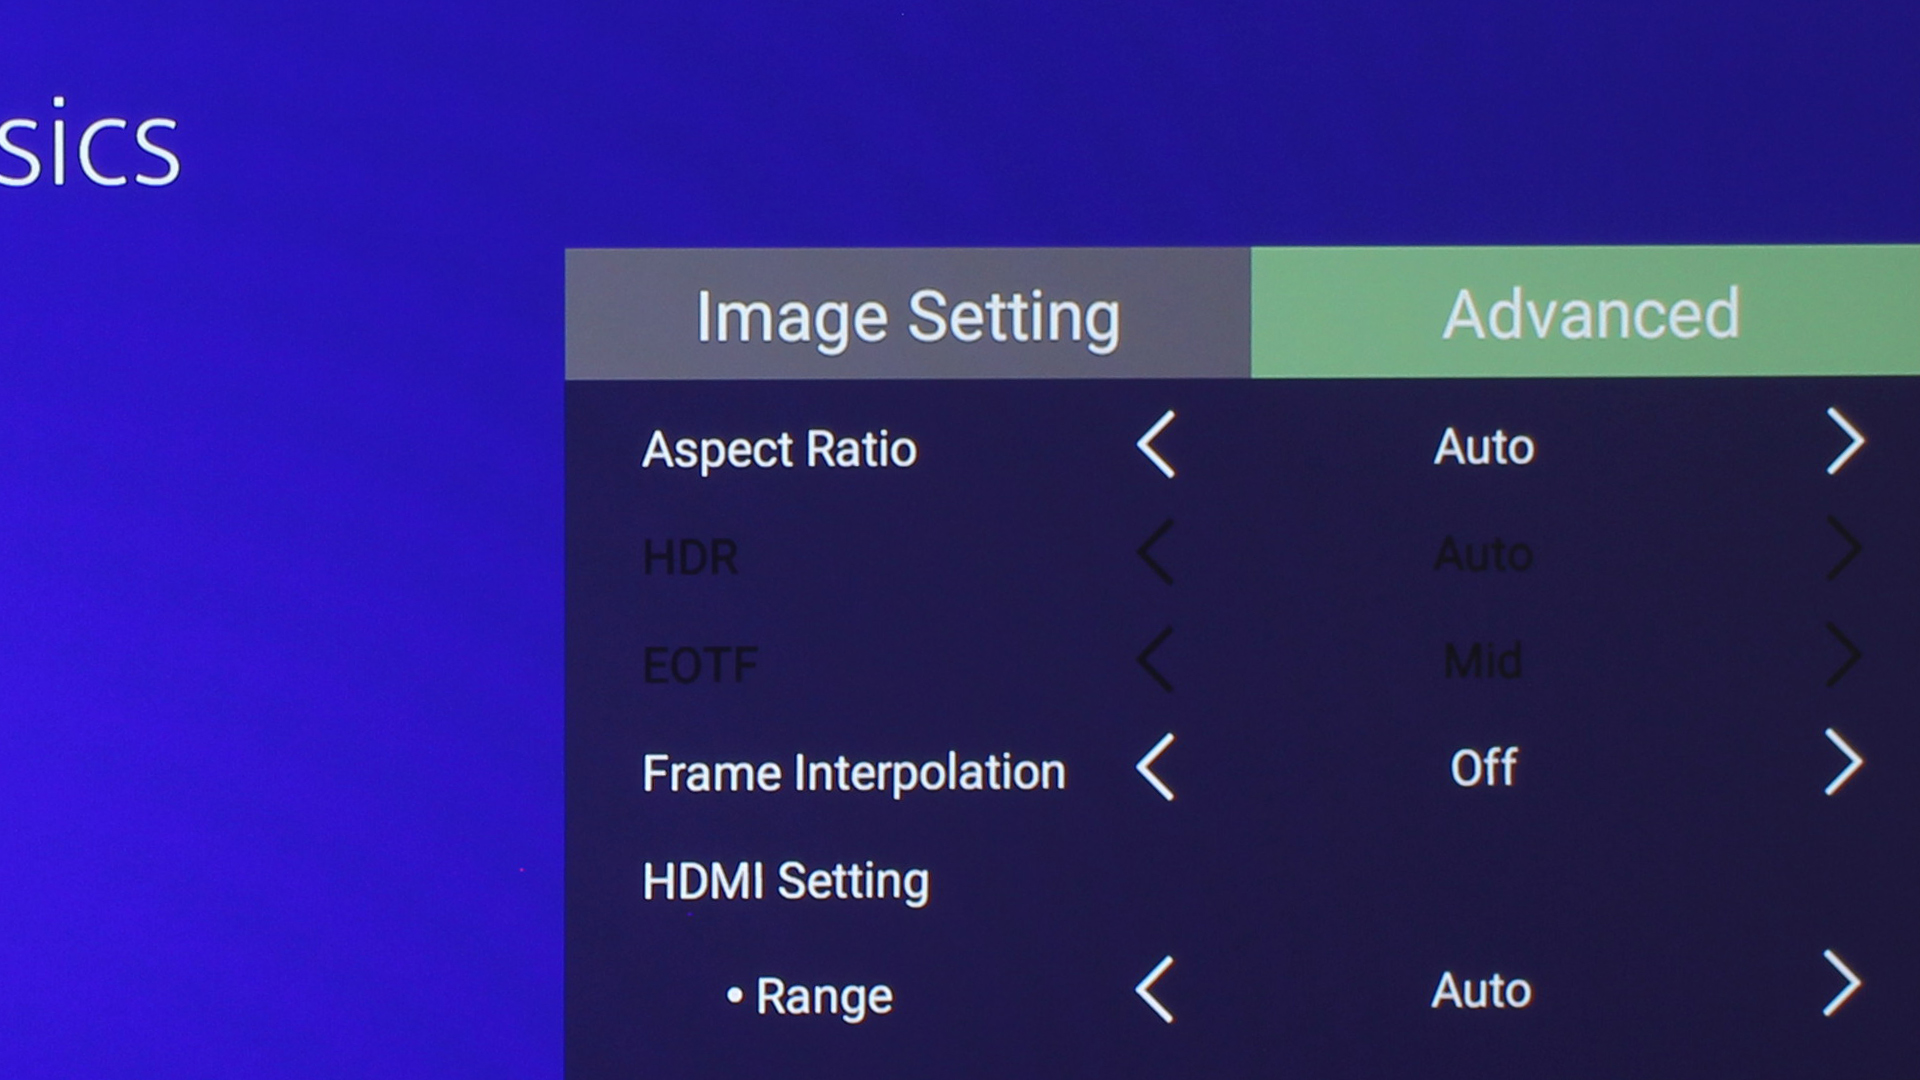
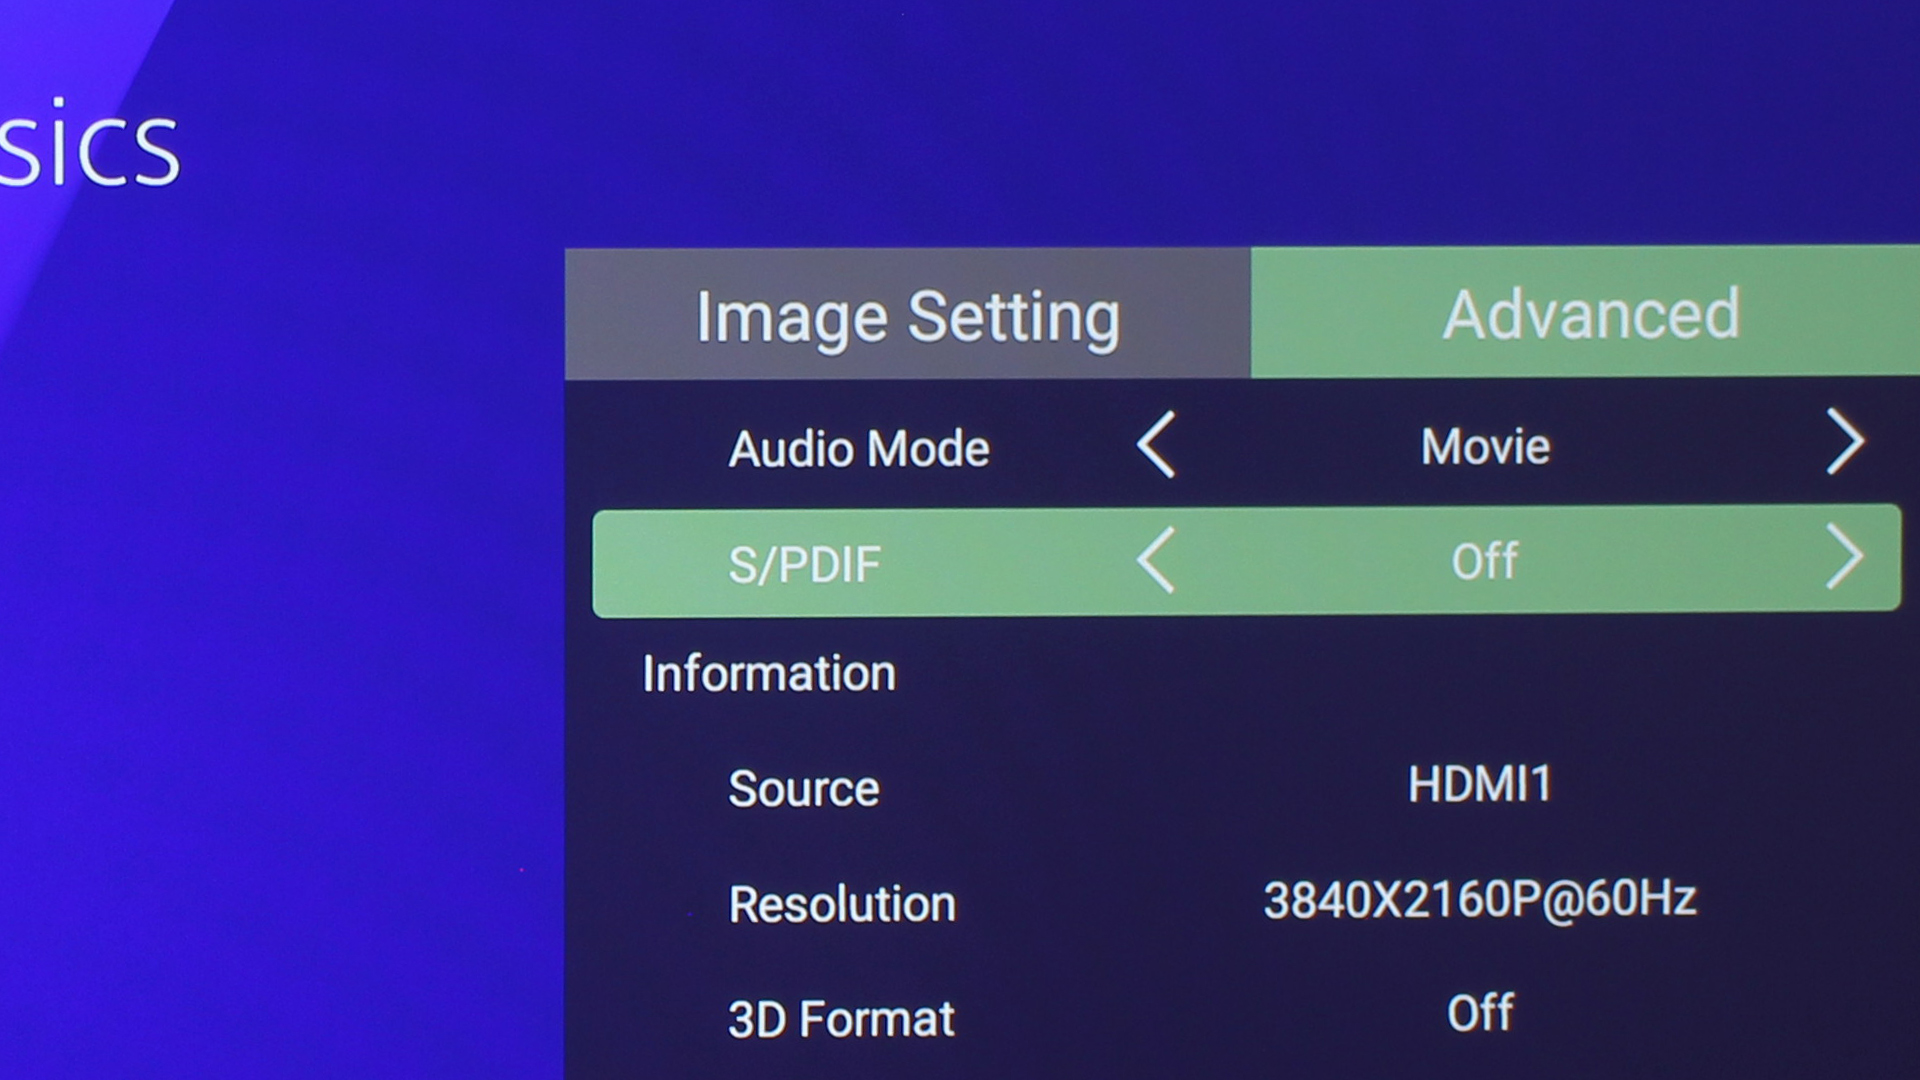
That’s just the Main Menu. While watching content, you can pull up a Menu for adjusting the color modes. You can choose presets, of course, which you can customize pretty extensively, or you can build your perfect color mode from scratch using one of the two User Modes – I’ll go into that on the next page in great detail. There are also Advanced Menus where you can get into settings for HDR and 3D, etc. See the slider above for photos of these Menus.

