Projector Reviews Images

BenQ MH733 Projector Review - Hardware

Posted on July 19, 2018 by Art Feierman

BenQ MH733 Projector Review – Hardware: Overview, Inputs and Connectors, Lens, Control Panel, Remote Control, Auto Source, Menu

Overview

First thing I noticed when I picked up the BenQ MH733 was that it was extremely solid and felt very durable. Not light by any means, but at 5.5 lbs., thrown in a projector bag on the go, you’ll be to take the MH733 wherever you need with ease.

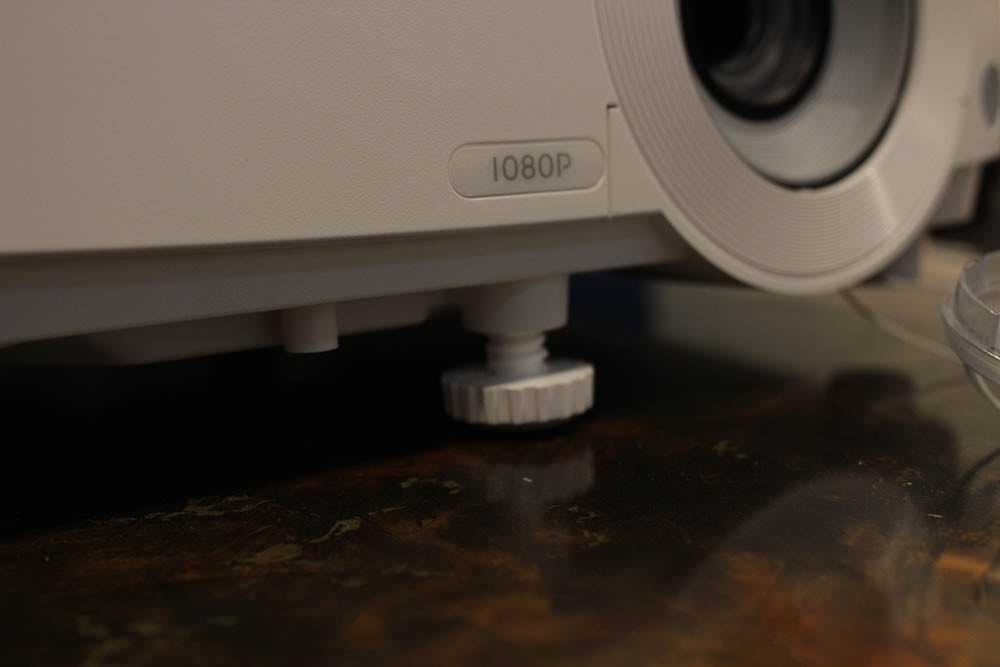
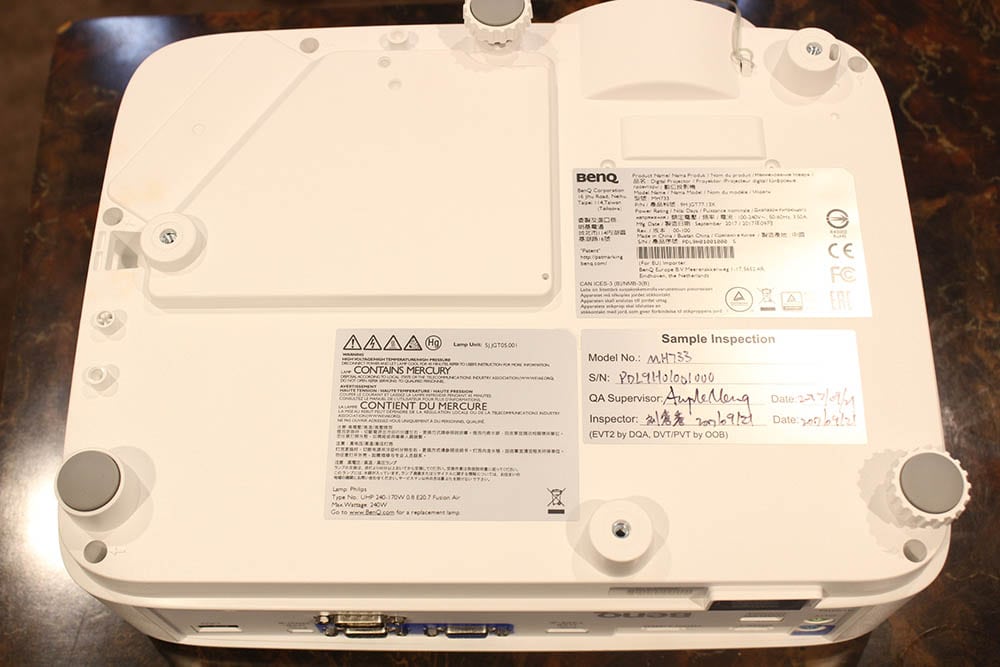
The MH733 is 11” wide and 8” deep, with 4 inches of height.  There is a standard leg on the front that you can twist to adjust the height of your image.  On the bottom side of the projector, you have 3 total feet with grips, and the ability to mount your projector with ease.

Overall, the BenQ MH733 is a sharp looking, compact and solid projector ready to move on the go with you, mounted, or on whatever surface or AV cart you have.

Inputs and Connectors

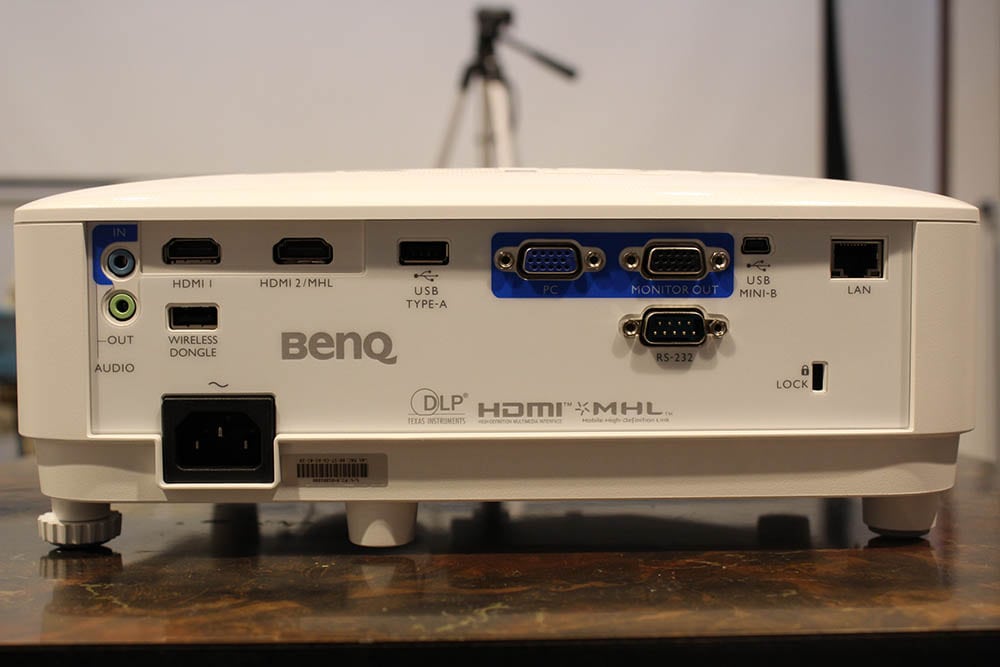
BenQ MH733.HardwareInputPanel

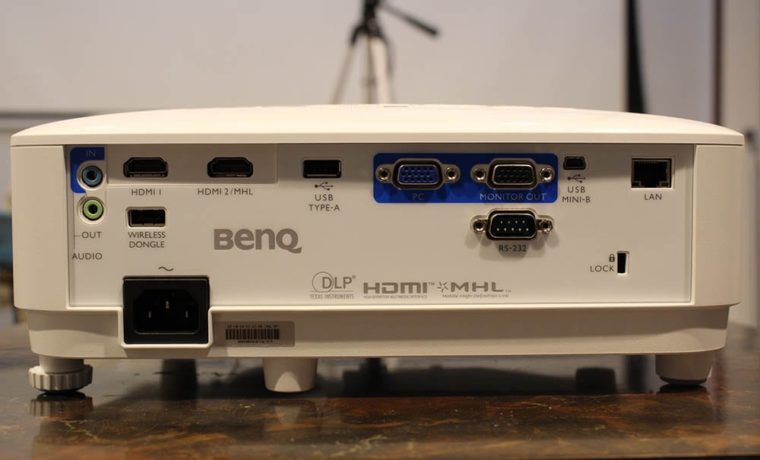
Starting from the left side on the back of the projector, the input panel includes as follows. The audio in and out ports are the first inputs going from right to left, and those audio inputs are stacked, with Audio In on top and Audio Out on top.  Moving to the right, you have two HDMI ports side by side, with a USB Wireless Dongle port directly underneath the first HDMI port.  Underneath the Wireless port is where the AC power receptacle is located.  Moving on to the right, is the USB Type-A port, your input point for PC-Free projection, just insert your thumb drive, select your file, and present!

Moving again to the right, the VGA/PC input, the Monitor Out, and below that, your RS-232 command and control port.  Finally, to the right, there is a USB Mini-B port, followed by the LAN port, and your Kensington Lock is located directly underneath those last two ports.  Mini-B USB is typically used as a service port.

In addition to being able to connect the projector to the internet through the LAN port, there is a USB wireless dongle sold separately which enable you to take full advantage of the projectors special features available through the BenQ QCast App.  Looks like the dongle ranges anywhere from $60 to $100 out there on the web.

You cannot use both projector audio and an external speaker at the same time.  Only one or the other.  That is typical of almost all projectors, but it is also unfortunate.  There is more flexibility with the ability to use both at once. For example, in a larger room, one could rely on the internal speaker, but with an external powered sub-woofer adding some bass to the sound.

Lens

Lens
Lens

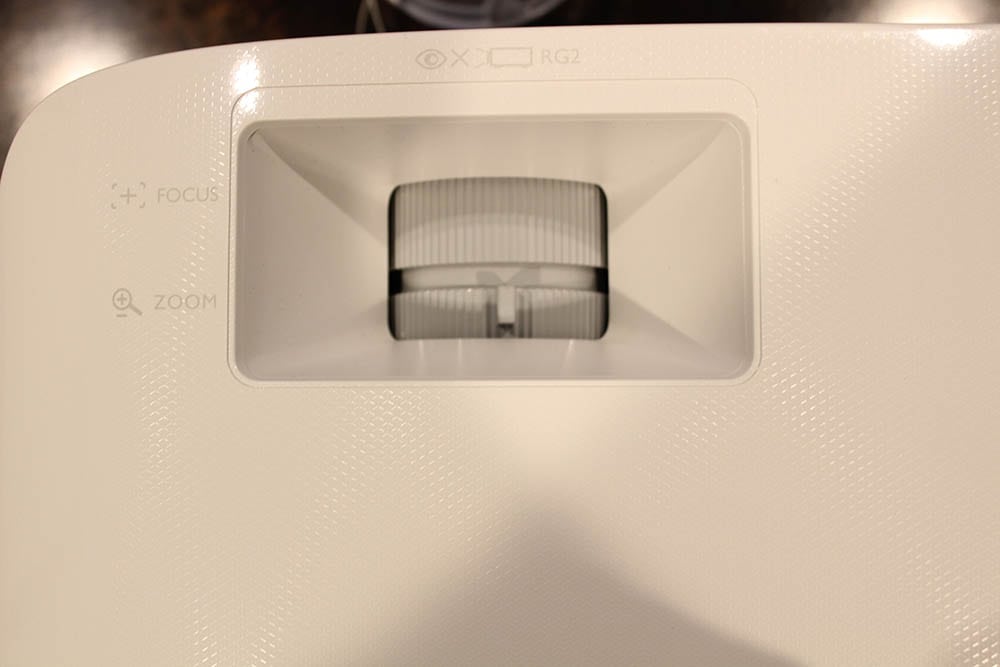
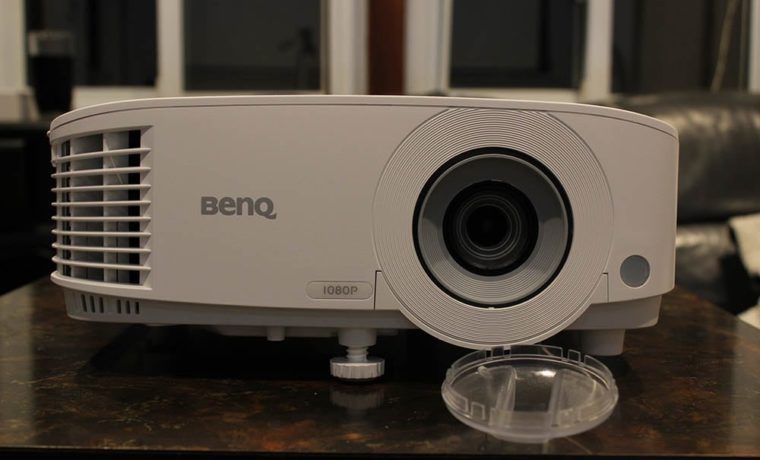
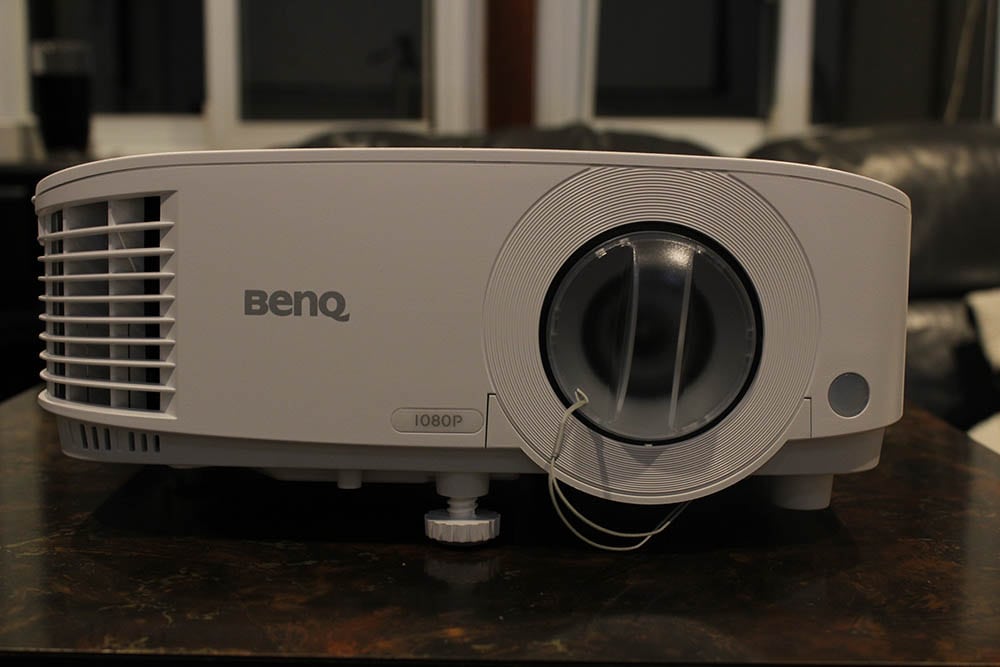
First thing you notice right away is the attached lens cover. Always a convenient feature for ensuring protection for a pretty important part of your projector.  When you shift over to the zoom and focus knobs, I found them a bit cumbersome to adjust.  You will also have to adjust the focus each time after adjusting the zoom unfortunately for those of you needing ultra-quick adjustments on the fly.  Functionally, the knobs work but it would definitely be a bit easier if the knobs moved a little easier than they do.  This is a problem found on many projectors.  Obviously its minor, more nuisance than anything else, and a non-issue if ceiling mounting the projector, since in that case, setting the zoom and focus is a one time thing.

Control Panel

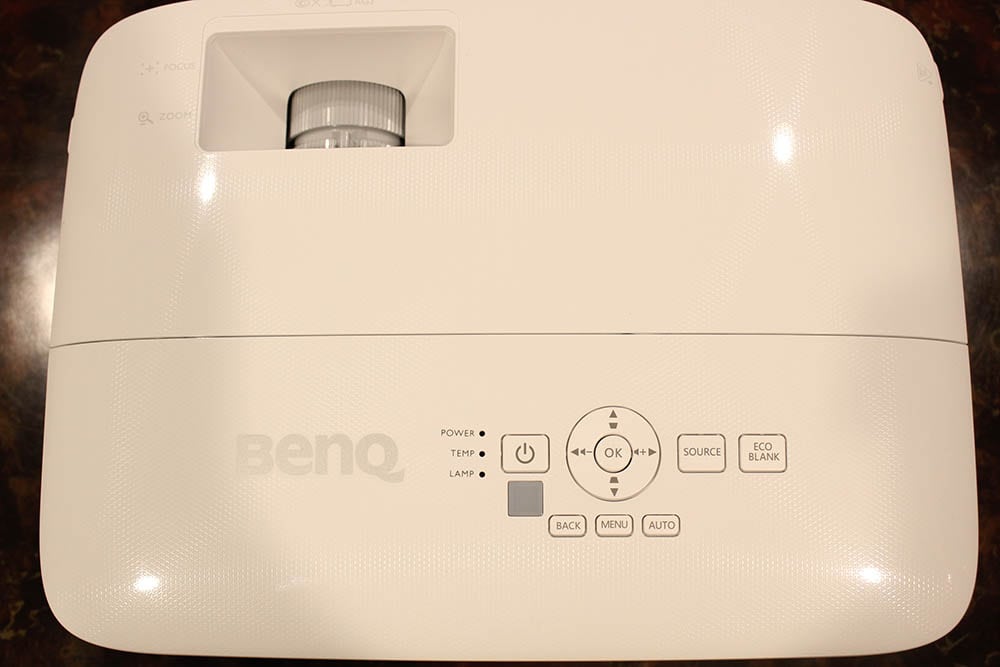
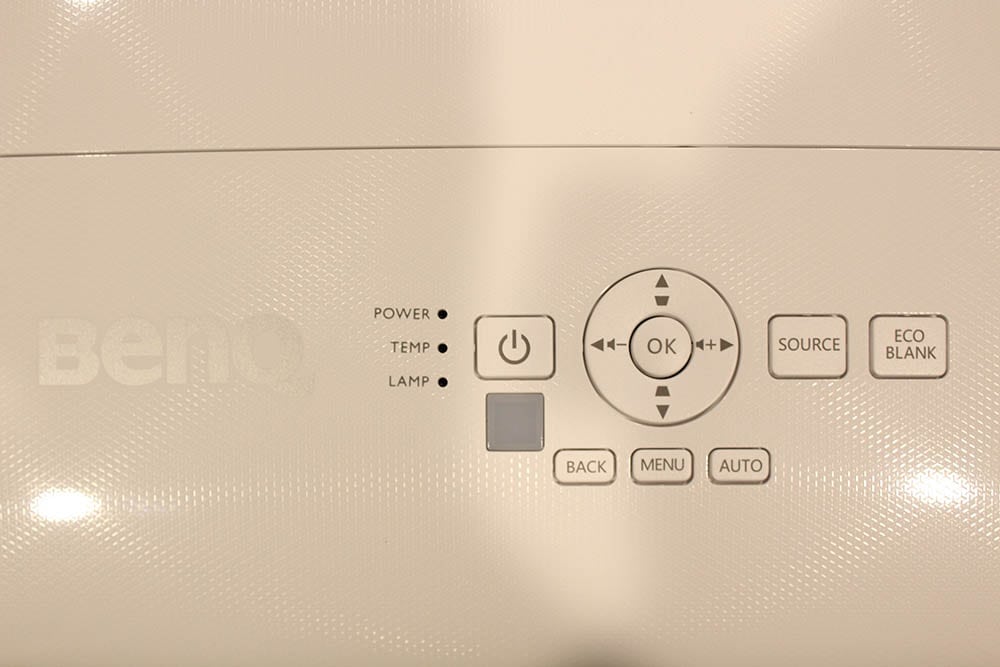
On the BenQ MH733’s control panel located atop the device in the back, you first have 3 LEDs with Power, Temp, and Lamp labeled respectfully atop each other. To the right of those indicator lights, you can find where the Power button is located.  Next to the right is a Selection (OK) button, with Keystone Correction and Arrow Buttons on the top and bottom, as well as Volume Control and Arrow Buttons on the sides as well.  Beneath that, there are buttons, Back, Menu, and Auto (Autosource) respectively.  To finish off the panel, there is a regular Source button, and to the right of that, a button for Eco Blank, to put a blank screen up when needed.

While the panel was plenty intuitive, having a similar format to most projectors, I was disappointed in the buttons themselves.  There was definitely a few times that I had to push the buttons multiple times to get them to work.  Nothing too annoying but enough to notice.  Offsetting that, of course, is that most folks rely on the remote control, rather than the control panel on the projector.

BenQ MH733 Projector Review – Hardware: Overview, Inputs and Connectors, Lens, Control Panel, Remote Control, Auto Source, Menu

Overview

First thing I noticed when I picked up the BenQ MH733 was that it was extremely solid and felt very durable. Not light by any means, but at 5.5 lbs., thrown in a projector bag on the go, you’ll be to take the MH733 wherever you need with ease.

The MH733 is 11” wide and 8” deep, with 4 inches of height.  There is a standard leg on the front that you can twist to adjust the height of your image.  On the bottom side of the projector, you have 3 total feet with grips, and the ability to mount your projector with ease.

Overall, the BenQ MH733 is a sharp looking, compact and solid projector ready to move on the go with you, mounted, or on whatever surface or AV cart you have.

Inputs and Connectors

BenQ MH733.HardwareInputPanel

Starting from the left side on the back of the projector, the input panel includes as follows. The audio in and out ports are the first inputs going from right to left, and those audio inputs are stacked, with Audio In on top and Audio Out on top.  Moving to the right, you have two HDMI ports side by side, with a USB Wireless Dongle port directly underneath the first HDMI port.  Underneath the Wireless port is where the AC power receptacle is located.  Moving on to the right, is the USB Type-A port, your input point for PC-Free projection, just insert your thumb drive, select your file, and present!

Moving again to the right, the VGA/PC input, the Monitor Out, and below that, your RS-232 command and control port.  Finally, to the right, there is a USB Mini-B port, followed by the LAN port, and your Kensington Lock is located directly underneath those last two ports.  Mini-B USB is typically used as a service port.

In addition to being able to connect the projector to the internet through the LAN port, there is a USB wireless dongle sold separately which enable you to take full advantage of the projectors special features available through the BenQ QCast App.  Looks like the dongle ranges anywhere from $60 to $100 out there on the web.

You cannot use both projector audio and an external speaker at the same time.  Only one or the other.  That is typical of almost all projectors, but it is also unfortunate.  There is more flexibility with the ability to use both at once. For example, in a larger room, one could rely on the internal speaker, but with an external powered sub-woofer adding some bass to the sound.
Lens

Lens
Lens

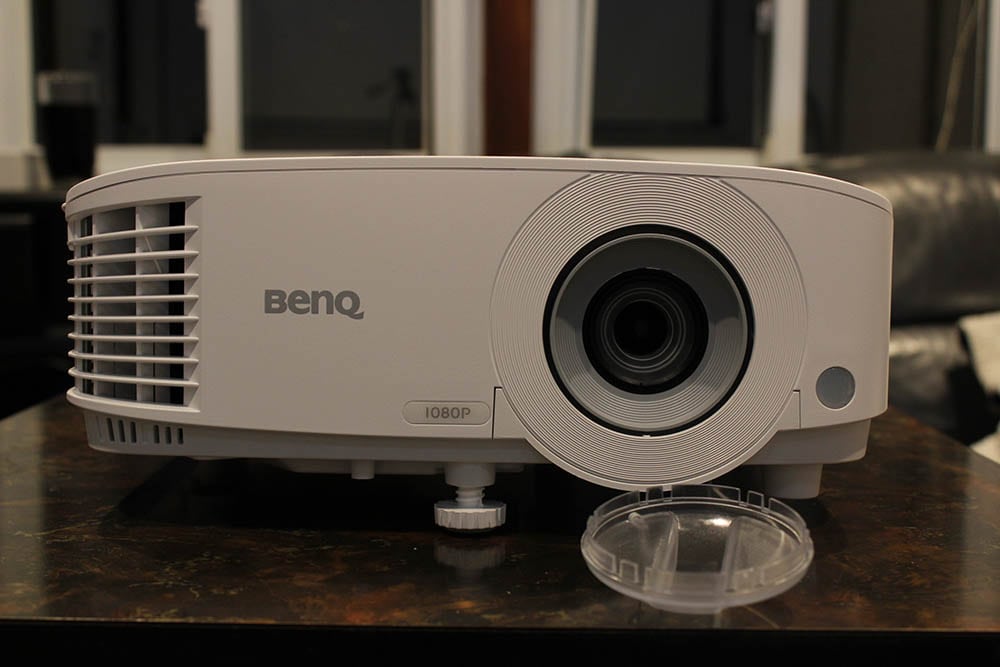
First thing you notice right away is the attached lens cover. Always a convenient feature for ensuring protection for a pretty important part of your projector.  When you shift over to the zoom and focus knobs, I found them a bit cumbersome to adjust.  You will also have to adjust the focus each time after adjusting the zoom unfortunately for those of you needing ultra-quick adjustments on the fly.  Functionally, the knobs work but it would definitely be a bit easier if the knobs moved a little easier than they do.  This is a problem found on many projectors.  Obviously its minor, more nuisance than anything else, and a non-issue if ceiling mounting the projector, since in that case, setting the zoom and focus is a one time thing.

Control Panel

On the BenQ MH733’s control panel located atop the device in the back, you first have 3 LEDs with Power, Temp, and Lamp labeled respectfully atop each other. To the right of those indicator lights, you can find where the Power button is located.  Next to the right is a Selection (OK) button, with Keystone Correction and Arrow Buttons on the top and bottom, as well as Volume Control and Arrow Buttons on the sides as well.  Beneath that, there are buttons, Back, Menu, and Auto (Autosource) respectively.  To finish off the panel, there is a regular Source button, and to the right of that, a button for Eco Blank, to put a blank screen up when needed.

While the panel was plenty intuitive, having a similar format to most projectors, I was disappointed in the buttons themselves.  There was definitely a few times that I had to push the buttons multiple times to get them to work.  Nothing too annoying but enough to notice.  Offsetting that, of course, is that most folks rely on the remote control, rather than the control panel on the projector.

Latest Reviews

February 25, 2024

Introducing the Hisense C1: A cube-shaped 4K UHD lifestyle projector with an RGB triple laser light source and integrated JBL ...

© 2024 Projector Reviews

crossmenu linkedin facebook pinterest youtube rss twitter instagram facebook-blank rss-blank linkedin-blank pinterest youtube twitter instagram