Picture Menu
All the main picture controls, toggle preset modes, color temp, lamp, CFI...
This slide show has all the major menus, and most minor ones, so the captions will provide almost all of the commentary. BenQ isn't that big on lots of pull-down sub-menus, so that, for example Preset modes - you can only see the one selected, and toggle through the others by using the left and right arrow keys on the remote or the control panel. With a number of other brands, you might select enter, and get a pull-down menu where you can see all the modes at once. Either way, not a big deal. It does mean though, that we needed to take less pictures.
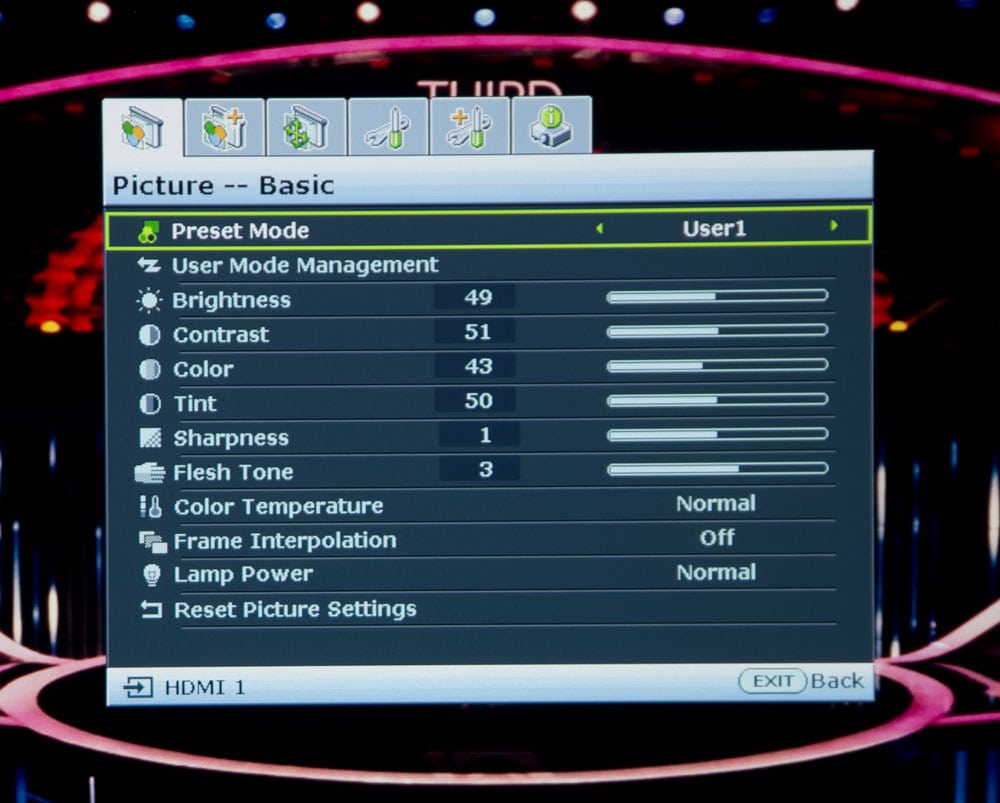
All the main picture controls, toggle preset modes, color temp, lamp, CFI...

Let's you select which preset mode is the basis for your User settings
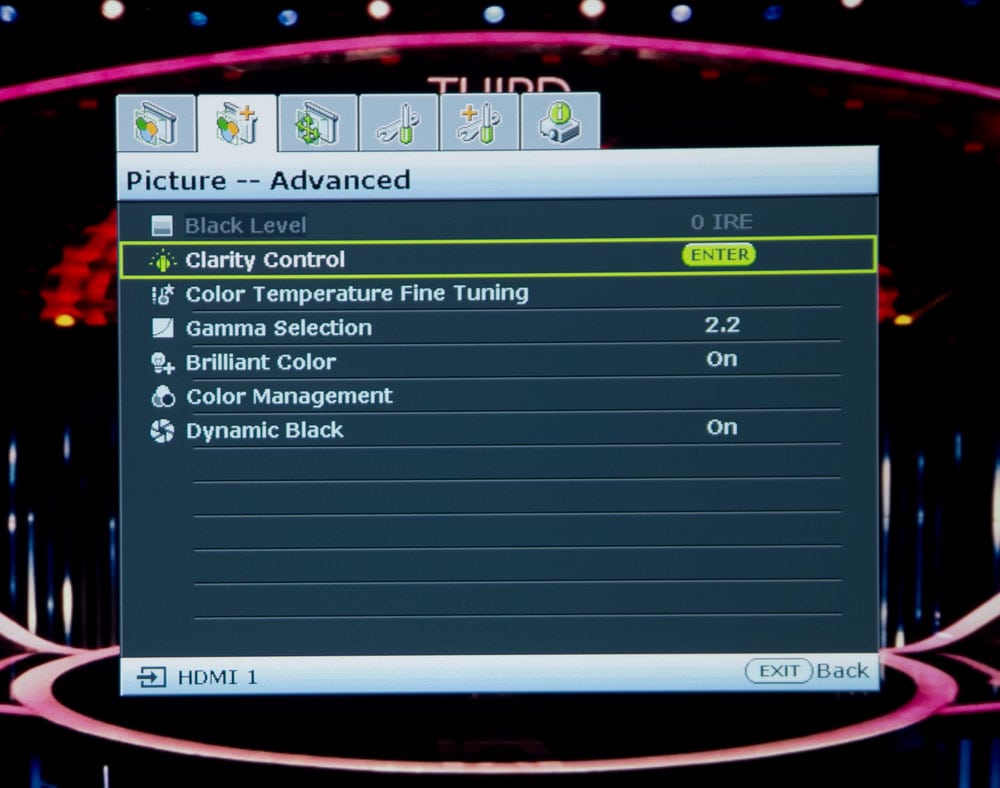
Calibration controls - for color temp, CMS, Gamma, also Brilliant Color and Iris (Dynamic Black) off/on controls

Select amount of detail enhancement, and also noise reduction as needed
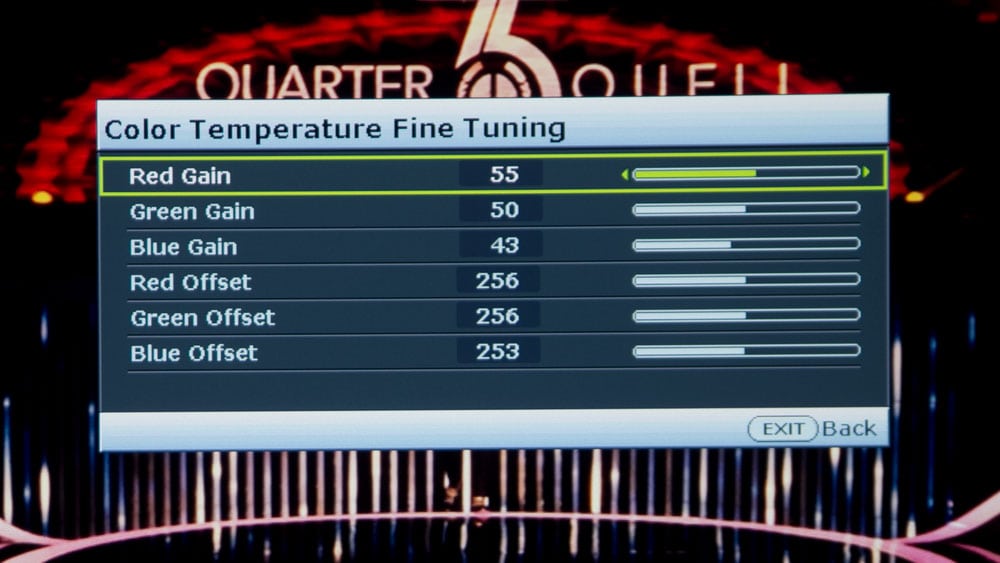
Here are the basic Gain and Offset controls for grayscale balance
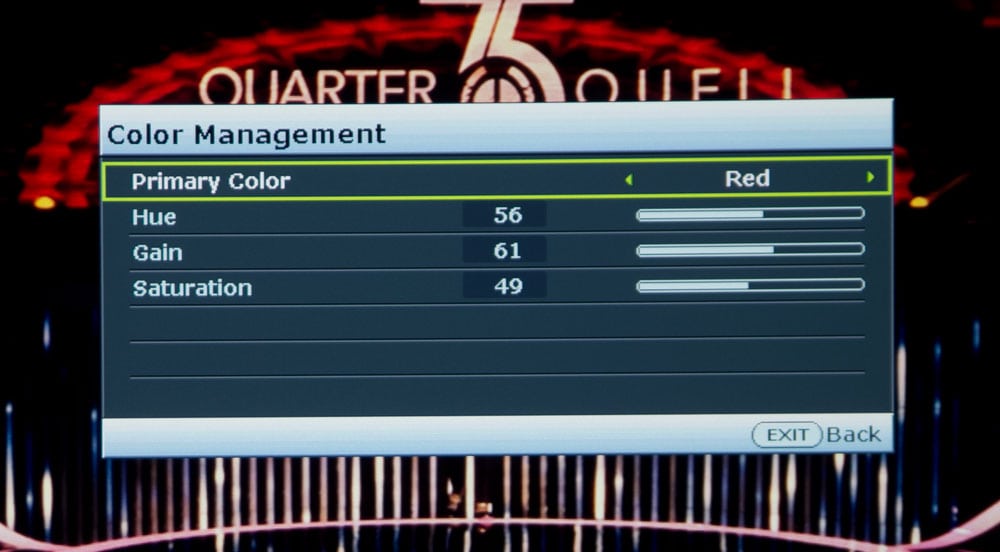
For adjusting the Hue, Gain (brightness) and Saturation of each primary and secondary color
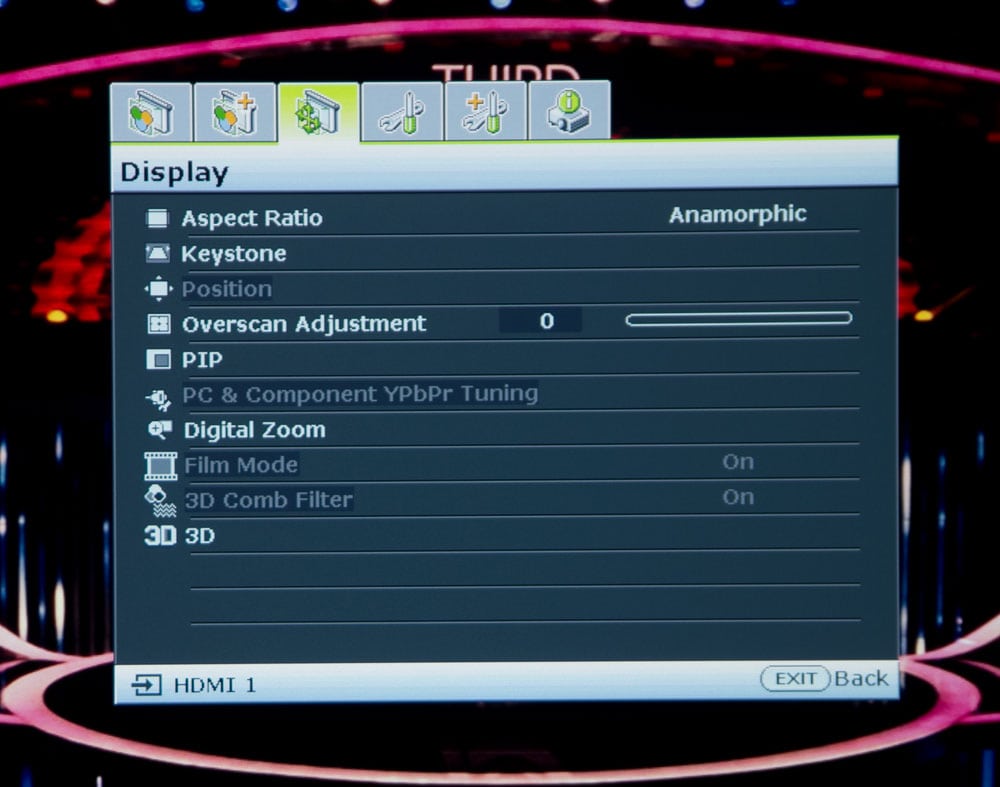
Adjust as needed, aspect ratio, keystone, Overscan, Picture-in-Picture. Also 3D and digital zoom
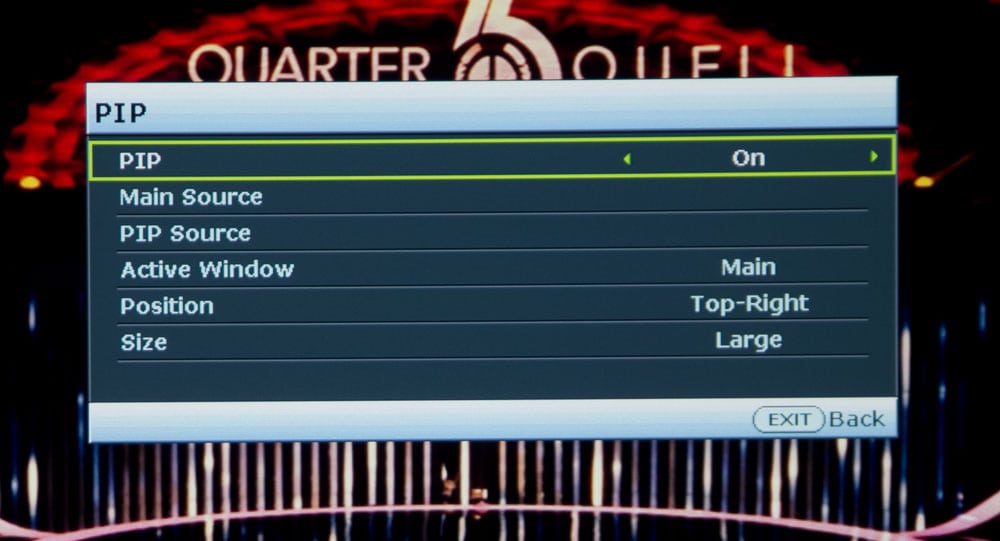
Select sources for main and in Picture window, location and size of PIP window

A biz projector type feature, but use for zooming in on football replays, for that ref call.
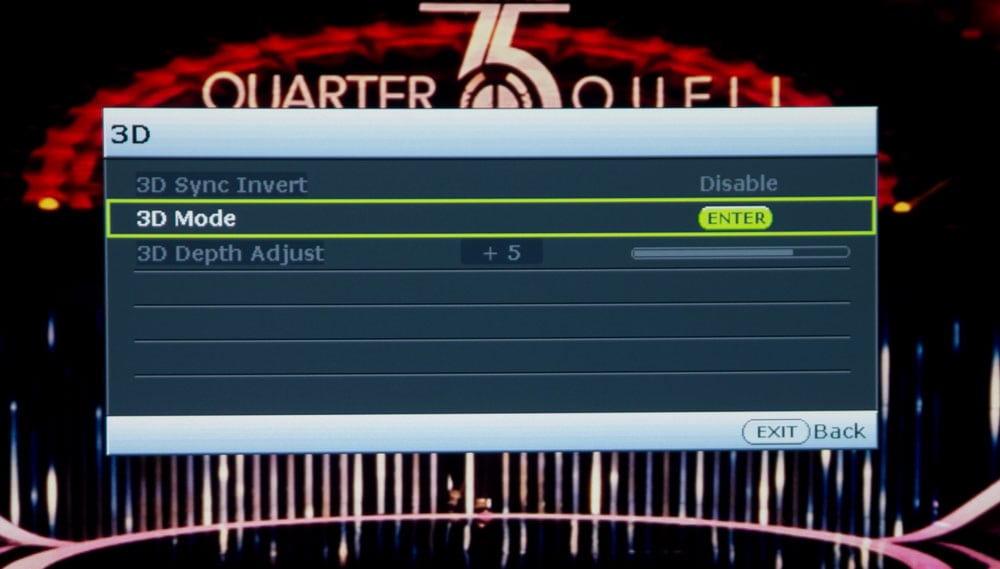
Glasses invert, Enable 3D/Disable, Depth adjustment
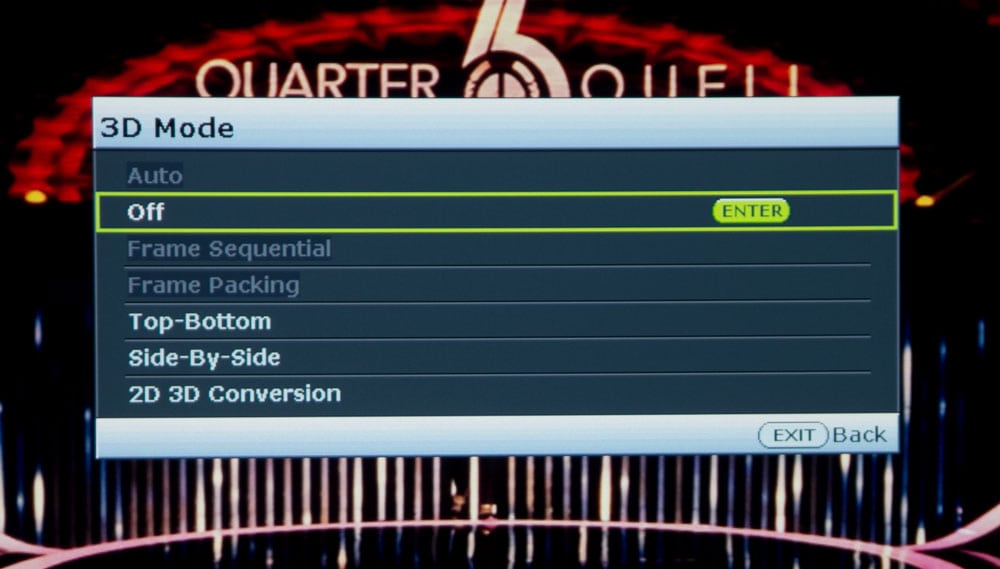
3D off/on, Auto sensing, or manual selection of 3D type. Also 2D to 3D conversion
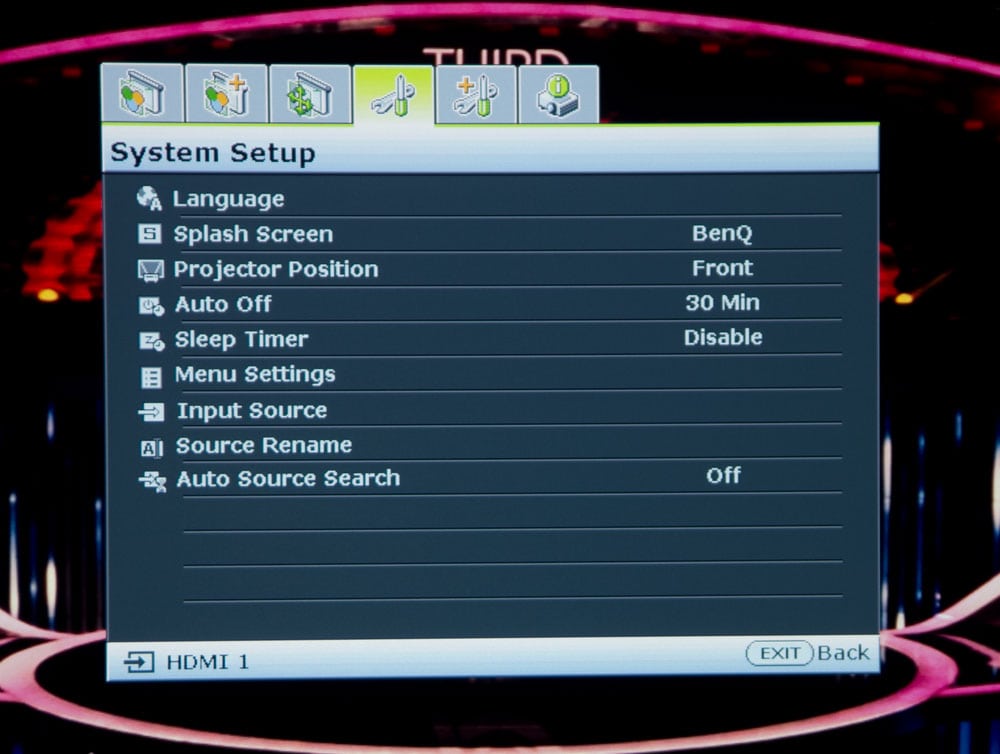
Language, background (no signal screen) projector orientation, Eco features, (auto off, sleep timers), Menu controls...
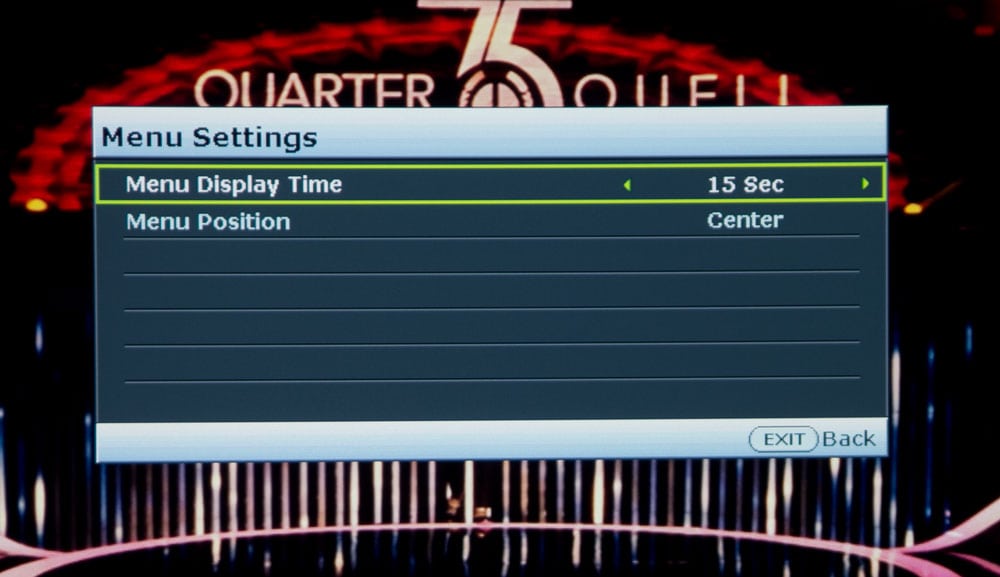
Determine how long they stay onscreen, where they appear
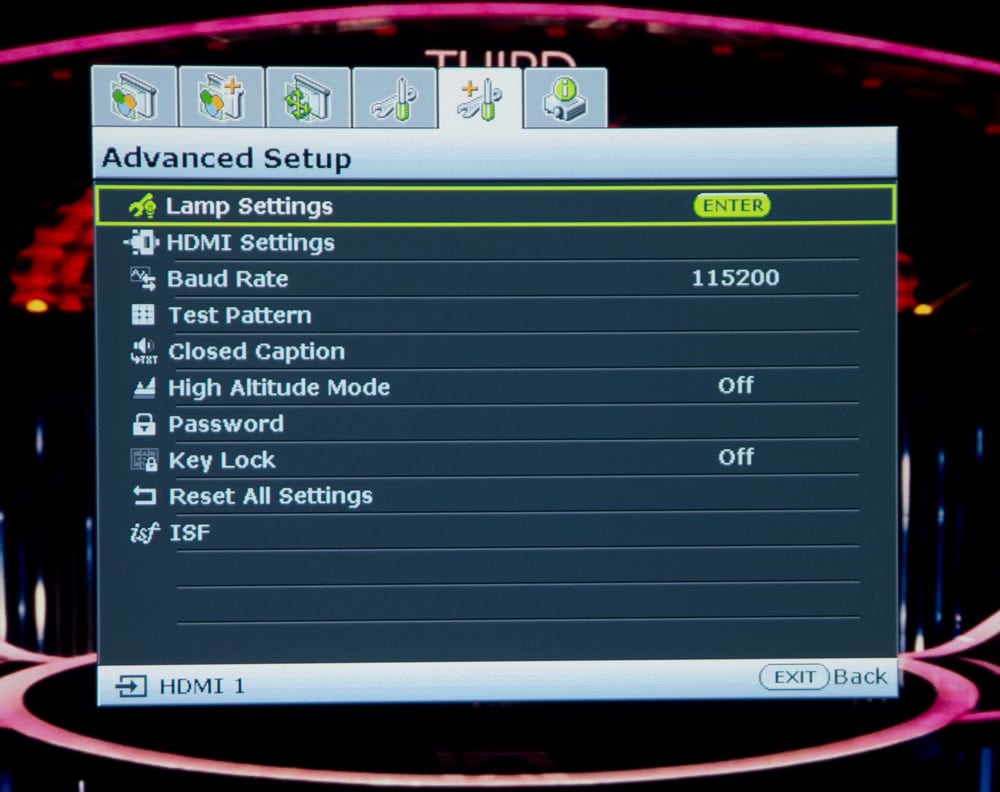
Lamp and HDMI settings, Closed Caption, High Altitude, lock, and ISF access, reset
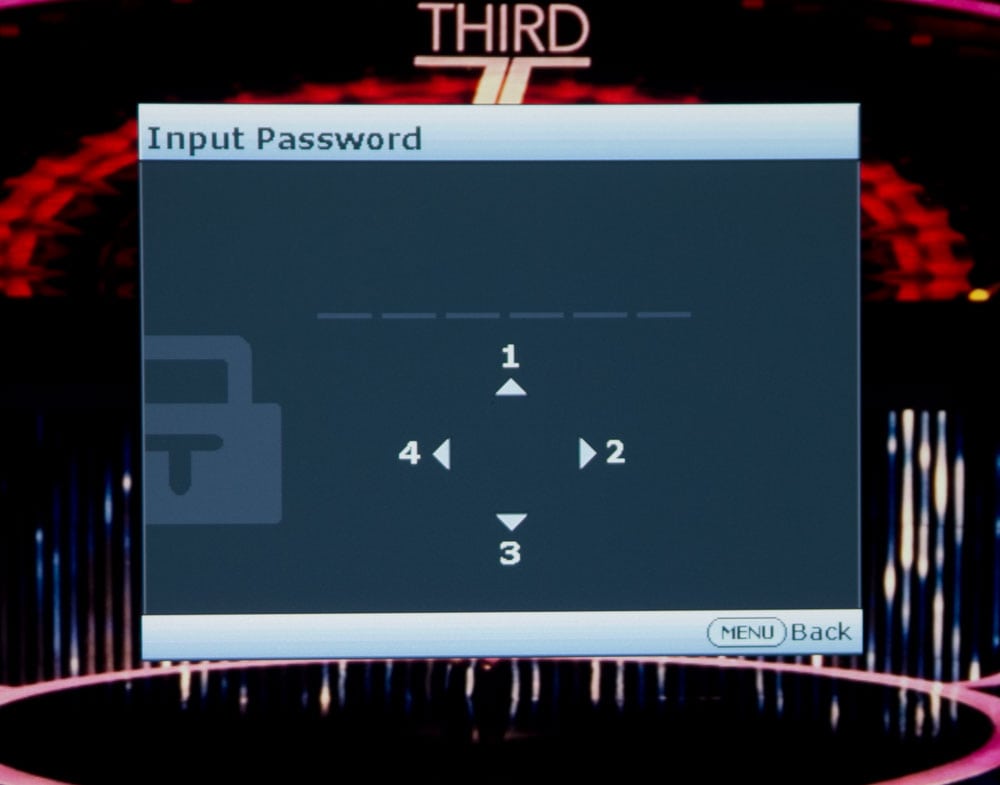
You need the ISF passcode to enter, reserved for ISF calibrators
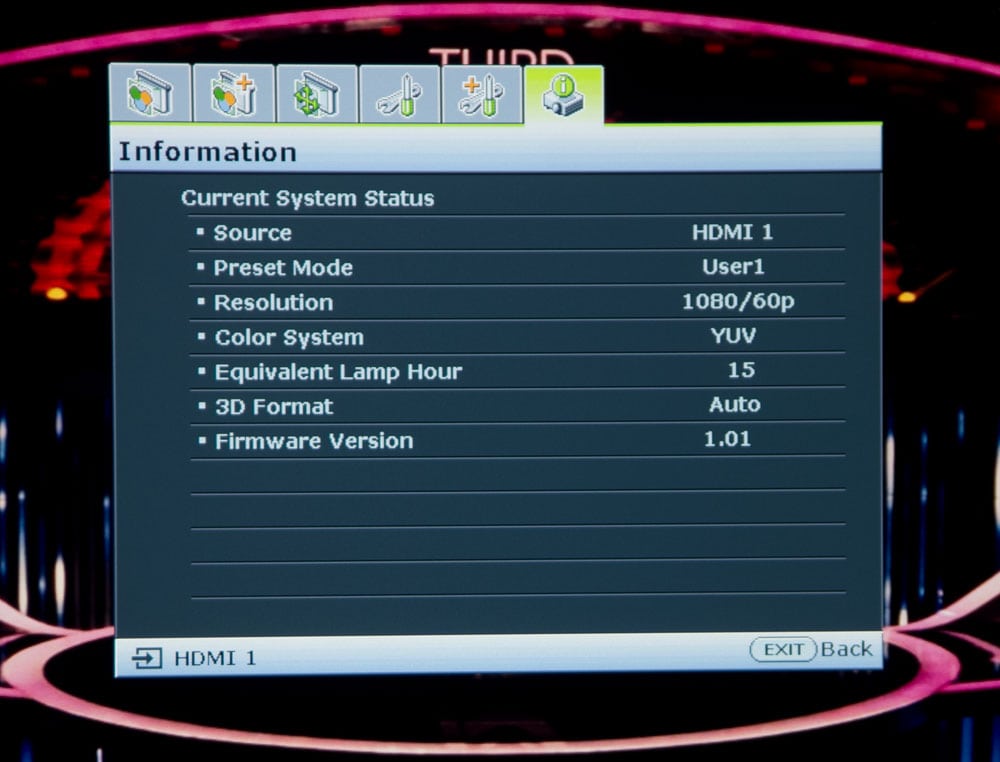
Shows current source, lamp hours, firmware revision, 3D format...
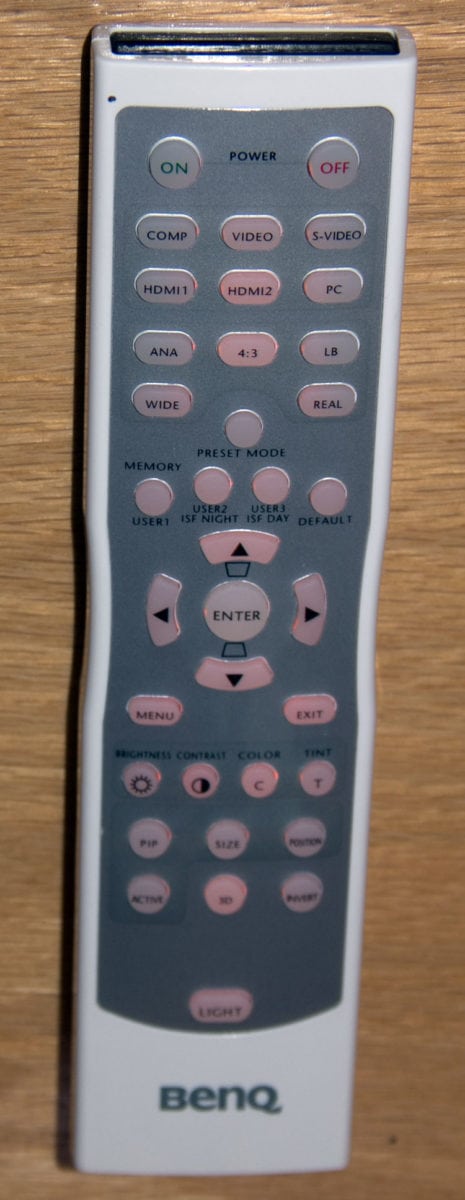
Let's run through all the button and their purposes on the BenQ remote control. First though, I consider this one of the best remotes out there. It's light, fits well in the hand, has a nicely, but not too bright orange backlight. Well spaced, and very good range exceeding 25 feet. Very similar to many remotes going back about a decade. I guess if you get it right, you don't have to mess with it much.
From the top:
On the left top, power on, top right, off. The next two rows of three have your individual source buttons
The two rows below have a total of five buttons. There's one for each of the five aspect ratios.
All of those have text on them identifying them. The next five buttons are the only ones where you need lights to read what they do. The first one, in the center lets you toggle though all the preset and user modes. The four below it give you direct access to User 1, 2, and 3, plus there's a default button.
In the center is the navigation area, with the four arrow keys in round formation, and a center Enter button. The Menu button is just below to the left, and the Exit button (oft called escape) is opposite it, on the right. Exit moves you back up a level in the menus.
That brings us to the bottom third, where the first four (round buttons) provide direct access to Brightness, Contrast, Color Saturation, and Tint. The next three buttons are PIP - main PIP menu, PIP window size, and PIP window position (which corner) Right below PIP is the Active control which lets you set whether the main or PIP window is active. In the middle of the last row is 3D, and to the right of it the Invert button for the 3D glasses.
Wait, one more button, larger, further down, that's the backlight button.
Well done!
 Click Image to Enlarge
| W7500 Lens Throw: 100" Diagonal 16:9 Screen | |
|---|---|
| Minimum Distance | 11 feet 9 inches |
| Maximum Distance | 17 feet 8 inches |
If your screen is larger or smaller, a quick calculation for the correct distances is easy. For example if your screen is 120" diagonal, or 80" diagonal. Multiply the numbers above by 1.2 or 0.8 to get the correct closest and furthest placement.
Remember that distance is measured from the front of the lens to the screen. The numbers provided are from the BenQ user manual. Confirm before installing, as there are often minor errors in areas like this, in manuals. Even the manufacturers say "approximate."
This lens is just slightly longer throw than most. Most projectors can be placed as close as 9.5 to 10.5 feet. But, by using the slightly longer throw, you can be back 17 2/3 feet instead of about 15-16, allowing a better change that it will work on a rear shelf set up.
The W7500's lens shift seems equally distributed, with an equal amount of range above and below the projector, although the charts in the manual do not confirm that. If you are placing the projector on a table below, or ceiling mounting it, inverted, above, measuring from the center of the lens, the bottom of the screen surface (table top) can be up to 6.1 inches above the center of the lens. The projector can be any place in between those two extremes.
If ceiling mounting, the center of the lens can be up to 6.1 inches above the top of the screen surface. Again, for larger or smaller screen sizes, just break out the calculator.
That's not a whole lot of range. 15 to 25+ inches (instead of 6.1) of range show up on some other projectors. Those are typically 3LCD or LCoS designs (also 3 chip DLPs).