Posted on September 17, 2018 By Chris Kahl
Epson BrightLink Interactive Projector Review – Hardware 2: Control Panel, Remote Control, Menus
The control panel is found on the top of the projector. It’s a narrow strip that extends approximately three quarters across the top of the unit, displaying three indicator lights and simple array of buttons. The indicator lights are for Power/Standby, Light, and Temperature, and illuminate in a variety of different patterns to communicate different conditions.
Starting on the bottom row, left side and directly beneath the Power/Standby indicator is the power button. One push of the power button powers up the unit, and two pushes of the power button powers down the unit. To the immediate right of the power button is the Input button, which allows selection of video/audio signal from a different source.
Next is the Auto button, which causes the projector to automatically adjusts the frequency and phase of the image in accordance with the input signal to reduce flickering and other image problems. To next is the Zoom button, which opens a menu used to adjust the projected image size. Above the Zoom button, is the Focus button, which opens a menu used to adjust the project image sharpness and clarity.
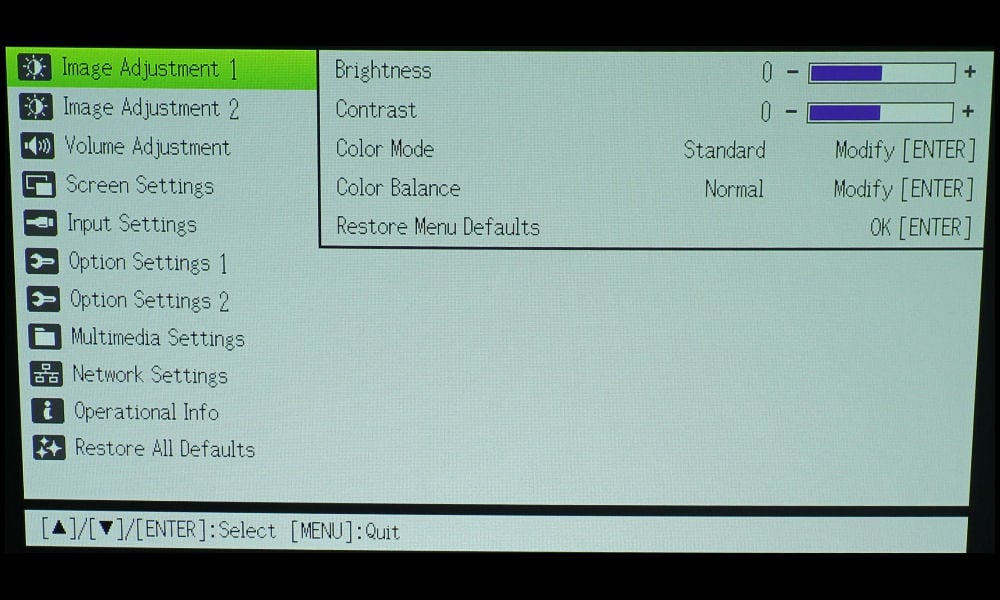
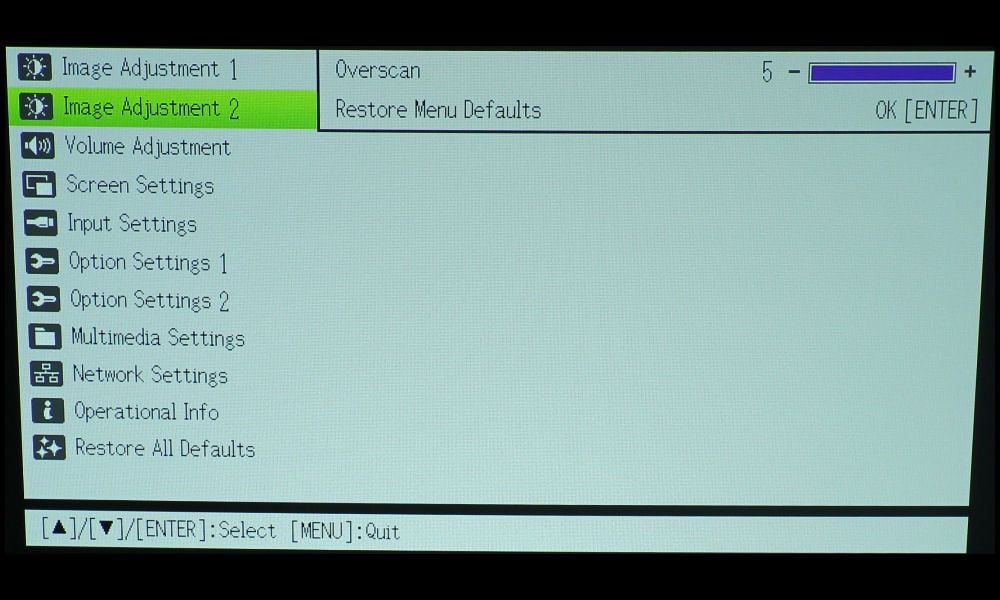
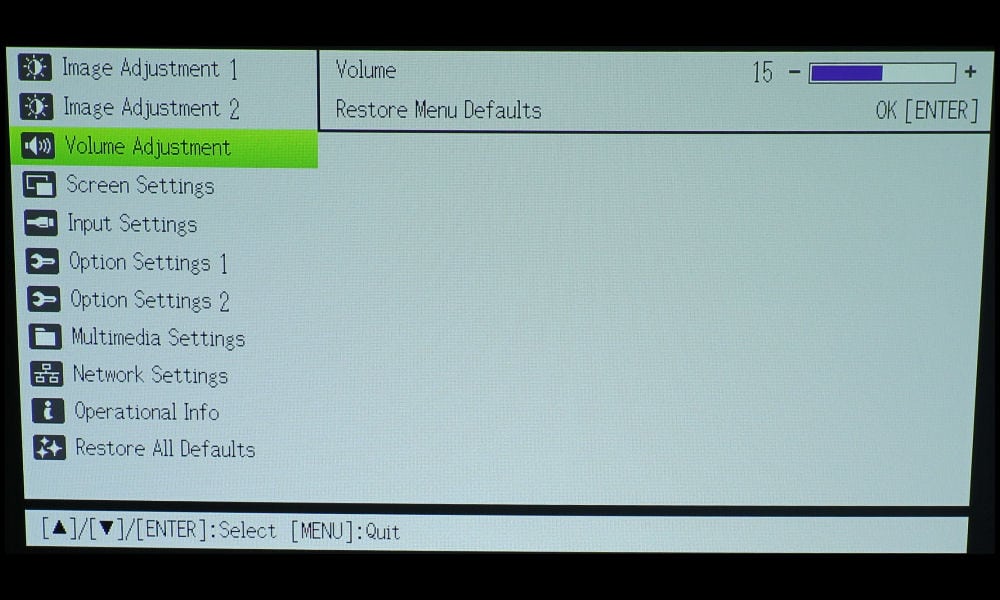
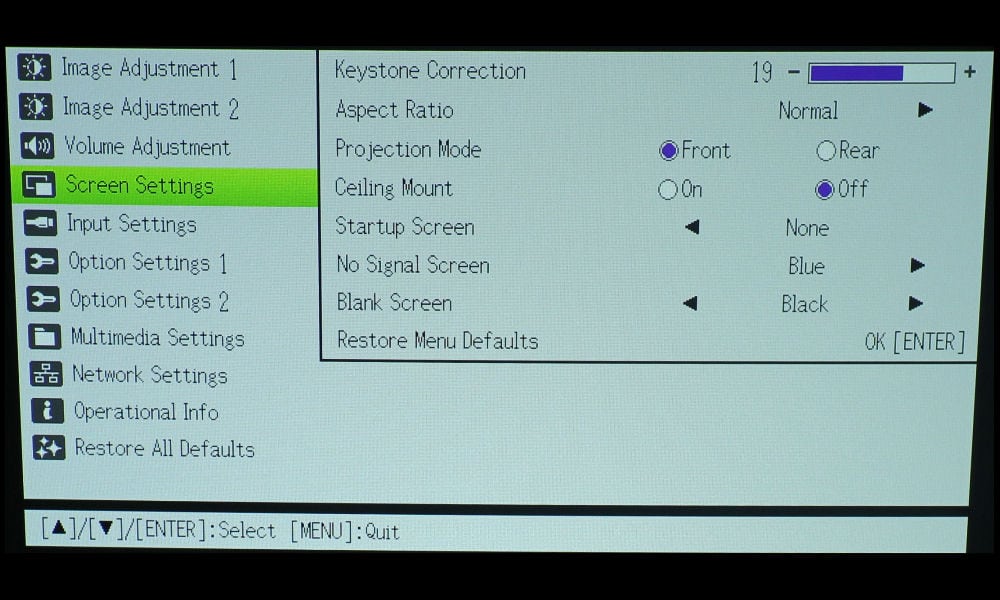
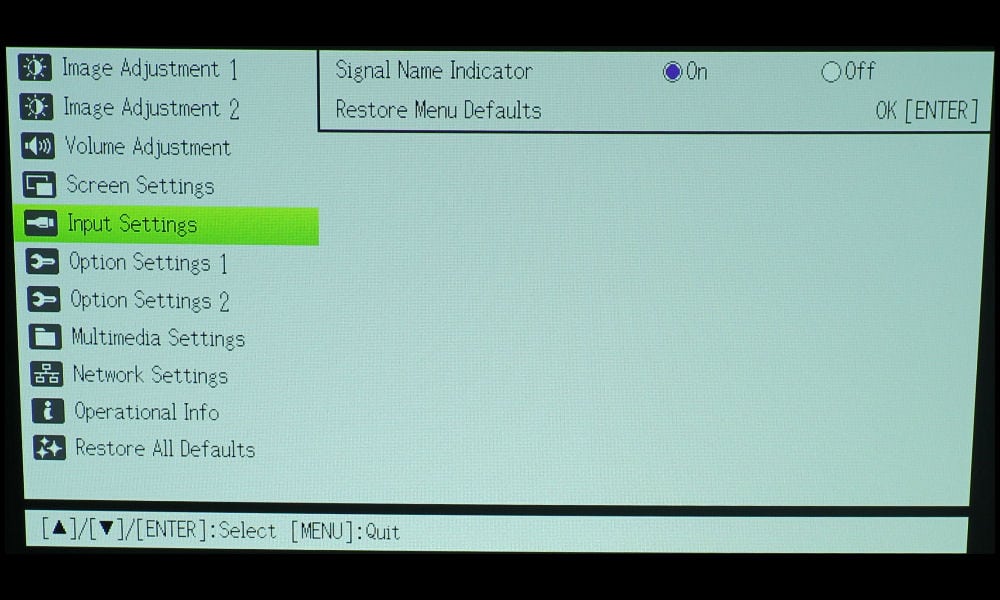
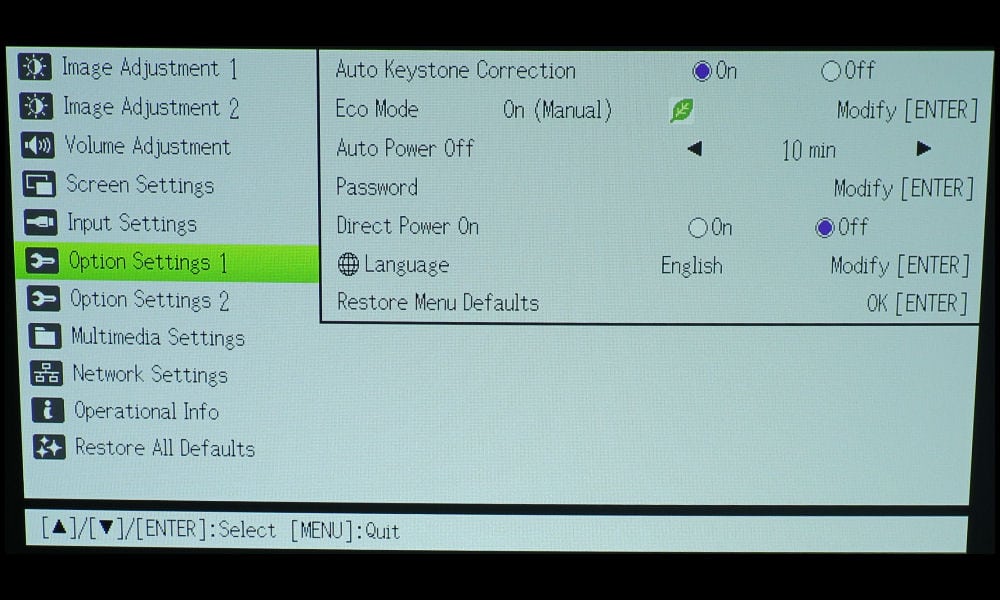
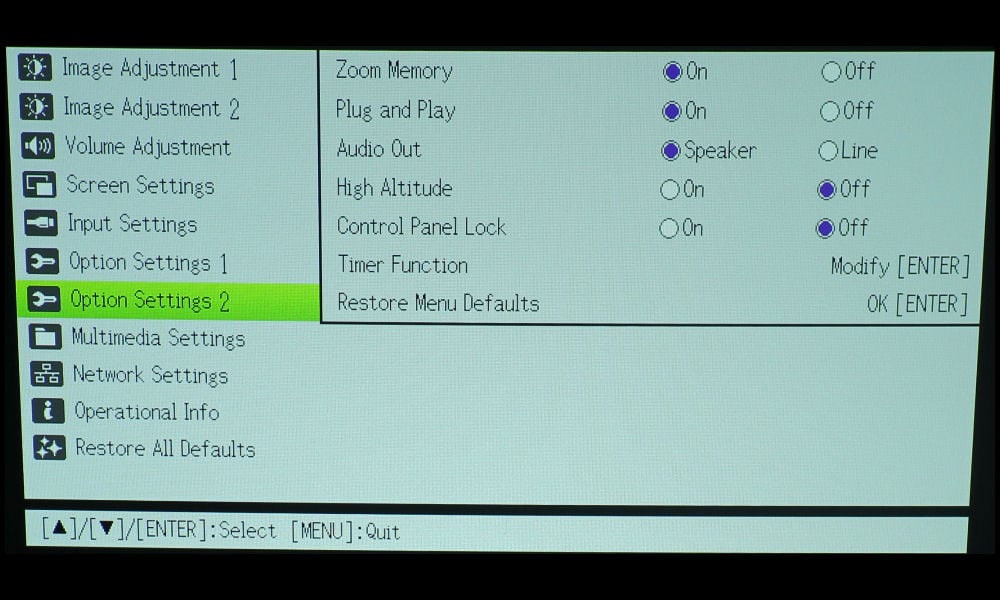
To the right of the Zoom and Focus buttons, there is a basic Up/Down/Left/Right keypad with an Enter button in the center, which is useful in navigating the menus and adjusting settings. In the upper right corner of the control panel is found the Menu button, which access the extensive main menu, and below that is the Escape button, which is used to close each menu; menus do not time-out on their own.
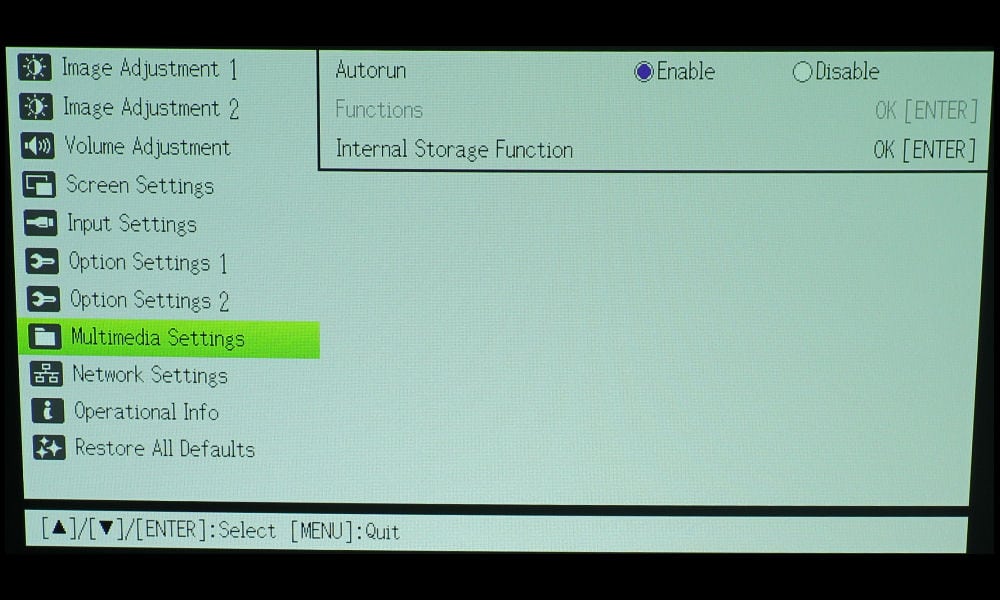
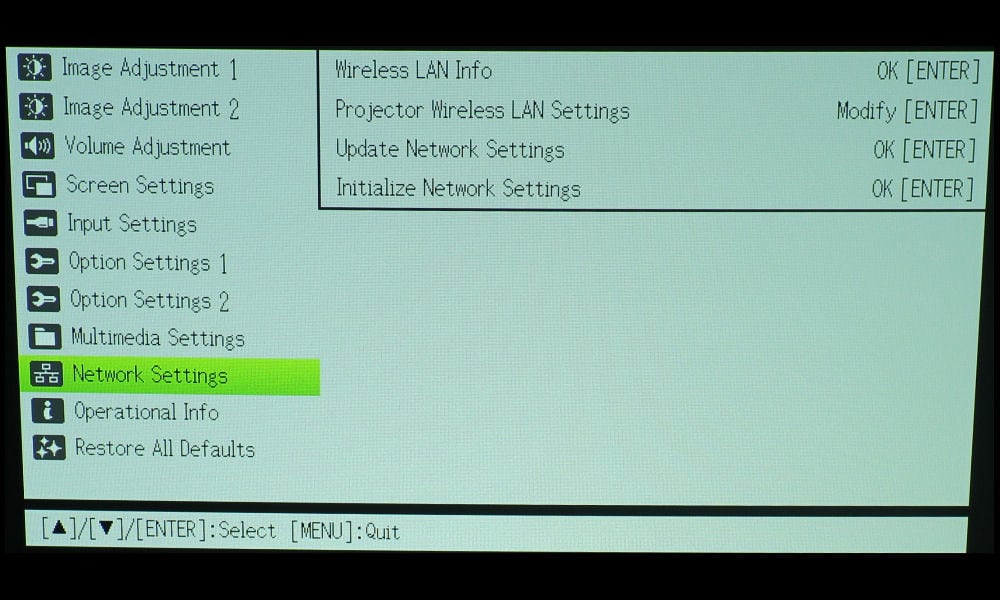
There is no LAN connection due to the fact that wireless LAN is already built in, and the projector is already configured as a wireless access point.
The Casio XJ-A257 is supplied with a small remote control that allows for a lot of control over functions that are not readily assessable via the control panel on the projector itself. In the top left of the remote you will find the Input button. The top right is where the power button is located. The second row consists of the Menu button and Escape button. The third row has Zoom -/+, and Focus Down and Up.
Next is the four-arrow directional keypad with an enter button in the center.
Below the keypad are grouped +/- buttons for Keystone (vertical only,) Digital Zoom, and Volume. To the right you’ll find Timer, which displays a nifty presentation timer on the screen, and Auto, which has the same function as the Auto on the control panel.
The next row consists of buttons that display a Blank screen, Freeze captures the image on screen while allowing the source video to continue, and Eco displays a menu offering several different levels of Eco Mode. To the right is a button to change the aspect ratio, and options are dependent upon which input sources is being displayed.
The next row consists of a rewind, play/pause, fast forward, previous chapter and next chapter/skip buttons for use with the onboard media player. To the right is the Function button.
Casio XJ-A257 Image Adjustment 1 Menu: Brightness, Contrast, Color Mode, Color Balance, Restore Menu Defaults
Casio XJ-A257 Image Adjustment 2 Menu: Overscan, Restore Menu Defaults
Casio XJ-A257 Volume Adjustment Menu: Volume, Restore Menu Defaults
Casio XJ-A257 Screen Settings Menu: Keystone Correction, Aspect Ratio, Projection Mode, Ceiling Mount, Startup Screen, No Signal Screen, Blank Screen, Restore Menu Defaults
Casio XJ-A257 Input Settings Menu: Signal Name Indicator, Restore Menu Defaults
Casio XJ-A257 Option Settings 1 Menu: Auto Keystone Correction, Eco Mode, Auto Power Off, Password, Direct Power On, Language, Restore Menu Defaults
Casio XJ-A257 Option Settings 2 Menu: Zoom Memory, Plug and Play, Audio Out, High Altitude, Control Panel Lock, Timer Function, Restore Menu Defaults
Casio XJ-A257 Multimedia Settings Menu: Autorun, Functions, Internal Storage Function
Casio XJ-A257 Network Settings Menu: Wireless LAN Info, Projector Wireless LAN Settings, Update Network Settings, Initialize Network Settings
Casio XJ-A257 Operational Info Menu: Input Signal, Signal Name, Horizontal Frequency, Vertical Frequency, Scan System, Light Time, Version
Casio XJ-A257 Restore All Defaults Menu: Unit Operating Time, Restore All Defaults
That’s all as as we explore the hardware of the Casio XJ-A257 Portable Laser Projector. Next is our discussion of the projector’s picture and sound quality.
© 2021 Projector Reviews