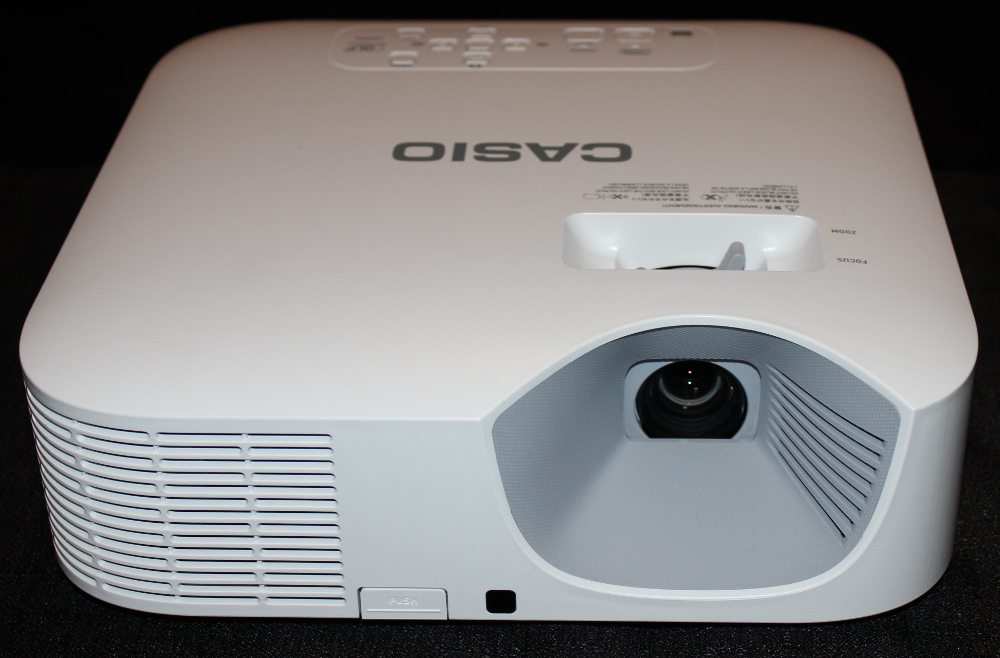
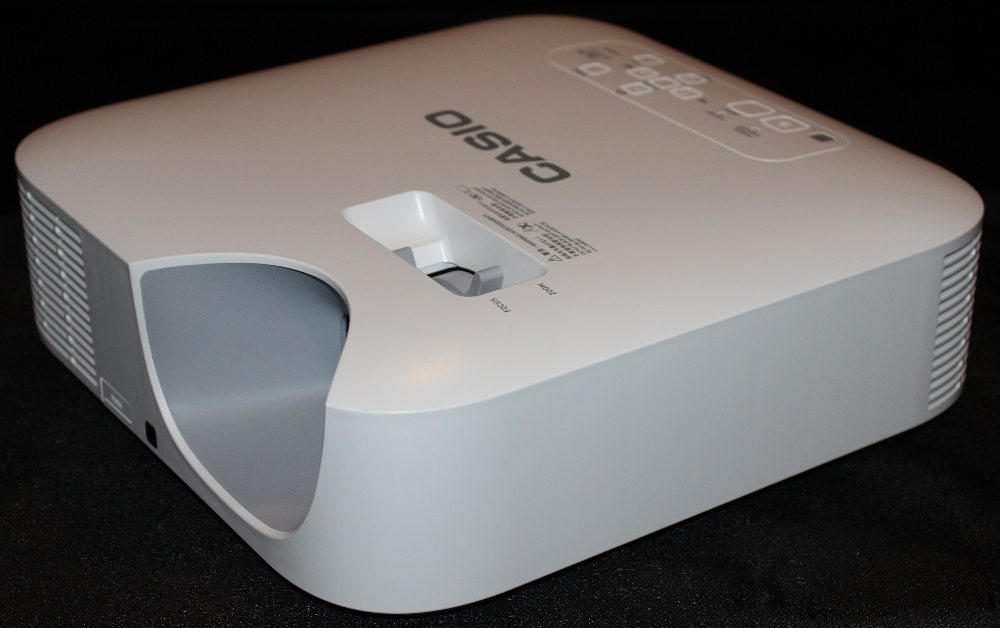
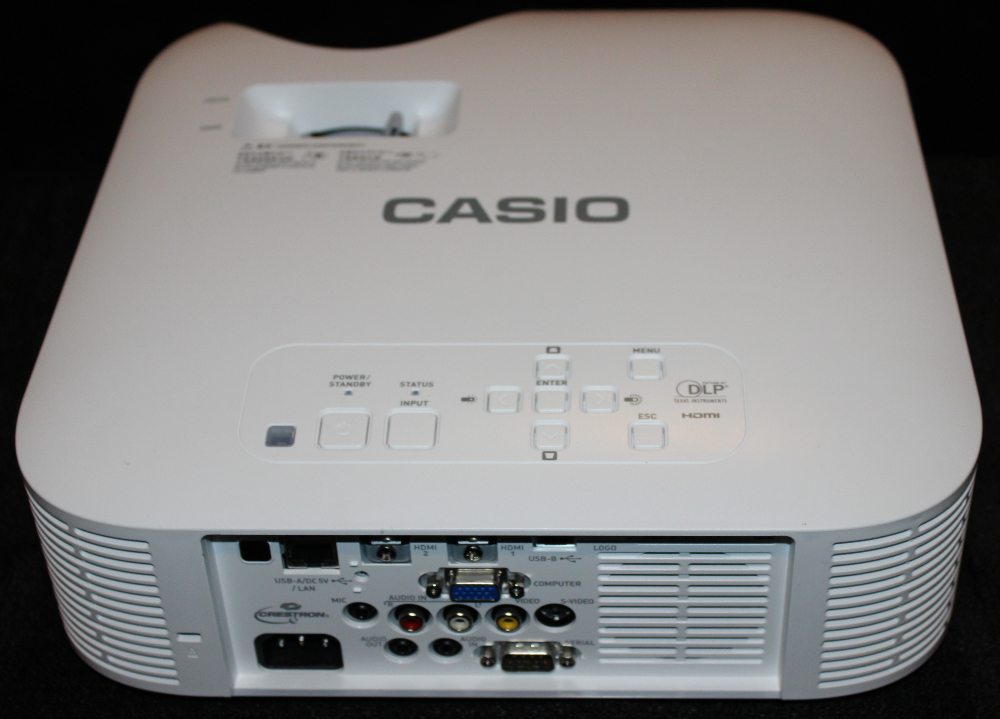
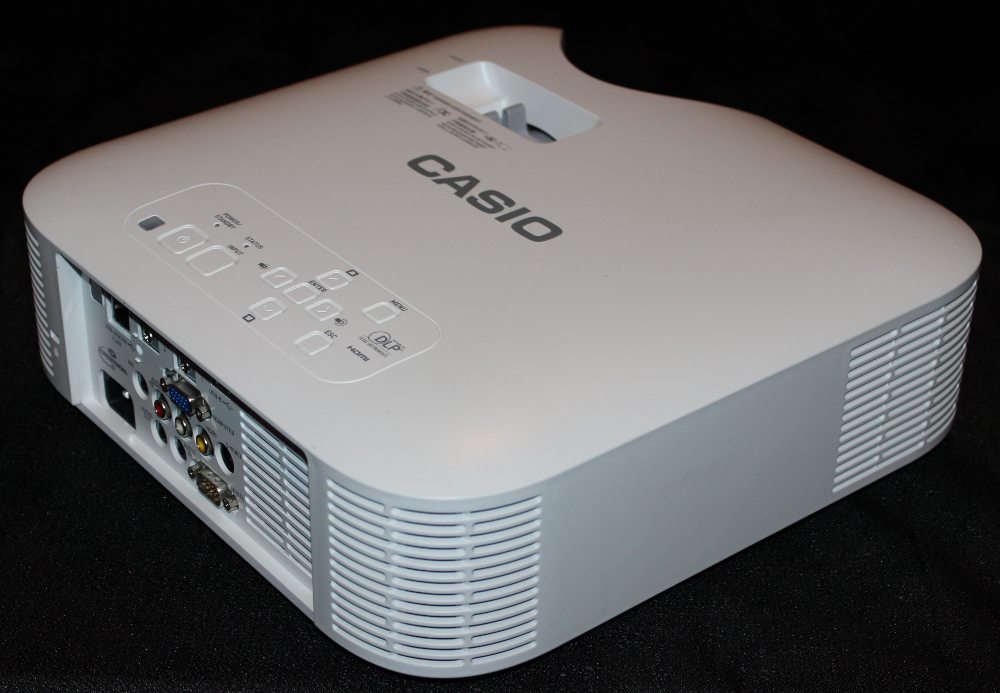
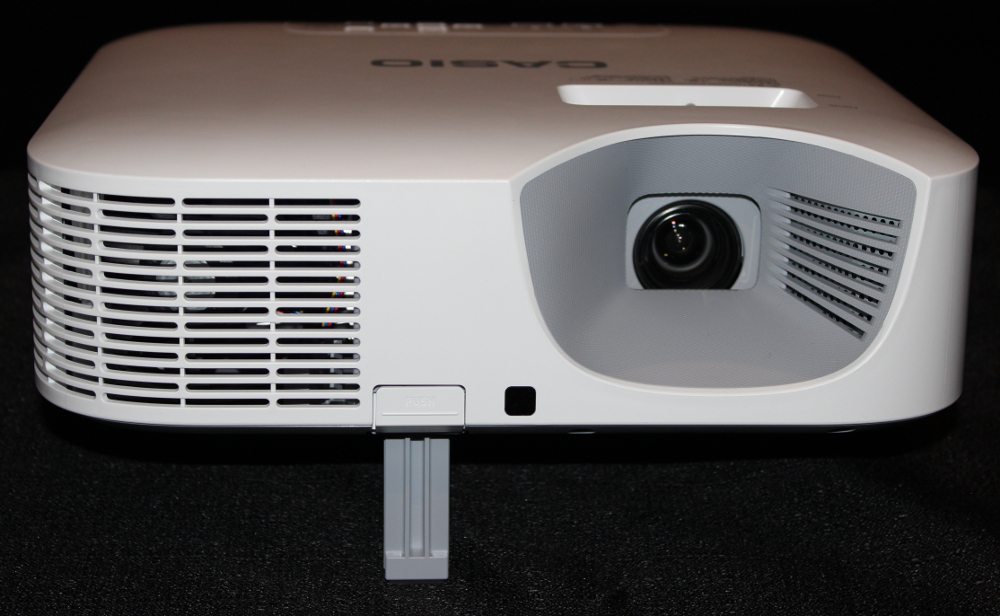
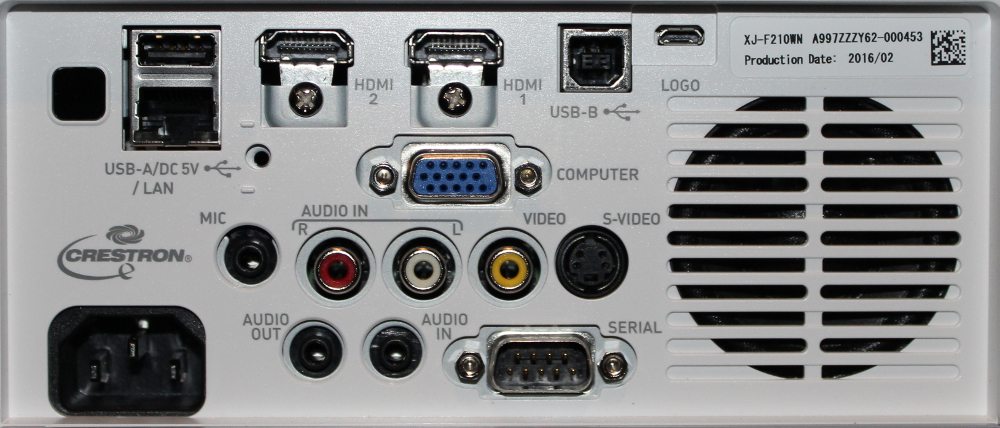
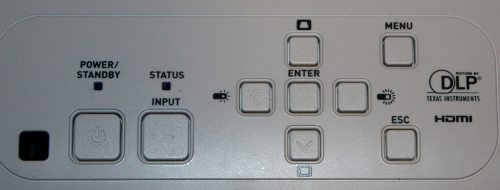
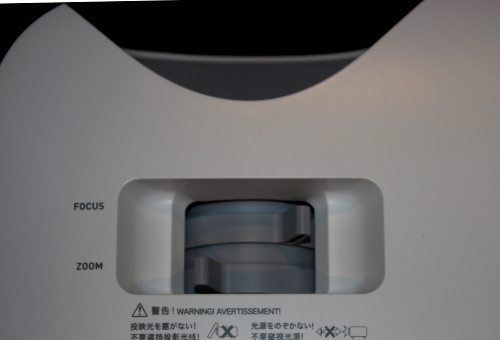
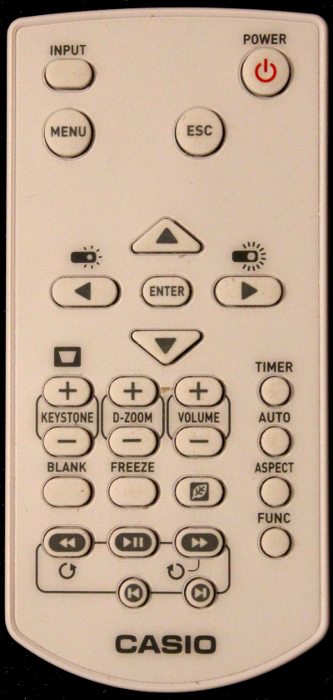
Casio XJ-F210WN Projector Review – Hardware Tour Posted on November 14, 2016 By Ron Jones 1. Casio XJ-F210WN Projector Review - Casio XJ-F210WN Overview - Highlights2. Casio XJ-F210WN Projector Review – Special Features - Hybrid Light Engine - Low Maintenance - Networking - PC-Free Presentations - Quick Power On/Off3. Casio XJ-F210WN Projector Review – Hardware Tour - Hardware Overview - Connector Panel - Control Pad - Lens - Remote Control4. Casio XJ-F210WN Projector Review – Hardware Tour 2 - Menus5. Casio XJ-F210WN Projector Review – Picture and Sound Quality - Color Modes - Video Quality - Text and Presentation Quality - Sound Quality6. Casio XJ-F210WN Projector Review – Performance - Brightness - Color Performance - Contrast - Audible Noise7. Casio XJ-F210WN Projector Review – Warranty8. Casio XJ-F210WN Projector Review – Summary - The Bottom Line - Pros - Cons9. Casio XJ-F210WN Projector Review – Specifications Casio XJ-F210WN Projector Review – Hardware Tour: Hardware Overview, Connector Panel, Control Panel, Lens, Remote Control Hardware Overview The Casio XJ-F210WN is shown in the above photo gallery. This projector has a footprint that is nearly a 1 foot square with rounded corners. 3 of the 4 rounded corners have ventilation grills. The front of the projector, as seen in the 1st photo above, has an air inlet toward the left and the lens toward the right. Near the center/bottom of the front panel are the IR window for the remote control and just to the left of that is the release button for the projector’s front foot, for tilting the projector upward, as seen the 5th, and final, photo above. The rear of the projector, as seen in the 3rd photo above, has air exhaust vents at the right and left corners, the signal connector panel and the speaker grill just to the right of the connector panel. Connector Panel The connector panel is shown above. Across the top of the connect panel going from left to right are IR window for the remote control, a USB connector with a wired LAN connector just below that, two HDMI inputs, a USB-B connector and a micro USB-B connector. Below those are the blue analog computer connector (VGA styple) and the row of connectors below that are for microphone input, right and left audio inputs, composite video input and S-Video input. Finally at the bottom of the connector panel are the AC Power cable connection, stereo audio output and )nput connectors, and a serial communications (RS-232) connector. Note in the photo the grill for the speaker is just to the right of these signal connectors. Control Pad The XJ-F210WN has a control panel, as shown in the above photo, that is located on the top of the projector From left to right there are buttons for Power On/Off, Signal Input, 4-way navigation buttons, menu, and Escape (go back up menu level). Two status lights are located just above the power and input buttons. The navigation buttons do double duty for controlling digital keystone and image brightness when menus are not being displayed. Lens As shown in the 1st gallery photo at the top of this web page, the projector’s zoom lens is recessed in an sculpted area at the top-right corner of the projector, as viewed from the projector’s front. The manual zoom and focus adjustments are accessed from the top of the projector, as shown in the photo above. The lens has a moderate zoom range of 1.5x. For a 100 inch diagonal screen the supported range for the throw distance is from 9.22 to 13.48 feet. The projector’s vertical offset means that for when the projector is sitting level on a table the bottom of a 100 inch diagonal image will be 8.66 inches above the vertical position of the projector’s lens. These characteristics/capabilities should prove adequate, in terms of mounting flexibility for most situations. I found the lens on the XJ-F210WN to produce a sharp image that, when viewed very close to the screen, could clearly display the pixel structure across the entire screen. Remote ControlThe XJ-F210WN’s remote control is fairly small and has no backlight for the buttons. At the top-left in a button for selecting the signal input and at the top-right is the power on/off button. Below those are the Menu button toward the left and the Esc button (to return to the previous menu) toward the right. Next down are the 4-way navigation buttons with an enter button at the center. Below that are 3 groups of +/- buttons for controlling the digital keystone adjustment, the digital zoom adjustment (to magnify a portion of the image), and the audio volume. Below those 3 groups are buttons for Blanking the displayed image, Freezing the displayed image, and placing the projector in Eco reduced power mode. There are 4 buttons positioned vertically to the right of the above buttons that are for Timer, Auto, Aspect and Function. Finally, at the bottom are a group of multimedia buttons that can be used for displaying presentations, slide shows or videos. Click Image to Enlarge 1. Casio XJ-F210WN Projector Review - Casio XJ-F210WN Overview - Highlights2. Casio XJ-F210WN Projector Review – Special Features - Hybrid Light Engine - Low Maintenance - Networking - PC-Free Presentations - Quick Power On/Off3. Casio XJ-F210WN Projector Review – Hardware Tour - Hardware Overview - Connector Panel - Control Pad - Lens - Remote Control4. Casio XJ-F210WN Projector Review – Hardware Tour 2 - Menus5. Casio XJ-F210WN Projector Review – Picture and Sound Quality - Color Modes - Video Quality - Text and Presentation Quality - Sound Quality6. Casio XJ-F210WN Projector Review – Performance - Brightness - Color Performance - Contrast - Audible Noise7. Casio XJ-F210WN Projector Review – Warranty8. Casio XJ-F210WN Projector Review – Summary - The Bottom Line - Pros - Cons9. Casio XJ-F210WN Projector Review – Specifications Casio XJ-F210WN Projector Review – Special Features Casio XJ-F210WN Projector Review – Hardware Tour 2