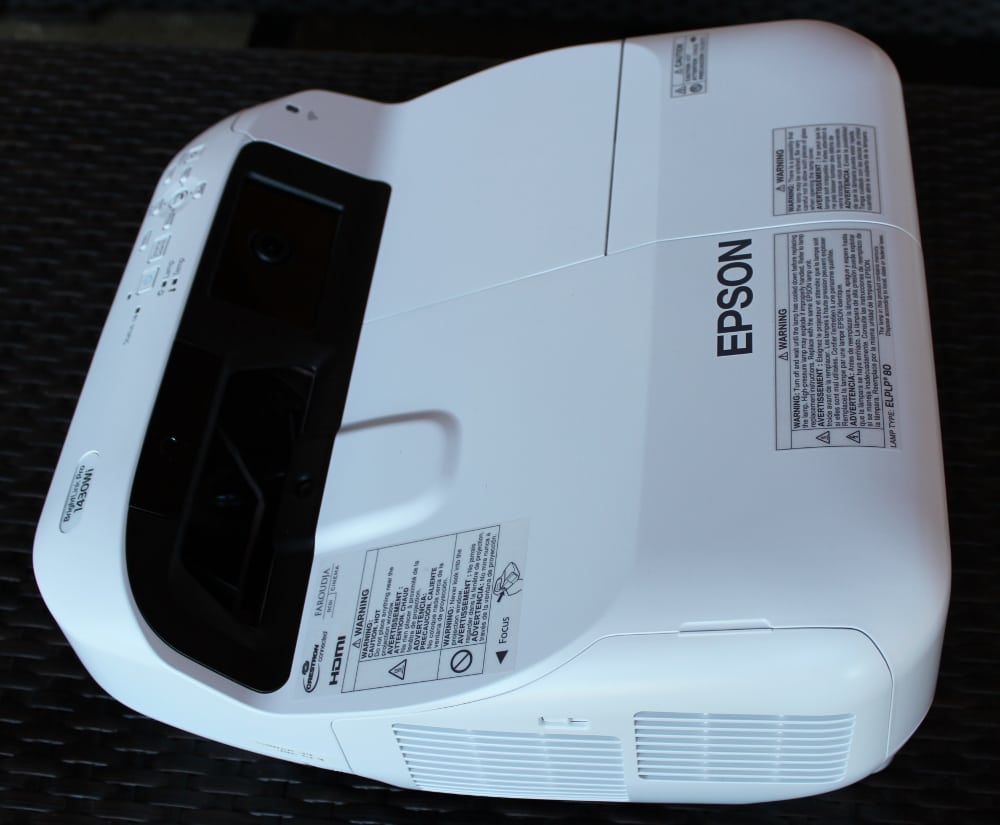
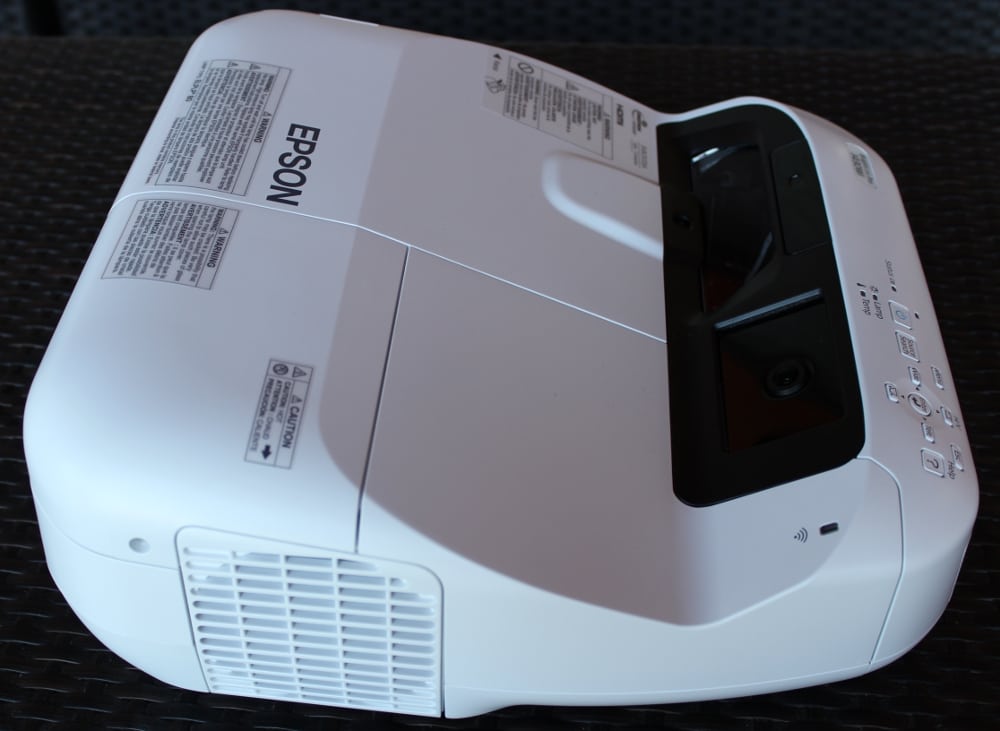
Typical of Epson’s ultra short throw projectors, the Brightlink Pro 1430Wi has it’s “lens” on the top surface (as shown in the photo below with the projector sitting on a table). When mounted in the "normal" inverted position, using an optional wall mount, the light is projected downward toward the projection surface at a steep angle. The lens is located in a recessed area that also houses the sensors for the interactive functions to calibrate and track pen movements. More information on the lens is provided below.
There is no optical zoom feature, but the projector does offer digital zoom which simply enlarges a portion of the image to fill the screen. Also the optional Epson wall mount permits the throw distance to be adjusted and this varies the image size over the range from 60 inches to 100 inches diagonal.
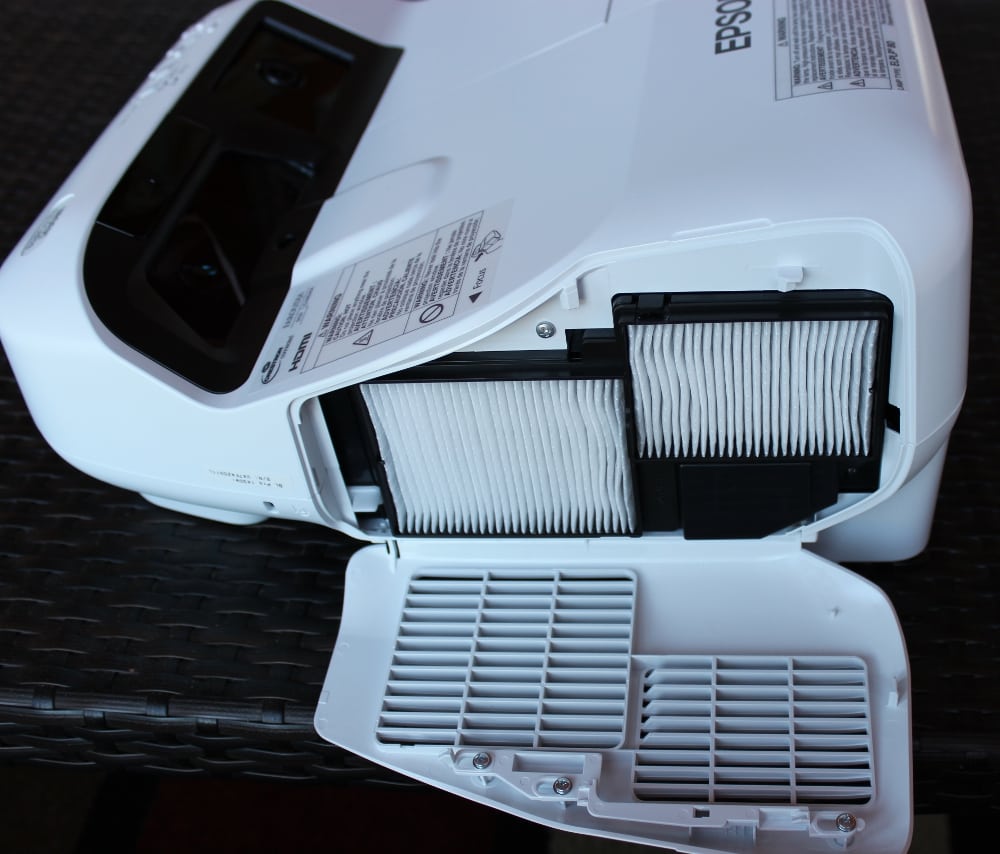
A pair of long life filters are hidden behind a quick release hinged door on one side, shown below with the cover door open. There is also a focus control, which is located inside the filter compartment. It’s white, rectangular slider visible on the left side of the filter elements in the photo below.
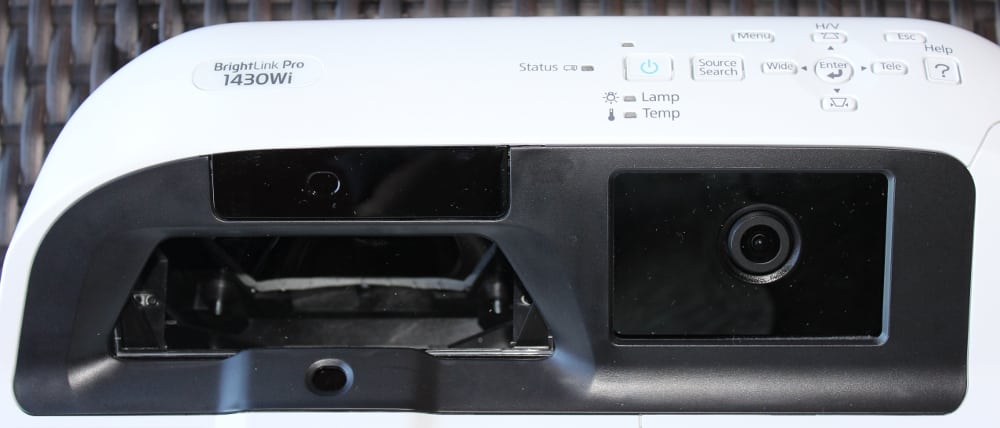
The projector built-in control panel is on the front edge, and is typical of most projectors.
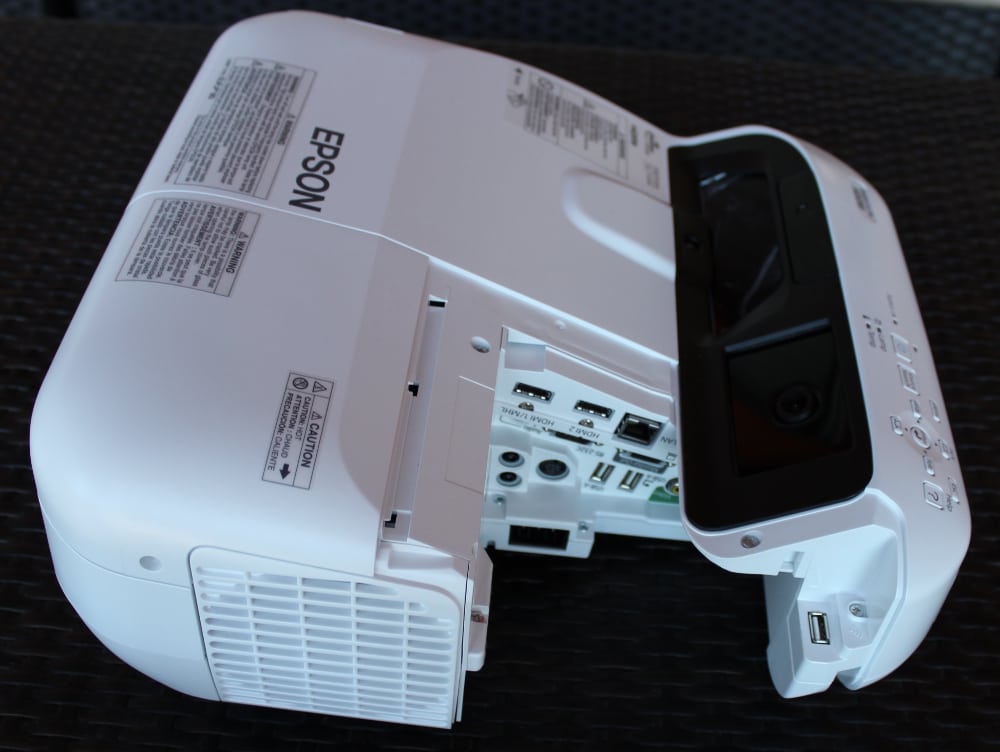
All of the signal connections are located the side opposite the filters. A removable cover is provided so that the connections can be accessed when the cover is removed and with the cover installed the projector has a much cleaner appearance. There are a lot of connections, so things can get pretty tight in there. We’ll take a closer look a little further along in this review. The photo shows the projector with the connector panel cover removed.
[sam_pro id=1_75 codes="true"]
Interactive Features
The BrightLink Pro 1430Wi is supplied with two interactive pens, shown in the first photo below, plus an "Touch Sensor Unit" shown in the second photo below.
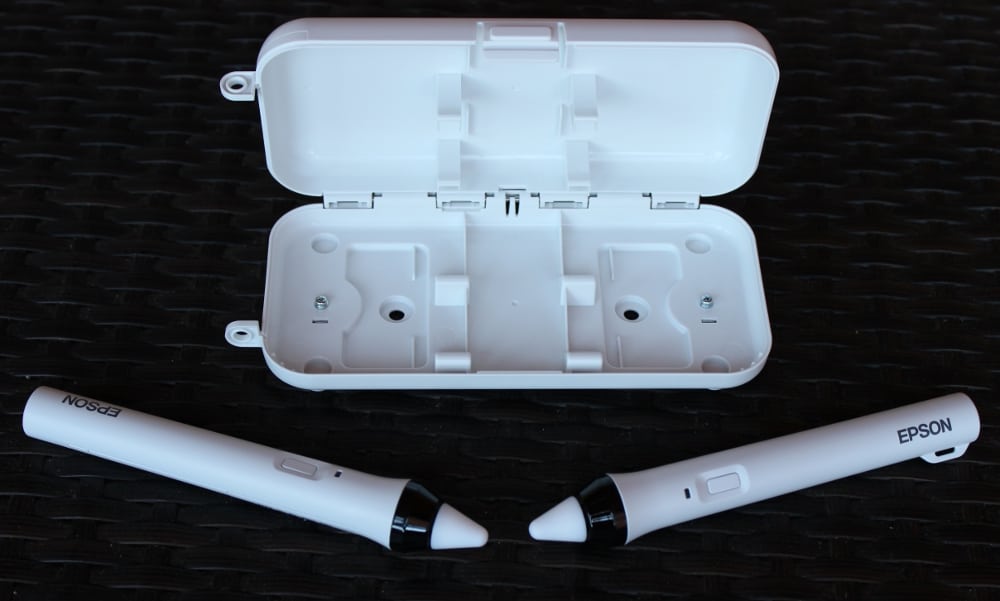
Interactive Pens with Case
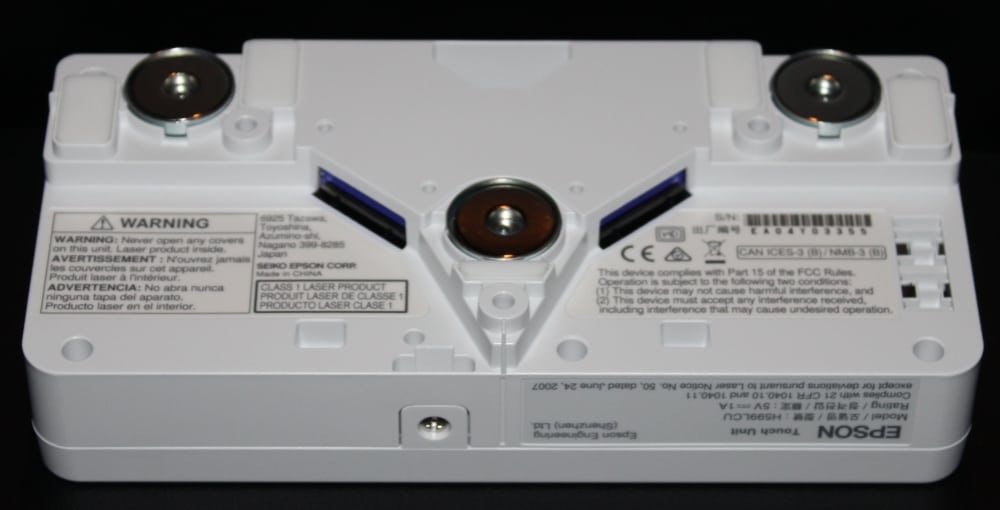
Touch Sensor Unit
The touch sensor unit, pictured above, is mounted just 1 inch above the top of the projected image (e.g., the top of the whiteboard/screen) and can be either attached with built-in magnets (e.g., if you have a magnetic white board) or if that doesn't work for your setup. then it can be attached to the wall with screws.
The Epson Touch Sensor Unit uses dual IR sensor to determine the touch position of the user's fingers on the white board/screen surface. The Touch Unit is connected to the 1430Wi using a supplied cable. Once the projector and Touch Unit have been mounted and connected, a series of steps are required to adjust the Touch Unit then to calibrate the interactive system in order for system to accurately determine the finger touch position on the projected image. Epson provides the software tools along with built-in calibration functions that are needed to perform this setup of the interactive features. This setup should only be necessary when the projector and Touch Unit are initially installed and will not normally need to be repeated unless something changes in the setup (e.g., changing to a larger or smaller white board). The setup and calibration of the interactive features of the 1430Wi are covered in a later section of this review.
Lens and Lens Throw
The lens, as noted above, is mounted on a steep angle. This means that the light output needs to be non-linear. Consider 1430Wi sitting on a table, then the angle from the lens to the lower part of the screen is relatively moderate, perhaps 30 degrees up, while to hit the top part of the screen it’s more like 70 degrees (these are best guesses).
Because many surfaces including a typical whiteboard will bounce the maximum amount of light off the surface at the same angle the light hit it, light hitting the top of the surface is mostly going to bounce more of the light toward the ceiling than back toward the viewers. Note that whiteboards that have a more matte surface (less shiny) will probably work better in getting the light back toward the viewers in the classroom. As a result, the projector has to compensate, by having the light that hits the top of the screen be somewhat brighter than the light with the shallower angle hitting the bottom.
That’s appears to bewhat Epson does. When viewing the projector from a typical positions in the room, the screen appears evenly lit. In other words, the design works! (The challenge is how to measure the usable brightness - more on that in the test results section of this review.)
Once the projector is mounted, simply adjust the focus and you will have a nice bright image that has excellent focus and good brightness uniformity.
Perhaps this is also an appropriate place to mention that a few manufacturers are now offering classroom/conference room white boards specifically designed to also serve as projection screens. One company of such white boards/screens is Elite Screens.
As for the throw distance, being a ultra short throw projector means very little distance between the projector and the whiteboard/screen. The projector typically is placed so that the closest part of the projector is 2.5 inches from a 60 inch diagonal WXGA image (16:10 aspect ratio). The other extreme is to fill a 100″ diagonal screen of the same aspect ratio. That requires the front of the projector to be a mere 12.2 inches from the projection surface. Since the lens it located toward the rear of the projector the actual lens-to-screen throw distance is actually about a foot more than the above values.
The optional Epson wall mount allows for the distance between the white board/screen and projector to be adjusted over the above range to accommodate the 60" to 100" (16:10) image sizes mentioned above. The projector supports a maximum size of 100″ diagonal at 16:10 (the native aspect ratio of the projector), or 97″ maximum with a 16:9 (HDTV shape) image. (Larger sizes aren’t practical for an interactive projector – people can’t interact with the upper portion of the surface if it’s 7, 8, 9 feet off the floor.)
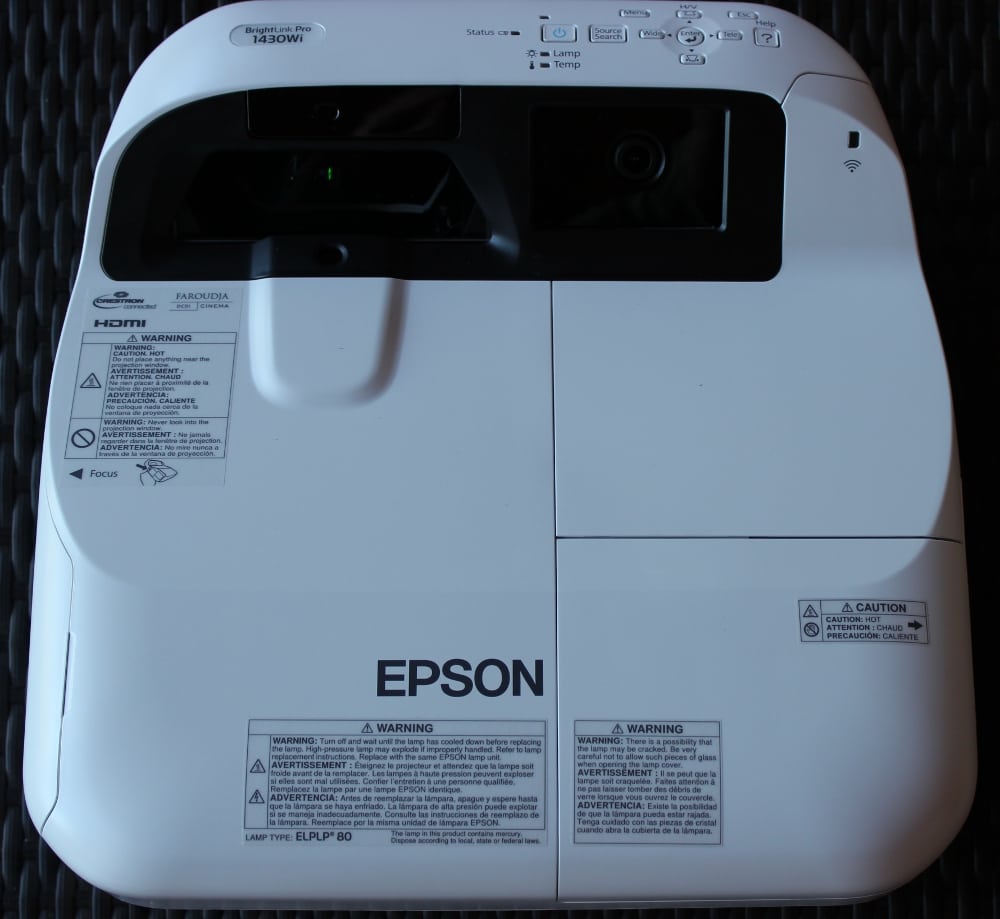
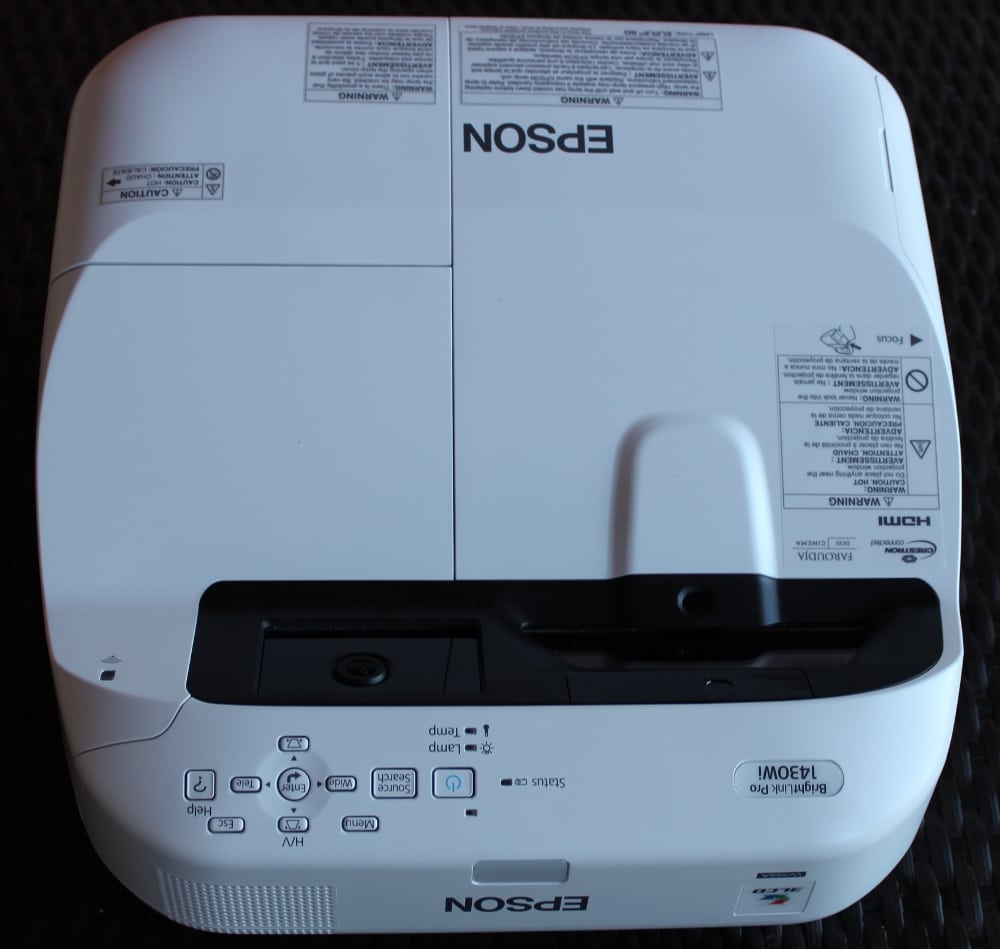
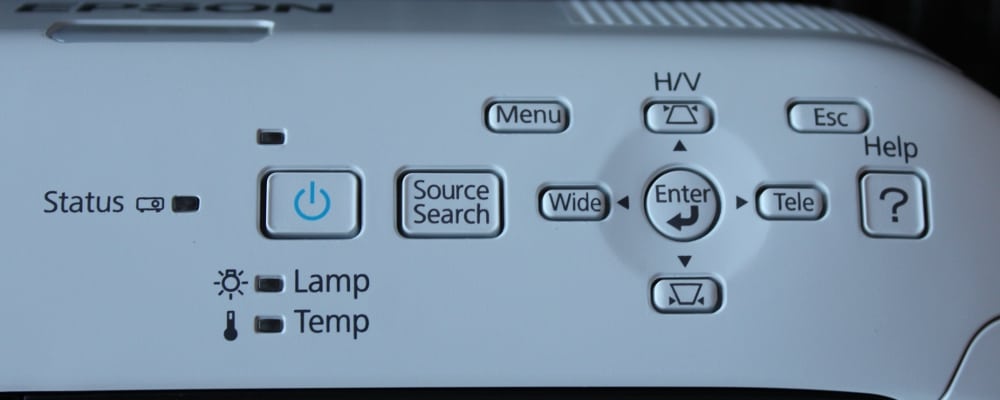
Control Panel
A projector's built-in control panel is a handy thing when it is within reach. In the case of the 1430Wi, the control panel should be easily accessible when mounted to a table. If the projector is wall mounted above the screen, most likely the control panel will be just out of reach. Folks that’s why you also get a remote control.
Let’s look at the projector's control panel (pictured below), starting from the left if you are looking from the rear of the projector.
As you can see, there are the usual indicator lamps by the power switch. The projector uses the usual protocol of: Press once to power up, twice to power down that is shared by most projectors. Moving to the right:
Source Search is next. One can manually advance through all the inputs, or it will seek a live one out. Note that when it searches, it will stop on the first live input it finds, not continue on looking for others.
Just above and to the right is the menu button, and then comes all the navigation controls, consisting of four arrow keys in a diamond configuration, with the Enter button in the center. Just on the right side of the up arrow, is the Escape button which will let you move backward in the menus to the first level, and then off. (Pressing Menu when inside the menus closes the menu – also fairly typical of most projectors.) Far to the right is the Help button which brings up on-screen help information.
The only other thing to note is that the four arrow keys take on different functions when you are not navigating menus. Up and Down arrows let you adjust keystone correction, while left and right control the digital zoom feature.