Image Menus
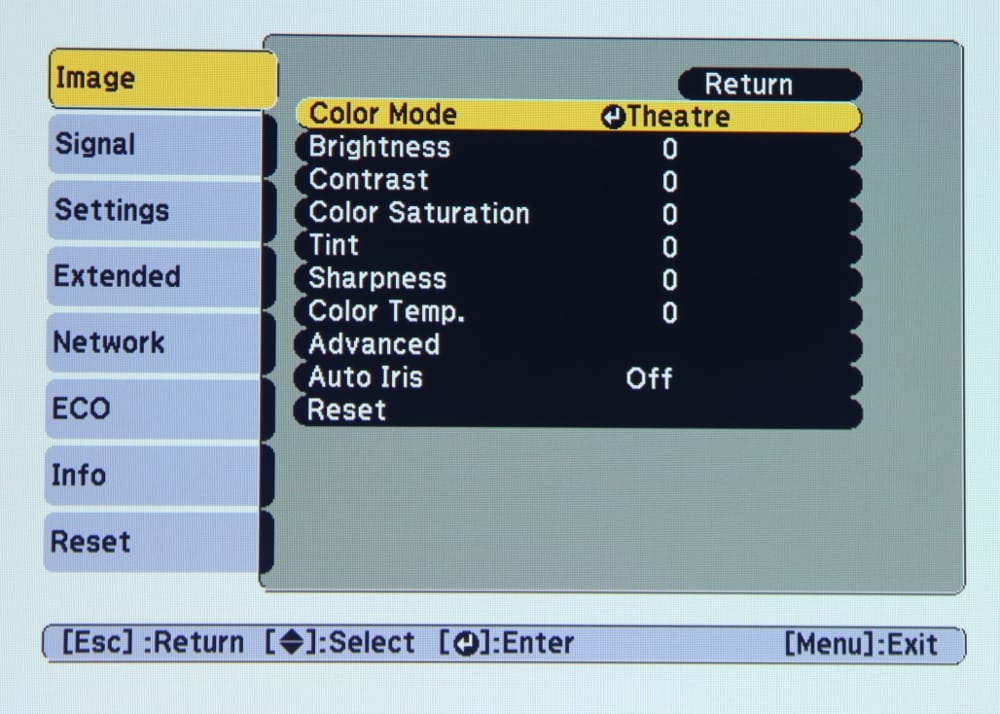
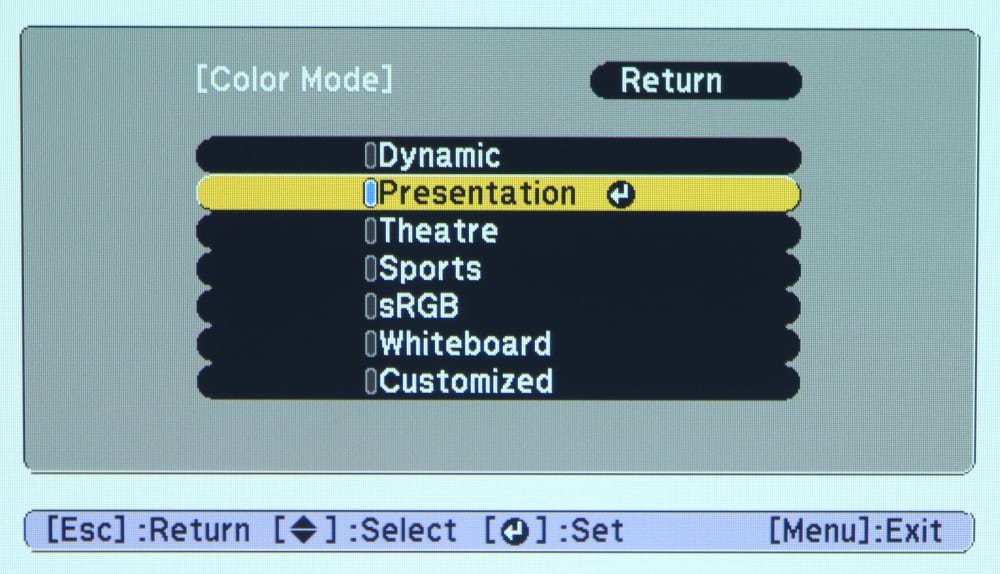
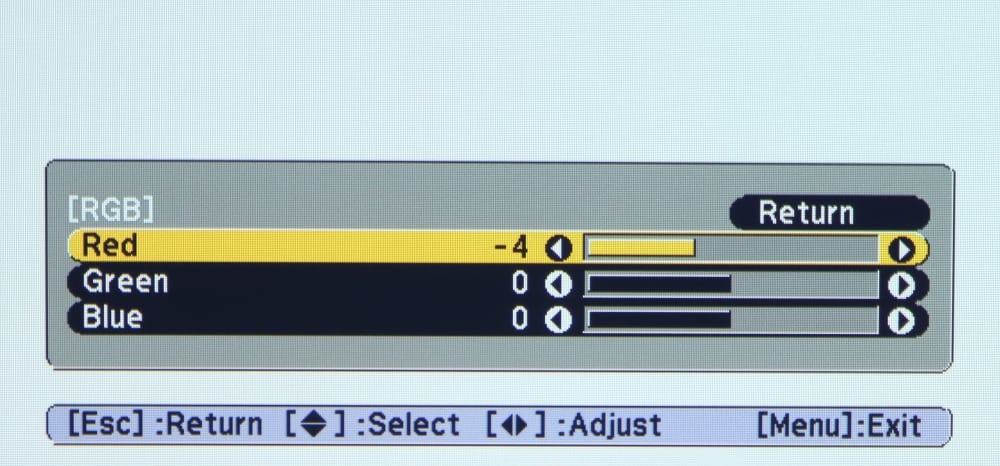
The 1430Wi's top-level menu, shown as the first photo of the above gallery, provides access to all of the various sub-menus. the first of those is the "Image" menu from which you can access all of the standard picture settings (brightness, contrast, etc.) as well as the settings for color temperature, Auto Iris. The 1430Wi offers several Color Modes (i.e., dynamic, presentation, theater, etc.) that are shown in the second photo of the gallery. Note there are a couple of additional color modes (Photo and DICOM SIM) that are only available with RGB input signals. For those users desiring to do a more fine tuning of the colors there is a color temperature setting and also there is a sub-menu for Color Adjustments (photos 3 and 4 in the gallery), where the gains can be adjusted individually for red, blue and green. There is also an adjustment (available only in certain image modes) for setting the Auto Iris, as shown in the 5th photo of the gallery.
[sam_pro id=1_75 codes="true"]
Signal Menu
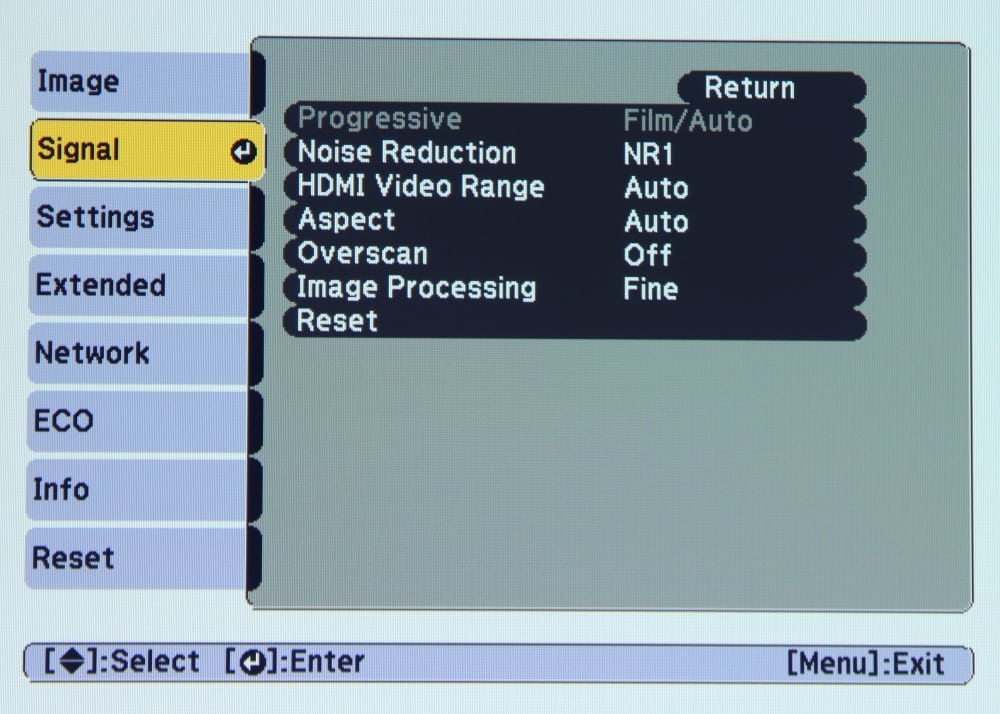
The 1430Wi’s “Signal” Menu (photo above) provides access to several settings including the HDMI Video Range menu (limited or full). Also there is a menu item to select the aspect ratio of the projected image. The signal menu also lets the user change the settings for “noise reduction”, “over scan” and “image processing”. Normally the default settings for the items on the Signal Menu will not need to be changed.
Settings Menu
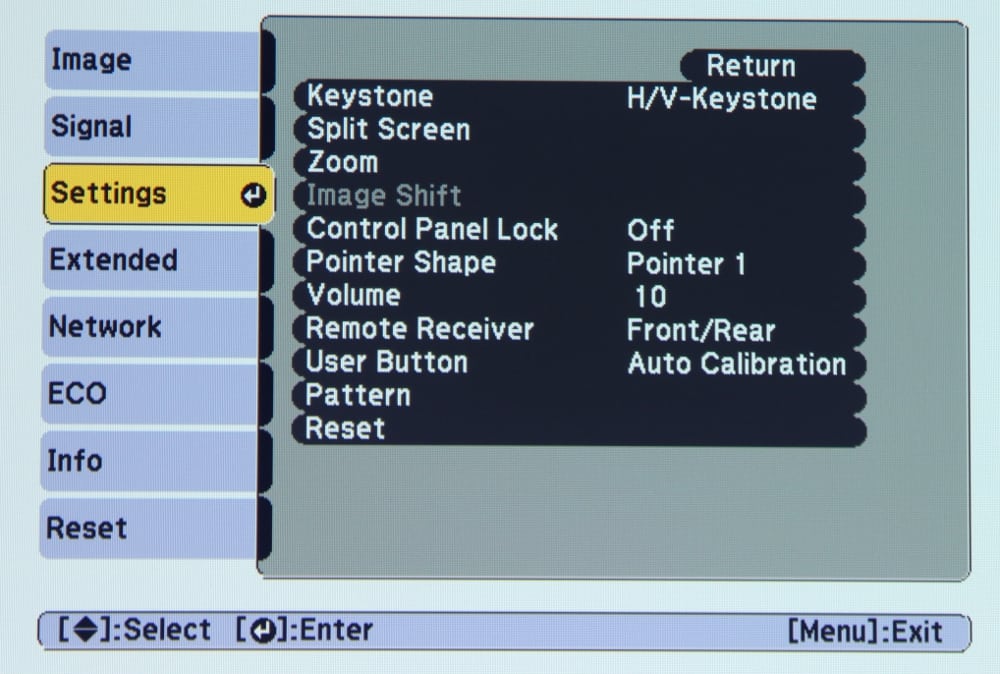
The Settings Menu (shown above) includes items for the digital “Keystone” adjustment, split screen mode and digital “Zoom”, but these functions are also available directly from both the projector’s control panel and the remote control. Next there is a setting for “Image Shift” (available only with certain input signal formats). While this projector does not offer an optical lens shift adjustment the image shift allows the image to be electronically shifted, just a little, right/left or up/down to fine tune the position of the projected image on the whiteboard/screen. Next is an item to allow the projector's control panel to be locked. After that are menu items for adjustments for the shape of the on-screen pointers as well as the startup level for the speaker volume. Next the user can elect to use either the projector’s front or rear IR receiver to receive the remote control’s signals. The remote control has a button labeled ‘user’ and there is a setup menu item to select which one of several available functions is to be assigned to that button. There is a menu item to display a test pattern and finally an item to reset the projector to its factory default settings.
Extended Menu
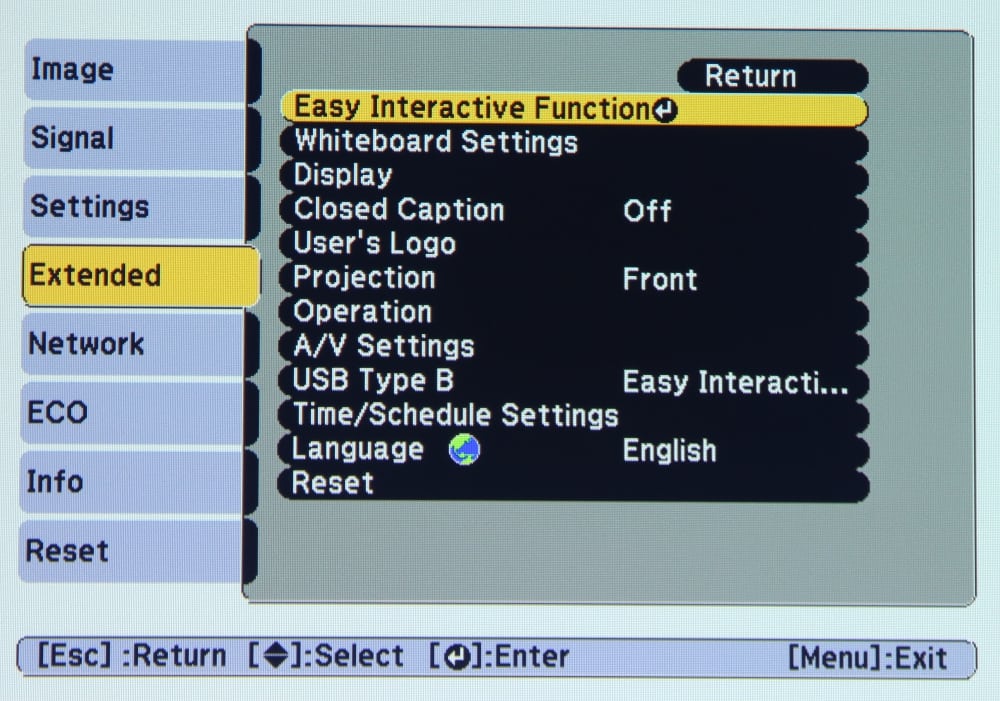
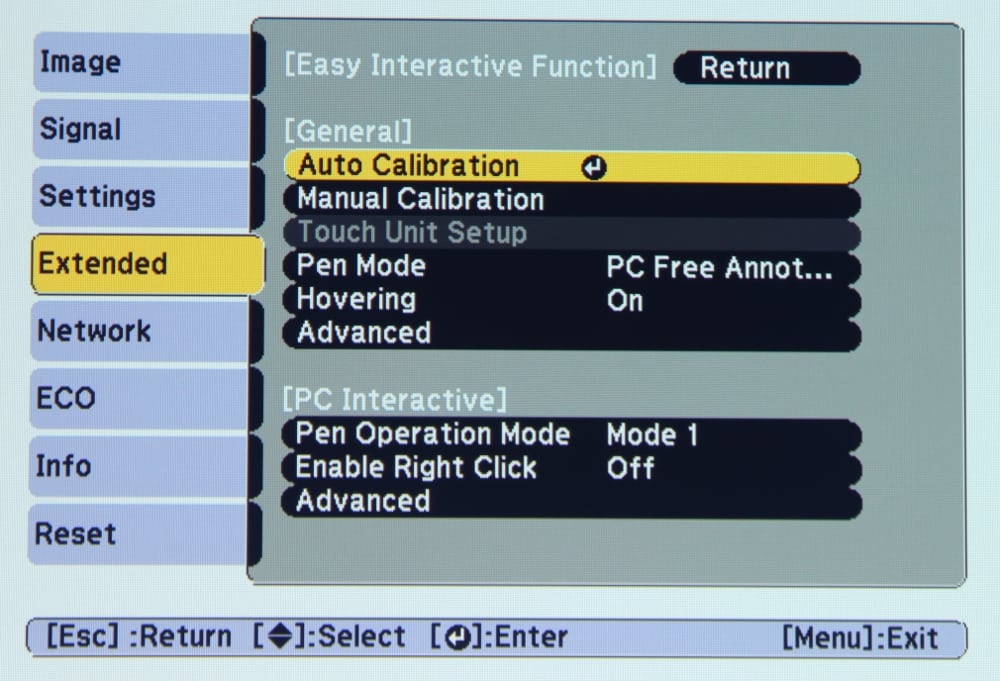
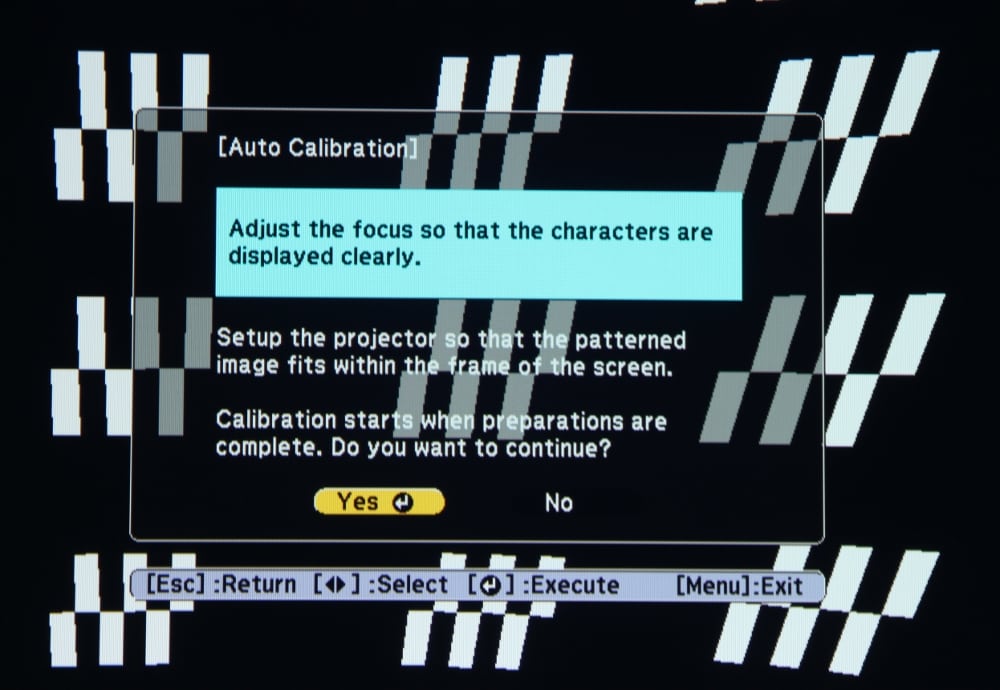
The “Extended” [settings] menu (photo 1 in the above gallery) provides access to several other necessary functions for getting the 1430Wi setup. The first item in the Extended menu is for setting up the Interactive features. The 2nd photo in the gallery shows the Easy Interactive Menu while the 3rd gallery photo shows the first of a series auto calibration screens that are used to calibrate for use of the interactive pens.
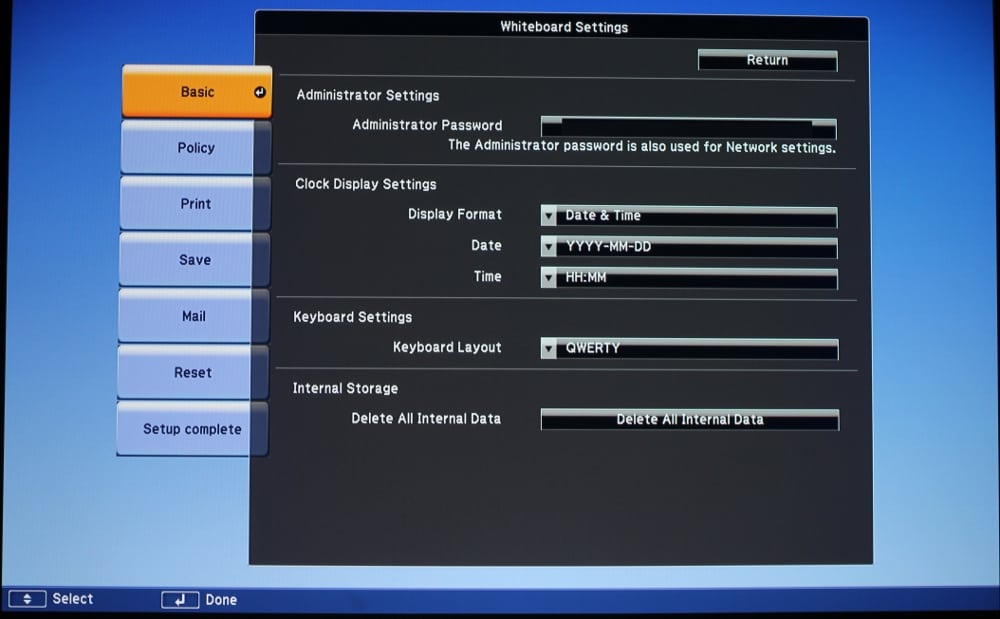
The 2nd item in the Extended Menu is for the Whiteboard Settings and the 4th gallery photo shows the Whiteboard Settings menu page.
Continuing down the items in the Extended menu, the user can turn closed captioning on/off, add a user logo, plus configure the projector for front vs. rear projector and table vs. ceiling mounting.
The A/V Settings menu allows the configuration of the A/V inputs and outputs for such things as which audio output port is assigned for use when signals are being input on the HDMI-1 and HDMI-2 ports.
There are also menu items to set the menu Language and to reset the projector to the factory defaults.
Network Menu
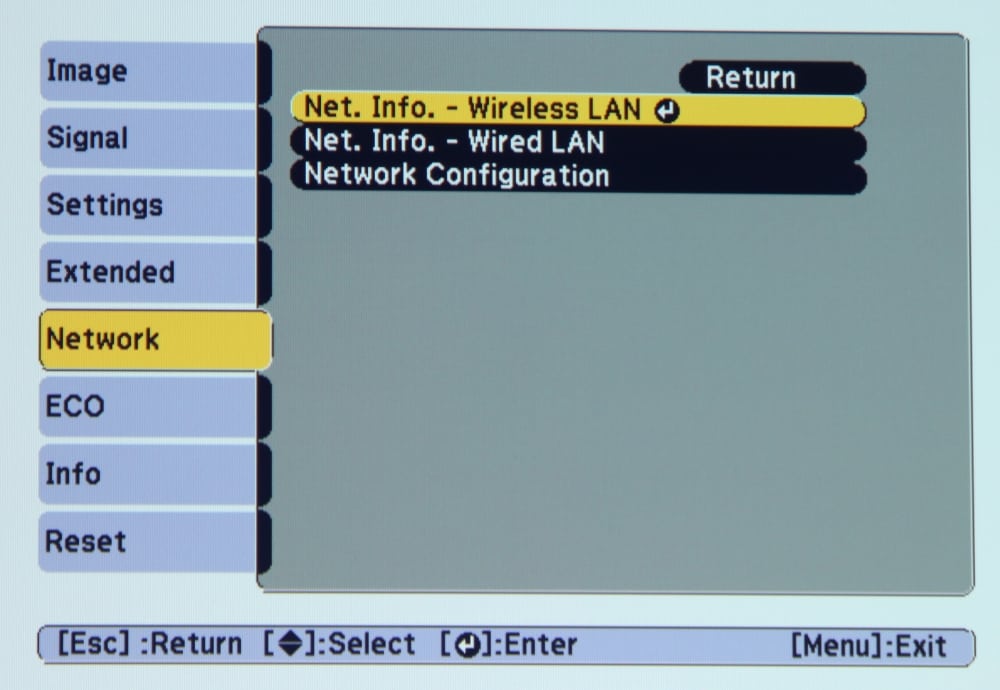
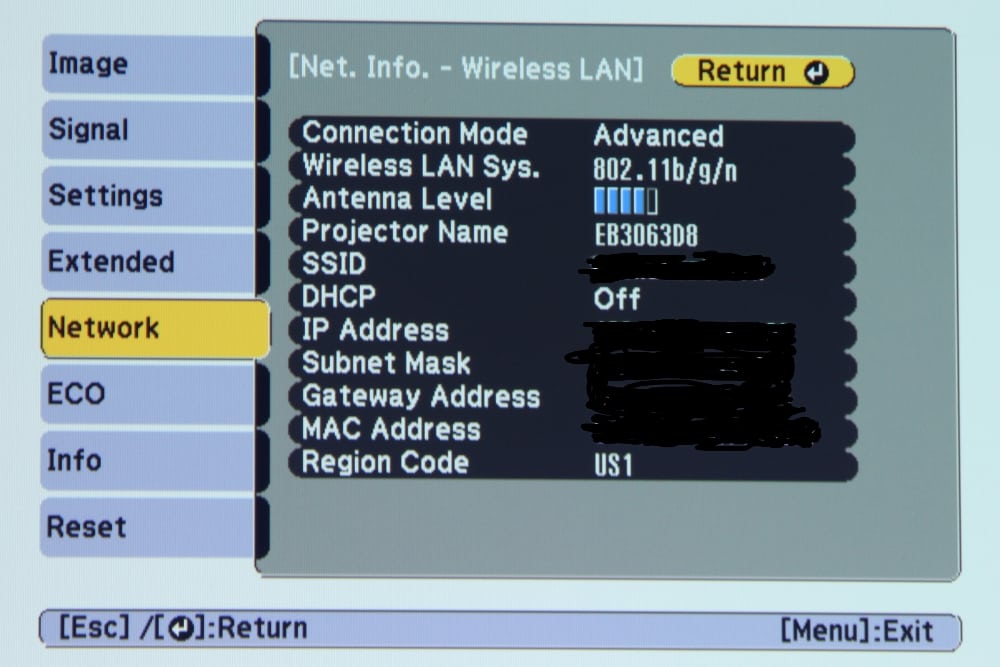
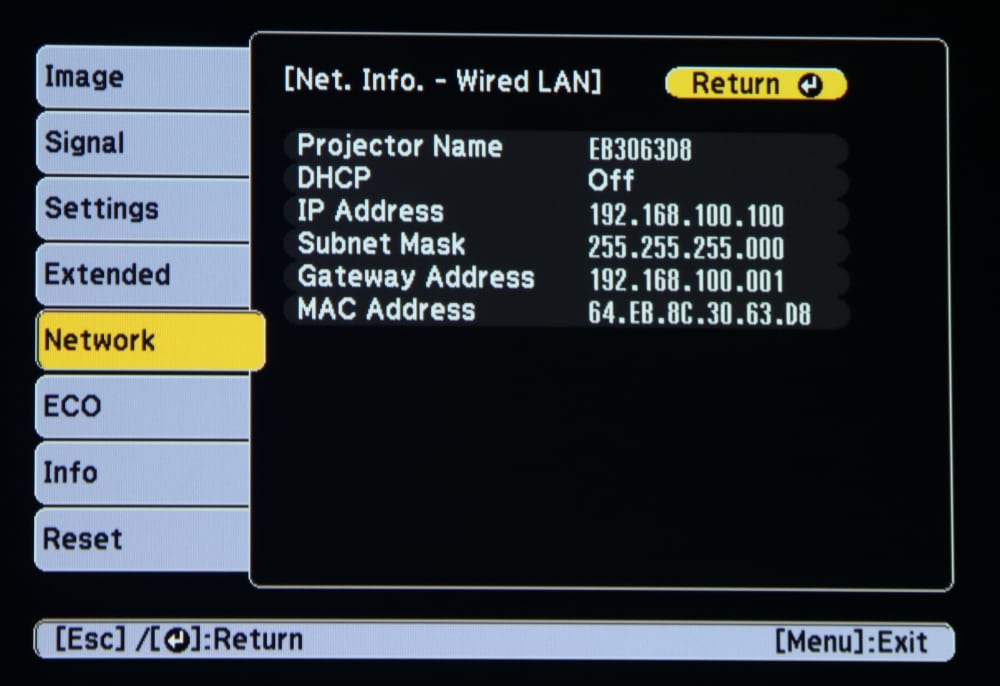
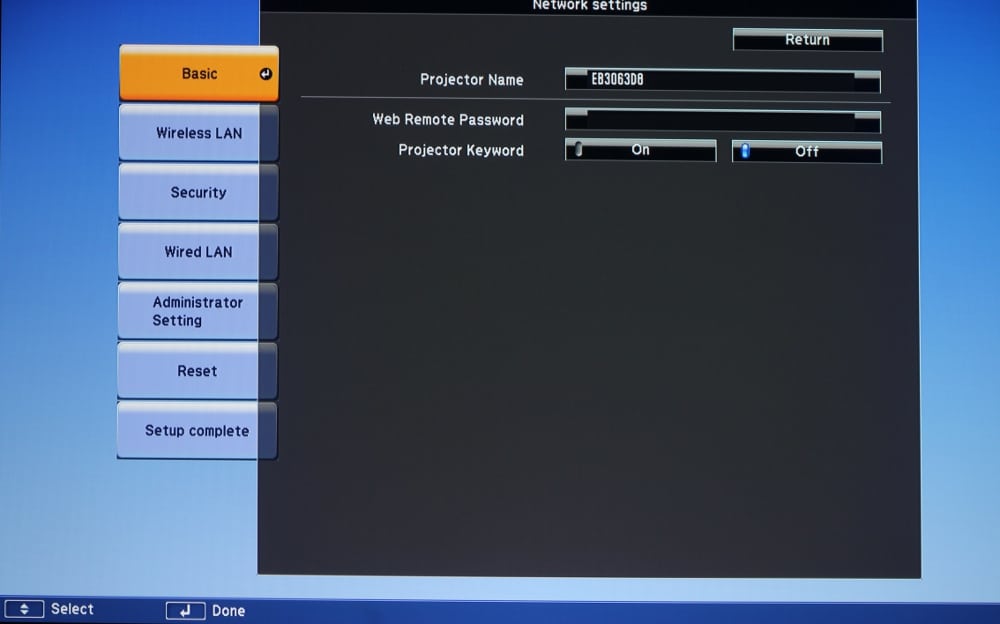
The “Network” menu, shown in the first gallery photo above, provides access to status pages and submenus for configuring the wireless and wired network(s). The 2nd photo in the gallery shows the wireless network information screen while the 3rd photo shows the wired network information screen. Finally, the 4th gallery photo shows the top-level screen for the network configuration menus.
The “Eco” menu, shown in the first gallery photo above, allows the user to set the projector for the reduced power Eco mode. This reduces the light output and fan speed of the projector. The projector’s sleep timer can also be configured thru this menu.
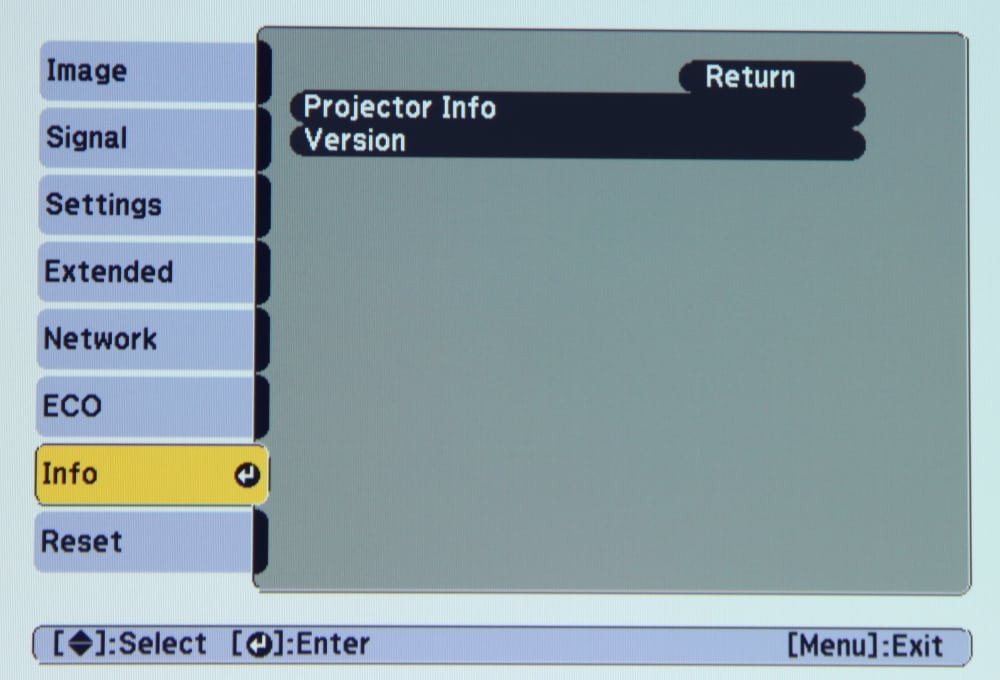
The “Info” menu, shown in the second gallery photo above, displays information about the input signal and the projector’s status.