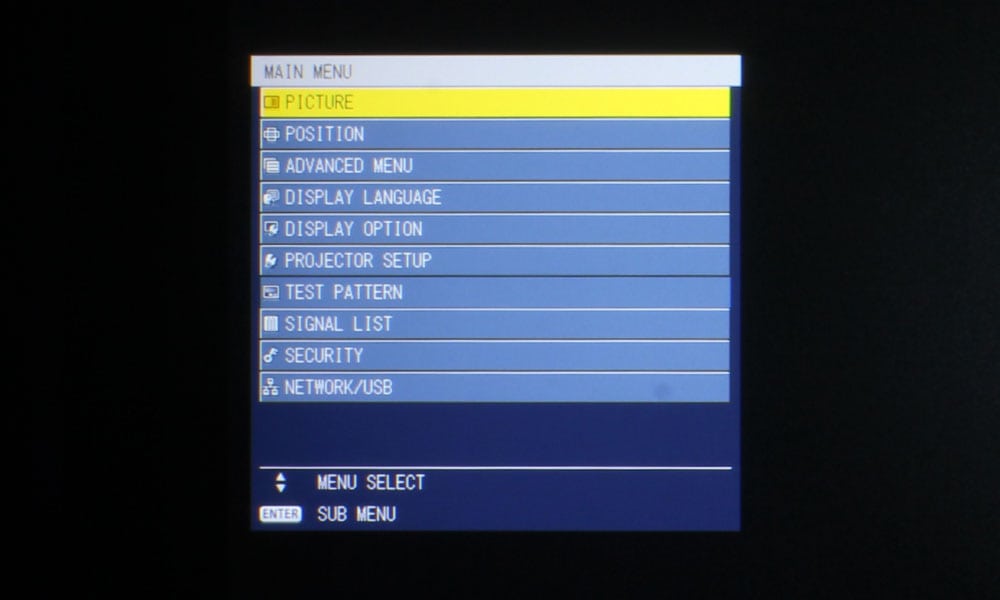
I’m going to discuss the buttons on the remote control, but feel that the image provided is sufficient, so I will do so briefly. Starting with the very top section, there are but two buttons: Power and Auto Setup/Cancel. The row below that has three buttons relating to the motorized lens functions – Focus, Zoom, and (Lens) Shift.
Below that is the usual navigational configuration – an Enter button surrounded by 4 directional arrow keys, with four buttons surrounding that, positioned into each corner of the section. Starting with the top left, there is the Menu button, and the Return button on the other side. Below that is the Function button, with the Default button opposite of that.
The next section consists of six buttons, all for the inputs: HDMI 1, HDMI 2, Digital Link, RGB 1/2, Video, Network/USB. Under that is the 10 key numerical pad, with two buttons surrounding 0 at the bottom. Most of these buttons have another function (all except 8), so I’ll list that below:
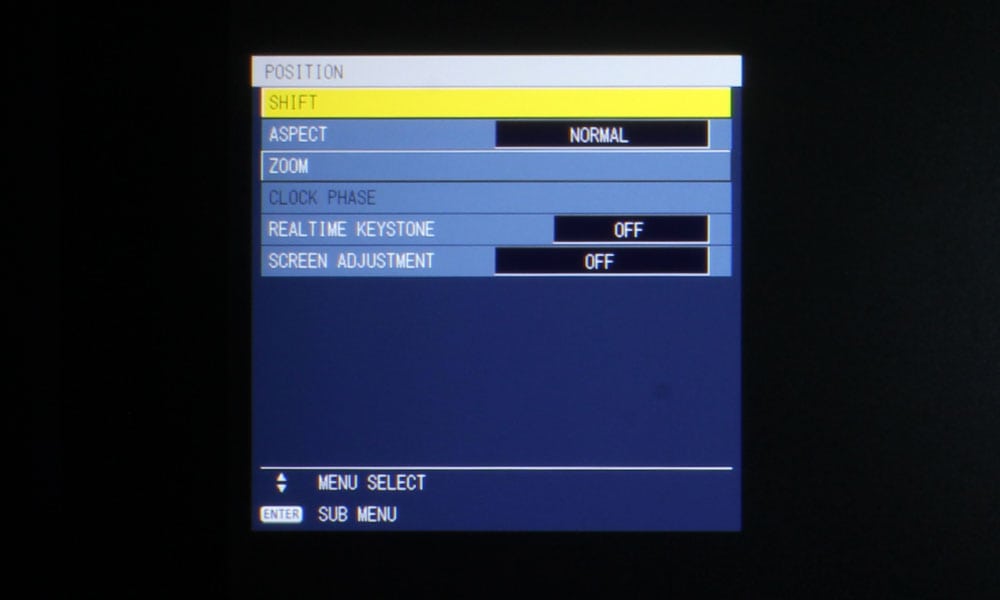
1 = Screen Adjust
2 = Digital Zoom +
3 = Shutter
4 = Freeze
5 = Digital Zoom –
6 = Mute
7 = P-Timer
9 = Aspect
0 = Status
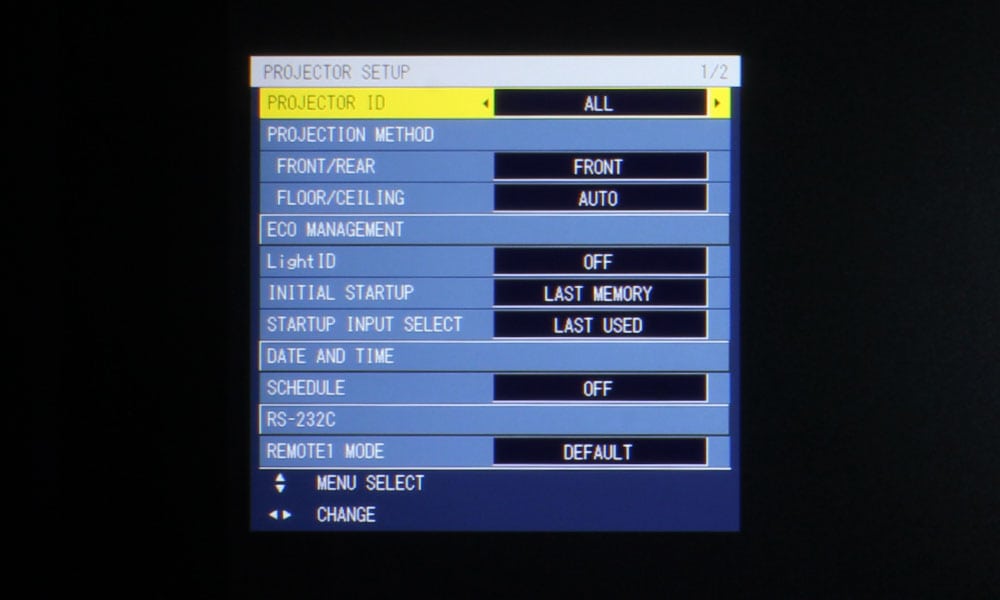
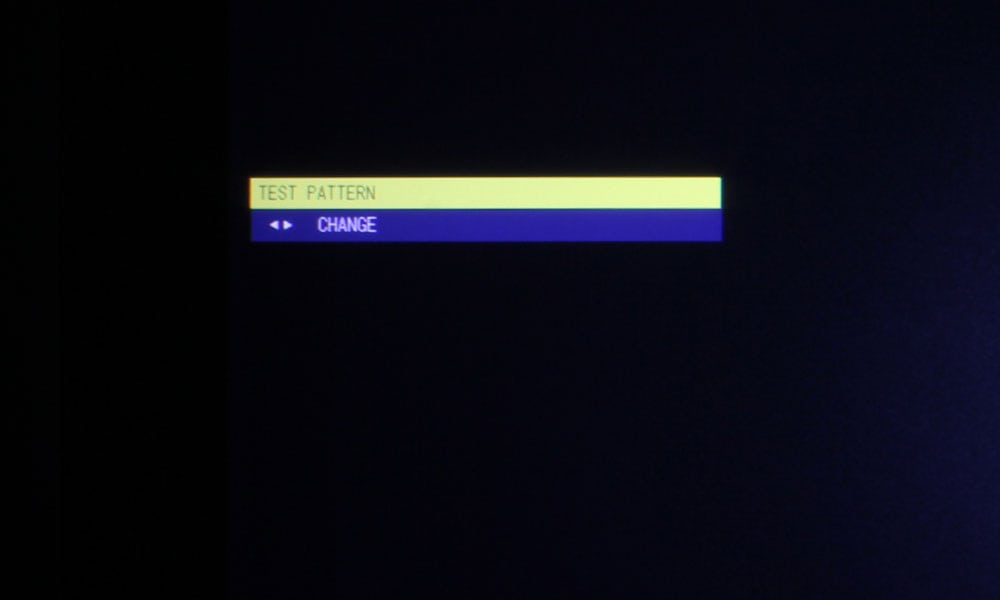
The buttons on either side of the 0/Status button are On Screen and Test Pattern. The final three buttons are for ID All, ECO, and ID Set. That ECO button brings up the ECO management menu, where you can change your brightness settings from full power to ECO, etc., saving energy and reducing the fan noise to almost nonexistent. The remote is not backlit – this would have been nice, but it is hardly typical of business and education projectors, so it’s definitely not a blemish on the PT-MZ670U’s record.