Projector Reviews Images

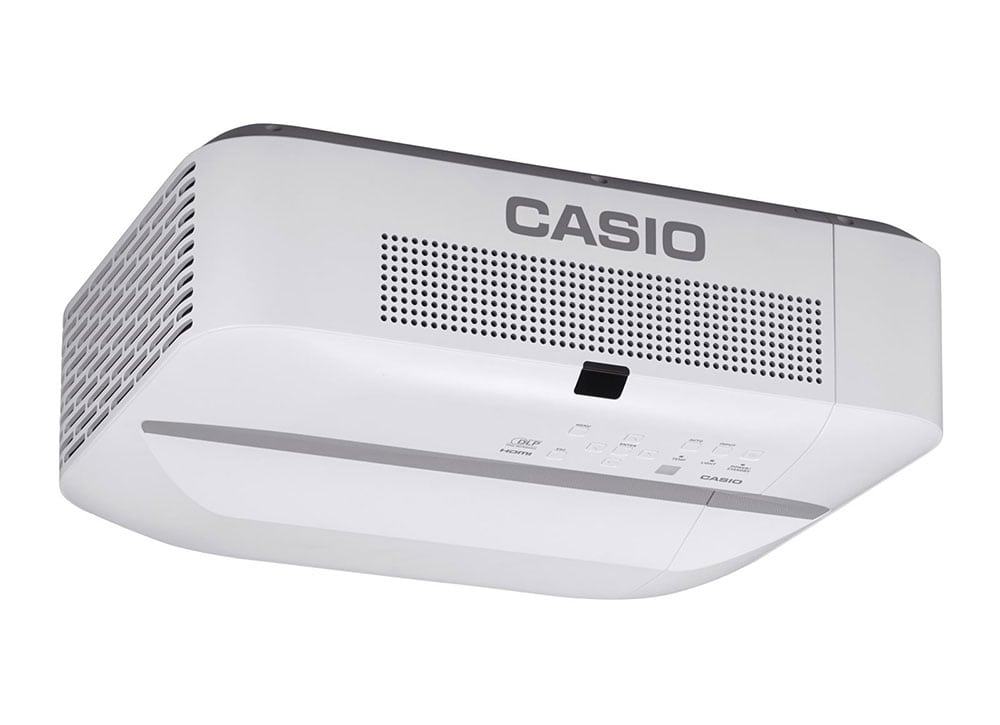
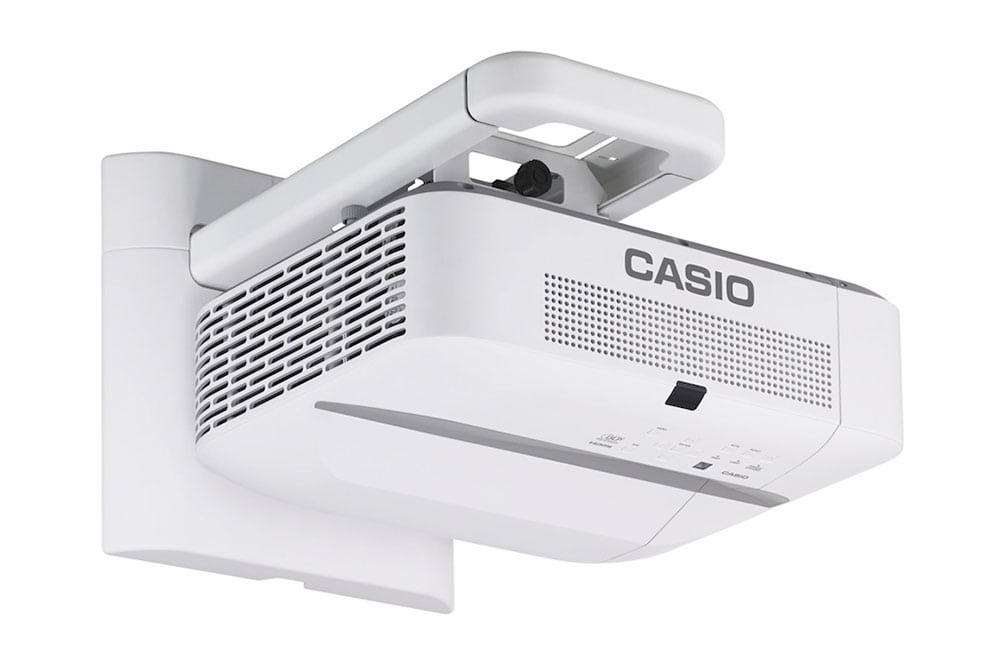
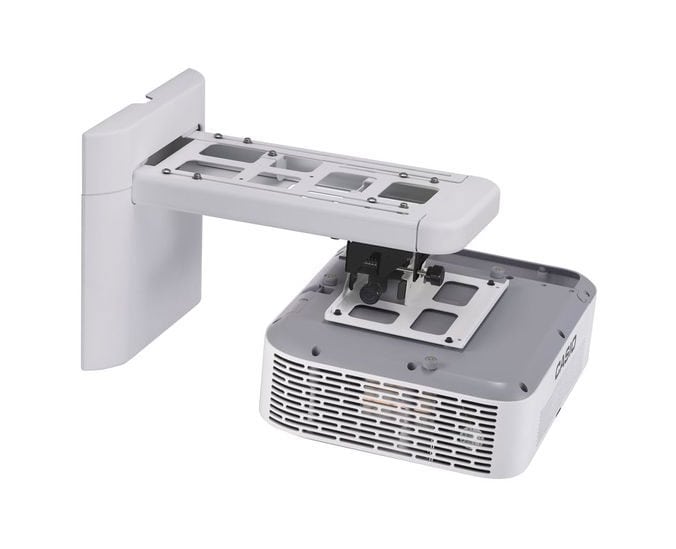
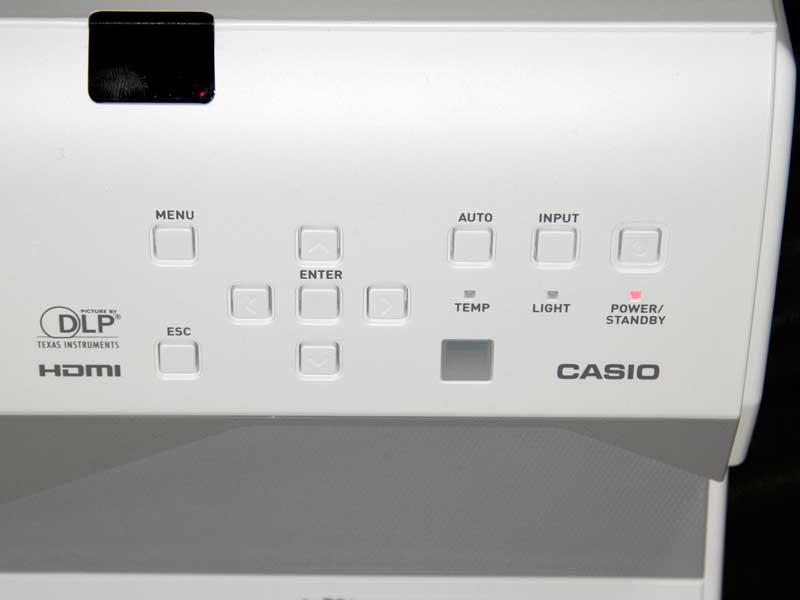
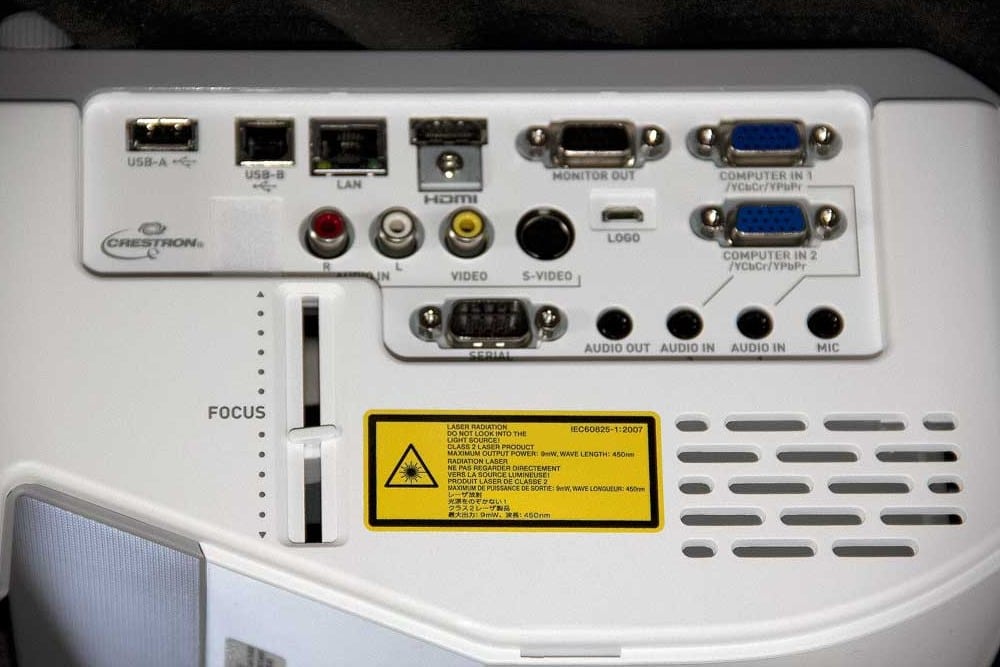
Casio XJ-UT310WN LED / Laser UST Projector Review - Hardware Tour

Posted on October 17, 2014 by Art Feierman
CASIO XJ-UT310WN LED LASER PROJECTOR - HARDWARE TOUR:  Overview and Lens, Control Panel, Inputs and Connectors, Throw Distance

Hardware Overview and Lens

I always like to start at the front.  That normally means the side with the lens, but that's not the case with this (and many other) ultra short throw projectors.  The XJ-UT310WN has it's lens on the top!  In fact the "front" - the part of the projector that is closest to the screen, is basically blank but for venting!

When you look at the top of the Casio there's a glass window on angle.  Below that is the optical system, a combination of lens and mirror.  As with all true UST (ultra short throw) projectors, to the best of my knowledge, there is no zoom lens.  The difference between projecting, say, a 60" diagonal screen vs an 80" diagonal screen is a matter of moving the projector a few inches further back from the screen.

Also found on the top of the projector is the control panel, discussed next.  If looking from the back, the inputs and connectors are found on the left side.  Generally side mounted connectors make sense for UST projectors - not enough room in the front, and ugly if they are in the back (cables and connectors facing the audience).  Focus is also found on the side above the connector panel.

The Casio has three adjustable feet making it easy to get a level, and stable stance when placed on a table.

Control Panel

As mentioned the control panel is on the top.  Looking at it, we'll start on the left.  Top left is the Menu.  The Escape button (which backs you up menu levels) is below it.  Further to the right is the main navigation.  Four arrow keys in a diamond shape, with the Enter key in the middle.

Still further to the right are three more buttons, Auto for sync of analog signals, Input to change sources, and, of course, Power.  Below the Auto is a light sensor that allows the eco system to adjust the projector brightness as needed based on the room ambient light.

Click Image to Enlarge

XJ-UT310WN Projector Inputs and Connectors

The inputs are all on the side.  Since the projector most often will be wall mounted above the screen, the labeling is "upside down" when on table top.

Starting from the top left are four mini-jacks in a row.  From the left are:  microphone, two audio inputs and an audio output.  Next over is an DB9 connector for an RS232 serial port.

Ok, back over to the left, below is Computer 2 (DB15 connector), and below it, Computer 1 (also DB15).  Moving over is a mini-USB jack labeled Logo.  Use it to transfer a logo you want to display from a computer using USB ports.  I didn't check this capability out, however, per the manual, the instructions for doing the transfer are downloadable from Casio's website.  The port is apparently also used for firmware upgrades to the projector.

Below it, a monitor out.   Above again, to the right, basic video inputs - S-video (DIN connector, and composite video (RCA jack).  then two more RCA jacks for another left and right audio input.

Moving below those, are the single HDMI input, the LAN connector, then  USB A and USB-B connectors.

That takes care of all the inputs and connectors.  There is also the vertical slider just above, which focuses the projector.

Throw Distance

Throw Distance Chart - Casio XJ-UT310WN
Diagonal Screen Size (inches) Distance to Screen (inches)
50 2.4
60 5.1
80 10.6
100 15.7
110 18.5

With no zoom lens, the size of the image is determined by how far the projector is from the screen.  In the case of this Casio, as is typical of most projectors, is measured from the front of the projector.

If the projector is table top, it sits below the bottom of the screen.  If mounted above, it is inverted and above the top.  The larger the image, the more the offset.  I'll just provide two examples:  for a 60" screen, measured from the bottom of the projector, the offset is 10.6 inches, and for 100" screens it is 15 inches.  So we're clear about this, the bottom of the projected image will be 10.6 inches above the bottom of the projector (if table top) or 10.6 inches above the top of the image when wall mounted.

Because the offset varies with image size, when mounting its important to know how large you want that projected image to be.

Latest Reviews

February 25, 2024

Introducing the Hisense C1: A cube-shaped 4K UHD lifestyle projector with an RGB triple laser light source and integrated JBL ...

February 19, 2024

The BenQ X3100i is a 4LED, 4K UHD (3,840 x 2,160p) 0.65" DLP short-throw gaming projector that offers a BenQ-rated ...

© 2024 Projector Reviews

crossmenu linkedin facebook pinterest youtube rss twitter instagram facebook-blank rss-blank linkedin-blank pinterest youtube twitter instagram