Appearance
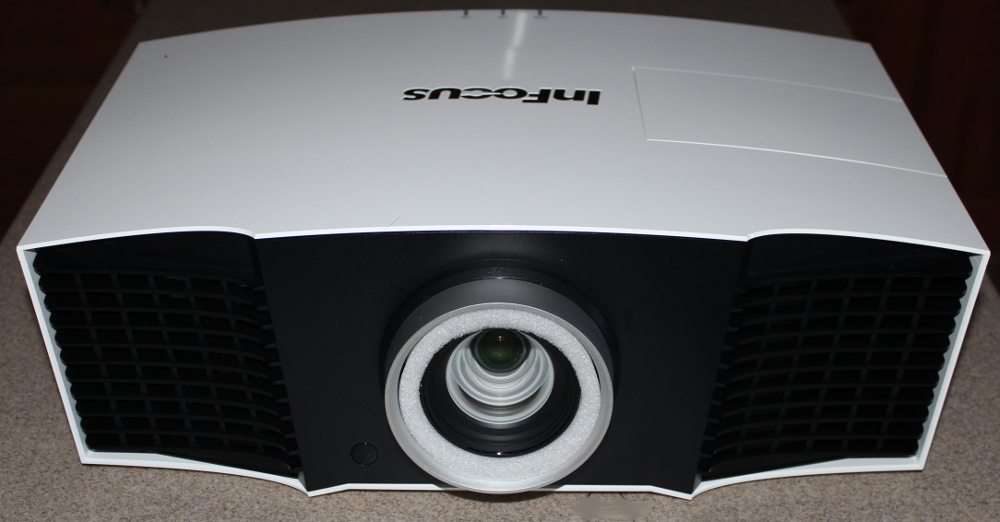
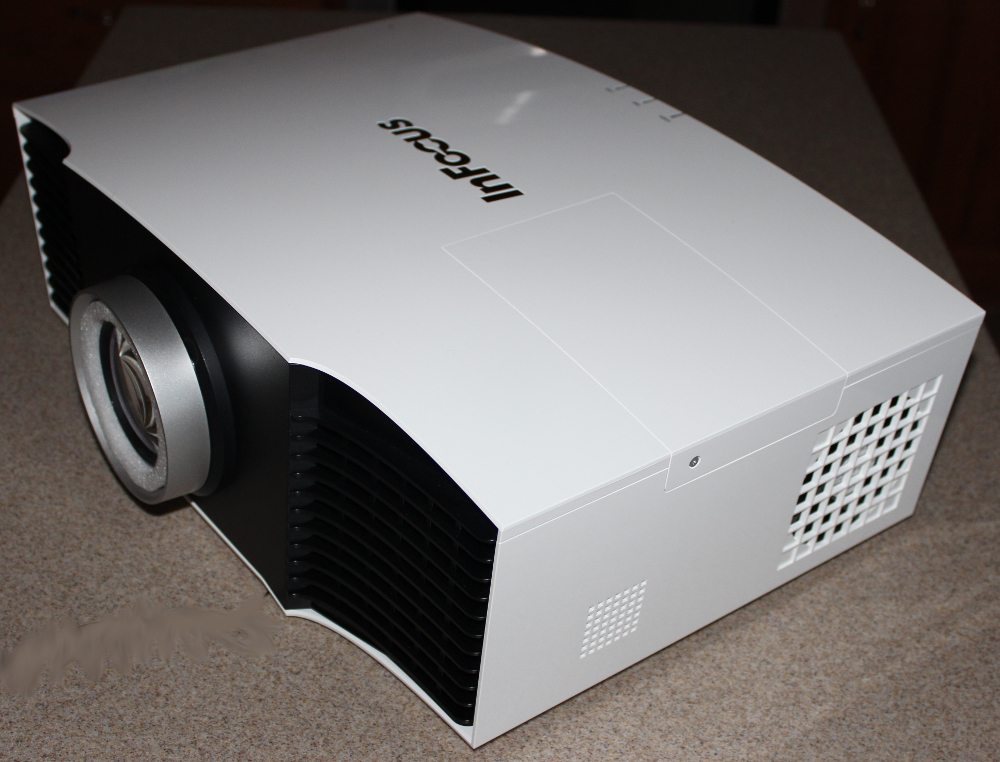
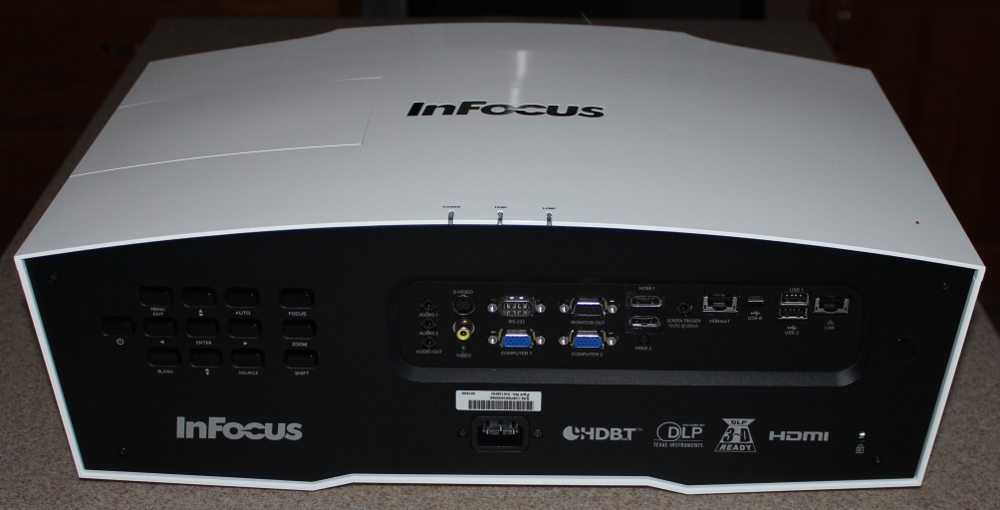
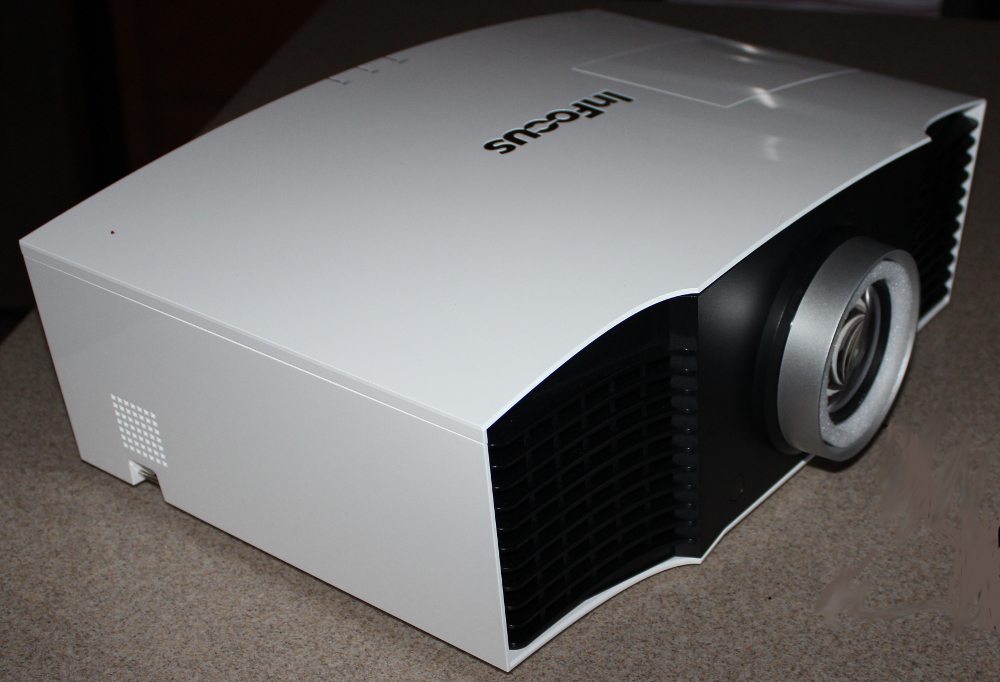
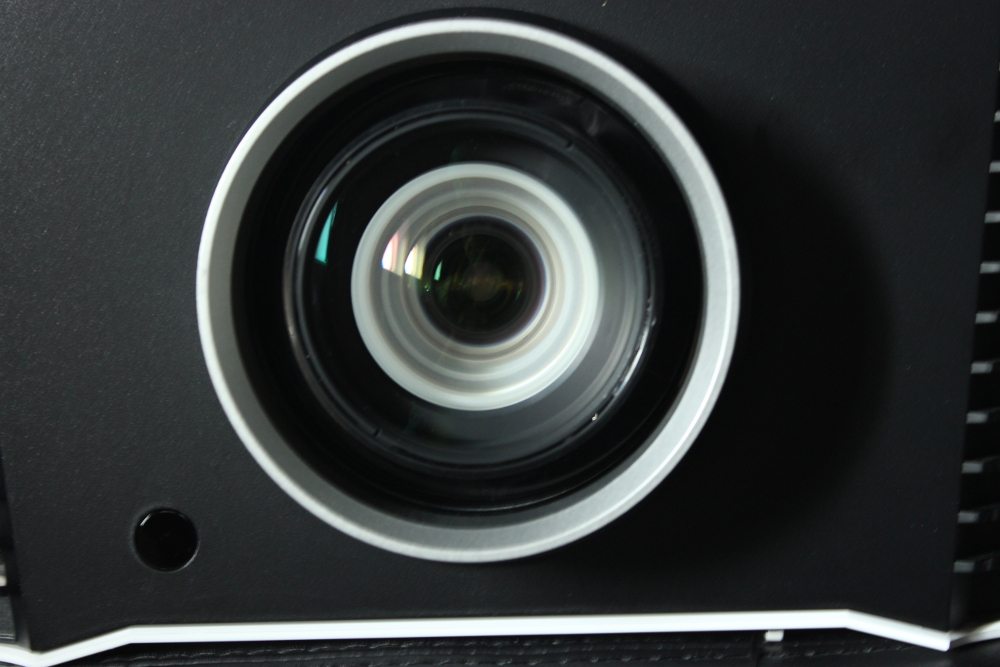
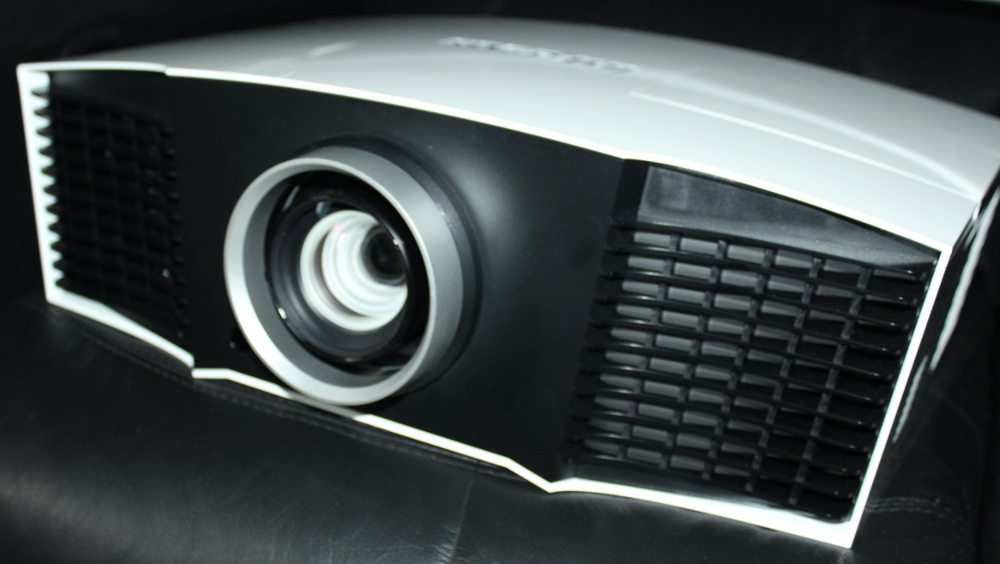
The IN51448HD is housed in a moderately large white cabinet with black front and rear panels. As seen in the 1st photo above the lens is centered on the front panel. The front panel also houses a IR remote receiver plus two ventilation inlet grills. the right side of the projector, as seen in the 2nd photo above, has a small speaker grill and a larger grill of the ventilation exhaust grill. The rear of the projector, seen in the 3rd photo above, has the control pad and the connector panel (more details on both of these are provided below). The left side of the projector, as seen in the 4th photo above, has a small speaker grill.
[sam_pro id=1_114 codes="true"]
Connector Panel
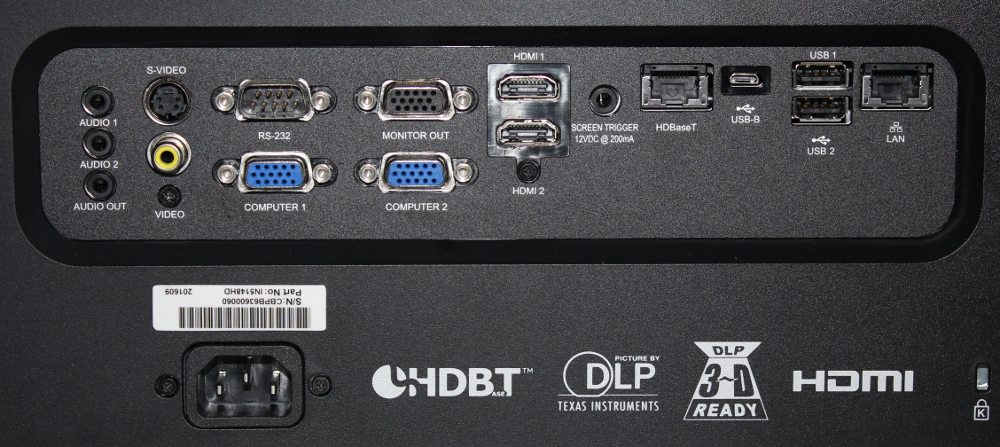
The connector panel, as pictured above, is located on the rear of the projector. Toward the left are two analog audio inputs and one analog audio output. Next (going from left-to-right) are S-Video and composite (analog) video input connectors. Next is a RS232 serial comm. connector and below that the Computer 1 analog video input (VGA style) connector. To the right of those are the analog monitor output and below that the Computer 2 analog video input. Next are HDMI-1 and HDMI-2 digital A/V inputs. Next is a 12 volt trigger connector than can be used for automatically controlling a compatible electric drop-down screen and to the right of that is the HDBaseT connector. Next are one mini-USB and two full size USB connectors and to the right of those is the LAN (Ethernet) connector. Finally, the 120 volt power cord attaches to a connector toward the bottom of the connector panel.
Control Pad & Status Lights
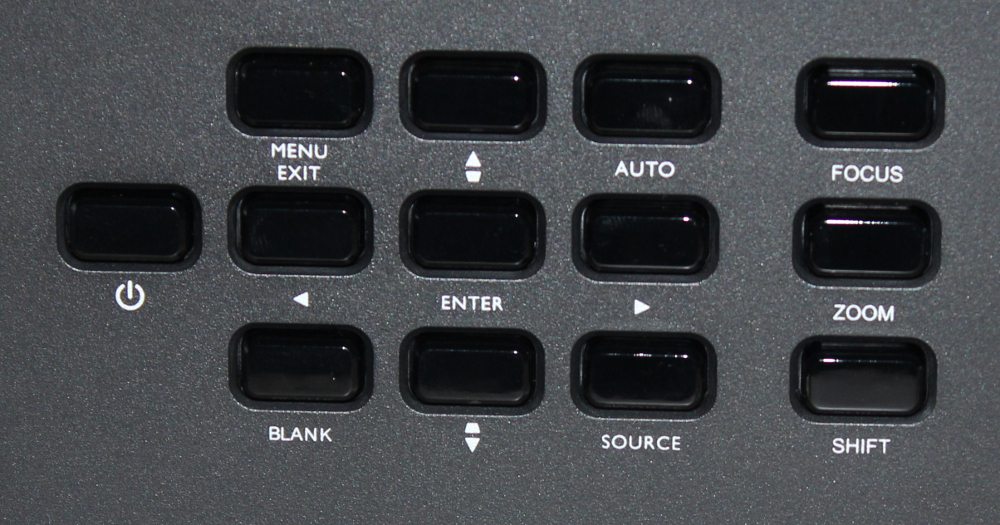
The control pad, as shown above, is located on the rear panel of the projector, just to the left of the connector panel. Buttons are included to power the projector on/off, to bring up the on-screen menu, 4-way menu navigation controls, to select the input source and for the lens controls (i.e, focus, zoom and shift).
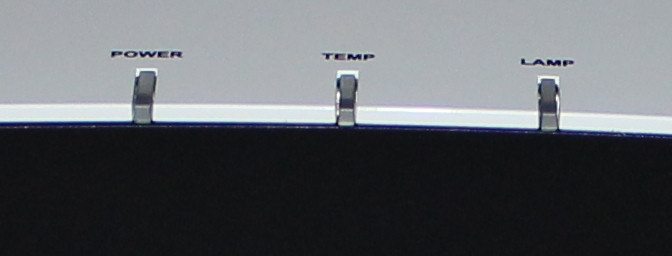
The IN5148HD has 3 status lights located along the rear edge of the top panel, as shown in the above photo.
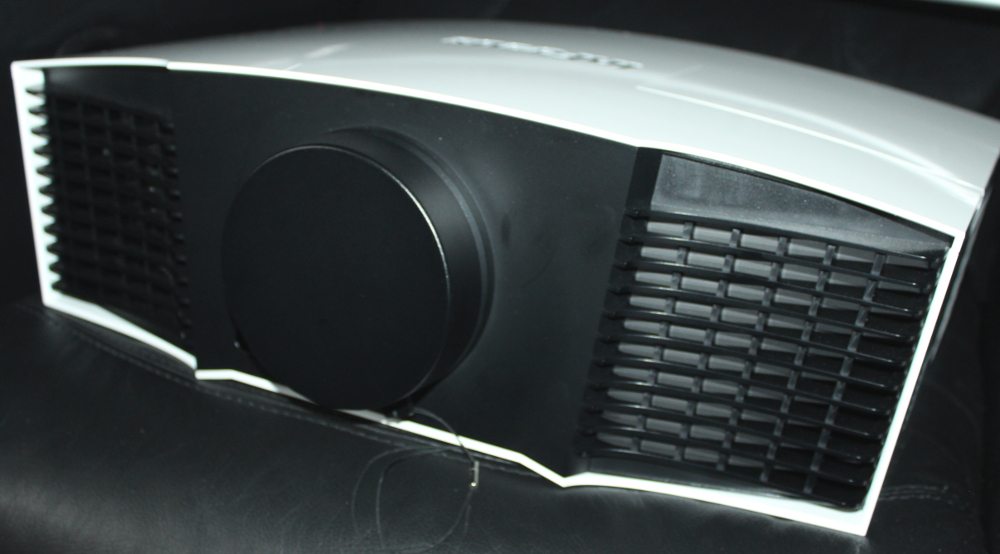
The IN5148HD come with a lens cap as seen in the final photo above. The lens on the IN5148HD provides an image with excellent corner-to-corner sharpness. Motorized power adjustments are provided for focus and zoom plus also vertical and horizontal lens shift.
InFocus spec's the optical lens shift range as +/- 35% horizontal and +35%/-130% vertical. With the projector sitting level on a table, I found that using the maximum upward vertical lens shift, with its +35% (of image height) limitation, resulted in the BOTTOM of the projected image being well above the vertical level of the center of the projector's lens. This should work well for when placing the projector on a conference table or a somewhat higher stand. When adjusting the vertical lens shift in the negative direction I was able to lower the projected image such at the TOP of the image was well below the vertical level of the center of the projector's lens. This could prove useful when the projector is to be placed upright on a high shelf toward the rear of the room. Thus the wide range for the vertical lens shift makes this projector suitable for placing on table or shelf as well as for mounting in an inverted orientation using a ceiling mount.
The projector also offers a digital keystone correction. As with all projectors, the use of keystone correction should be avoided unless there is no other alternative, as it results in some degradation of the image. Since the IN5148HD offers a fairly wide range optical lens shift, use of keystone correction should not be needed for the vast majority of setups.
Remote Control
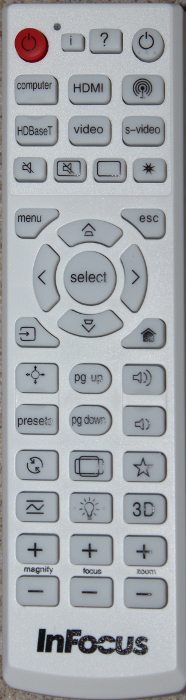
The InFocus remote is a mid-size unit without any backlight. Toward the top of the remote are the buttons for powering up the projector, selecting the signal input source and below those are the buttons for displaying/navigating the on-screen menus. Below those are the necessary buttons for adjusting sound volume and for displaying and navigating thru presentations using the projector’s built-in multimedia functions. Toward the bottom of the remote are buttons for adjusting the lens focus, zoom and lens shift.
 Click Image to Enlarge