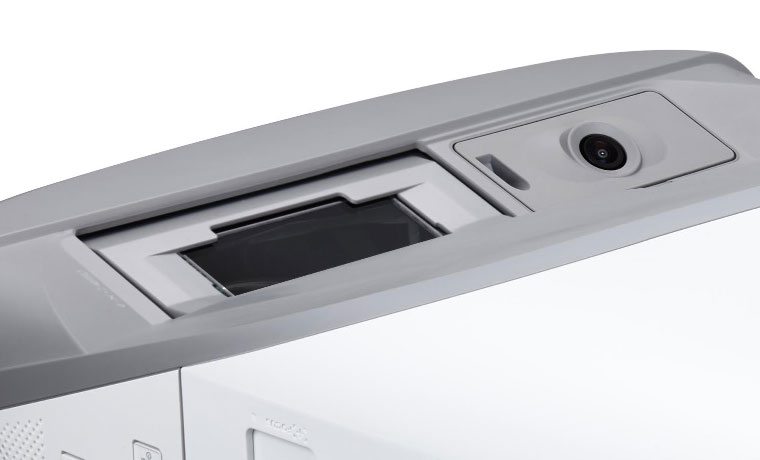
The ViewSonic PS750W comes with an interactive module and two IR pens. The module emits a laser over the surface of the white board, hard screen, or wall. The camera we just discussed works with this module to detect when there is a disruption in the laser veil, which signals to the projector that there is an action taking place. The disruption can be caused by finger tips or the pen tips and together, these things create an interactive experience. The pens are pressure sensitive, meaning you can push them into the projection surface and feel like you’re actually using a pen.
Whether you’re using the pens or finger tips, it’s important to get the right screen surface. For example, you wouldn’t want to take a typical projection screen that pulls tight over a frame and use that for an interactive projector. The screen surface would stretch and get dirty, and overtime, be rendered unusable. These projectors can work with a regular white board, making them a good option for schools in terms of budget, on a smooth white wall, or a specialty screen. Those specialty screens are typically hard-surface white board type screens.
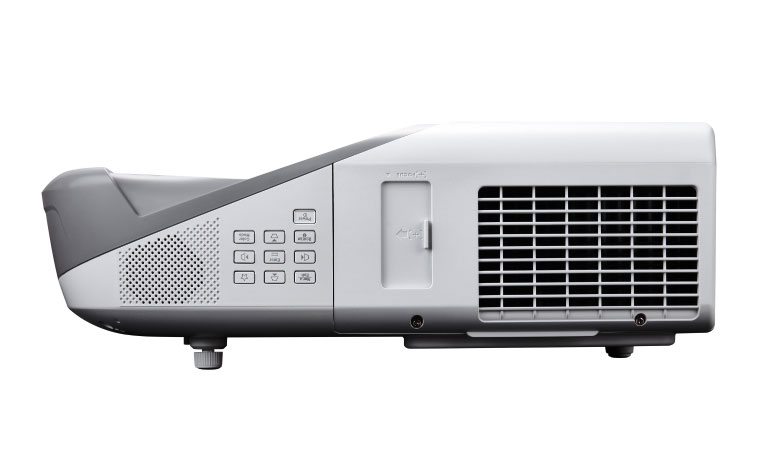
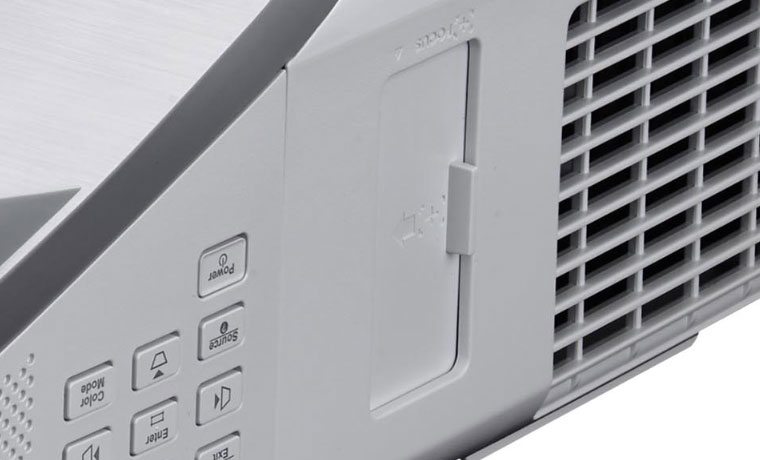
Next up is the second Hardware Tour page. There, I will discuss the control panel, remote control, and the menus. Following that, we’ll get into Picture and Sound Quality, Performance, and then summarize the review for you, tying everything up with some pros and cons so that you can make the right decision for your educational purposes.