The supplied NEC remote control is back lit and offers tons of controls. Since the remote is compact, there are several buttons that do double duty.
The Power On and Off buttons along with an Info/Lens Calibration button are located at the top of the remote. The row below that contains Test pattern, a Focus/Volume button, and an ECO/Lens Shift mode button.
The next section below contains buttons to access and exit the on-screen menus. There is a group of buttons containing the 4-way navigation buttons with an enter button in the center. Below those is a button to turn off the Onscreen menu and a Lens Shutter button to temporarily turnoff the projector’s light source.
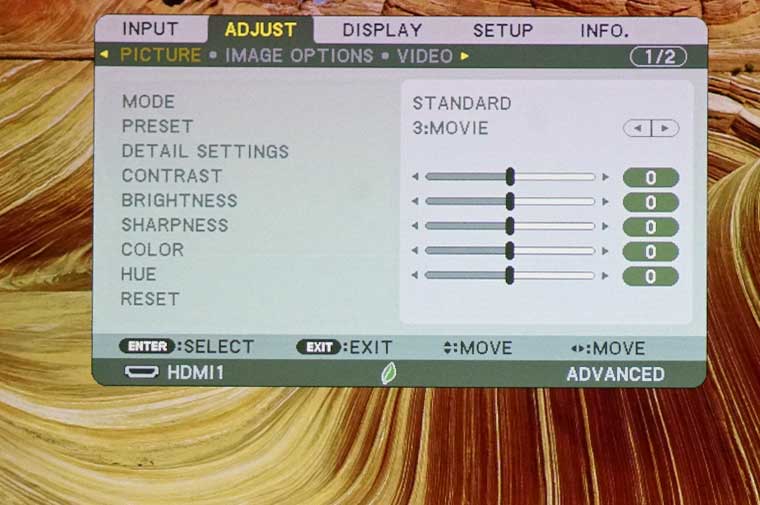
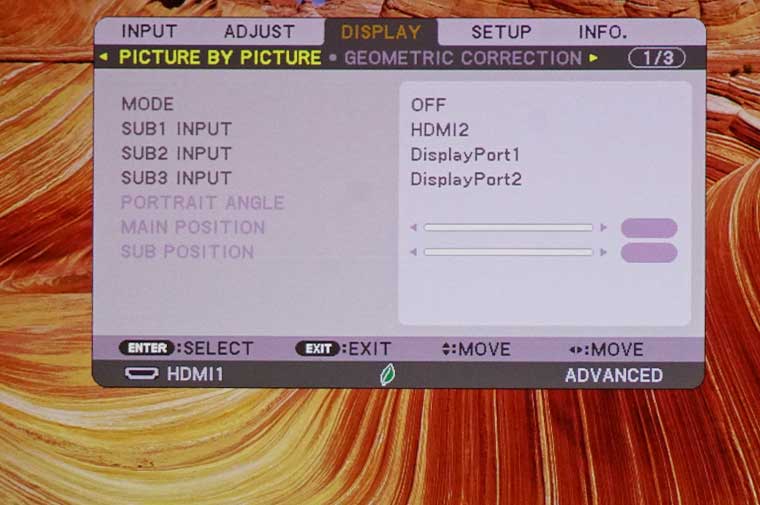
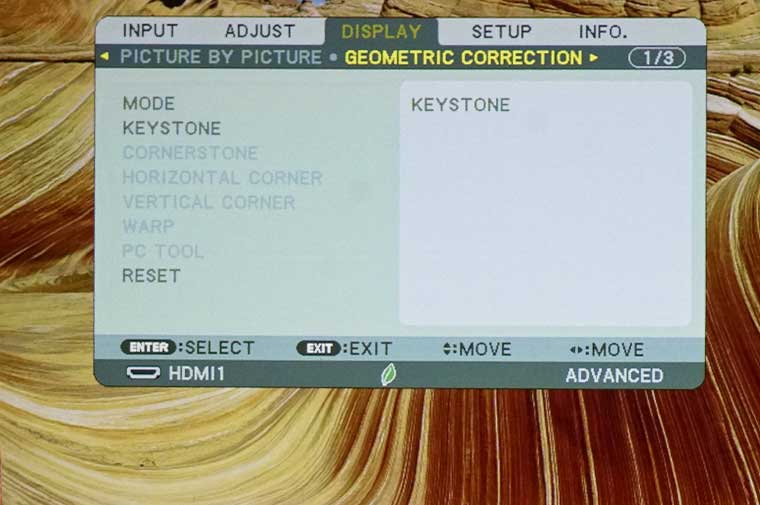
The third section contains an AV-Mute button and buttons to access the Source and Picture settings menu directly. The 3-D Reform buttons provides direct access to the Geometric tool menu. There is also a PIP/Image Freeze button and an Auto Adjust button to automatically optimize conditions for selected input (HDMI, DisplayPort, etc.).
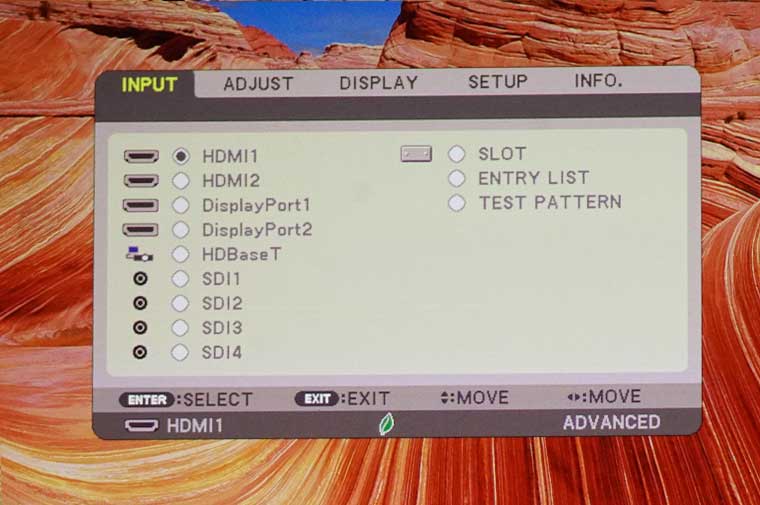
The next section contains buttons to directly access the available inputs (HDMI, DisplayPort, SDI, HDBaseT). Note there are three buttons for inputs that are not available on the PX1005QL including Computer, Video, and S-Video.
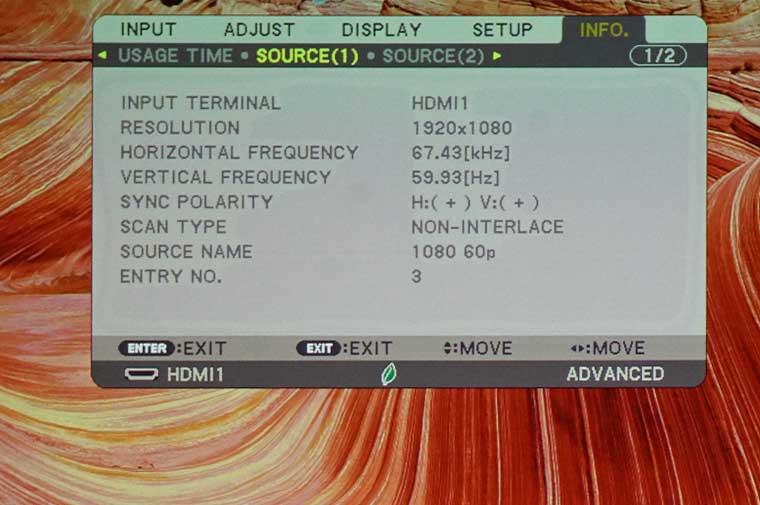
The bottom row contains a Remote Light button, a Help button to directly access the PX1005QL Information menus and CTL button. Press and holding the CTL button while press the desired selection switches functionality. While using buttons for 2 things reduces the number of buttons on the remote control, it can be more confusing. I would have preferred a large remote with discrete buttons for Zoom, Focus, and Lens Shift.