Menus
The VPL-CH375 has a rather straight forward menu structure. When you press the Menu button on either the projector's control panel or the remote control, the Picture Menu is displayed as shown in the photo below.
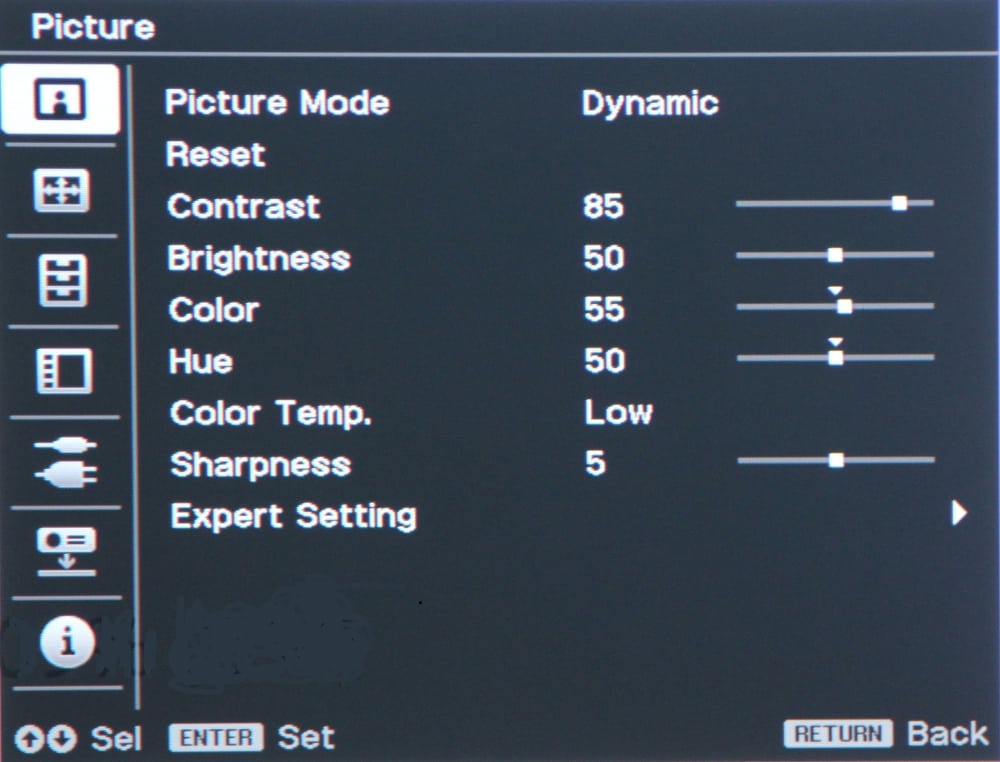
A series of icons appear down the left side that are used to select the desired menu with the top icon representing the Picture Menu. The first item on the Picture Menu is to select the Picture Mode. Unlike most business/classroom projectors, this projector only offers three picture modes: Dynamic, Standard and Presentation. When the second Picture Menu item is selected it Resets the picture adjustments to the factory default values. The Picture menu items for Contrast, Brightness, Color, and Hue perform the typical functions for these common picture adjustments. The color temperature item on the Picture Menu allows the user to select from Low, Middle and High, where a low setting will produce a "warmer" image and a middle and high settings will produce increasingly "cooler" images. The Sharpness adjustment provides the typical edge enhancement to the image. The final item on the Picture Menu is for Expert Setting. When selected, this displays a menu for selecting different Gamma presets, as shown in the photo below.

The above menu item for DICOM Sim. is only available when the signal input is in RGB mode, as from a computer.
Going back to the top-level menu, selecting the 2nd icon down the left side will display the Screen Menu. This menu allow the user to select the aspect ratio of the displayed image, where the choices include 16:9, 4:3, Normal (i.e., native), and 3 other zoomed or scaled choices. When an analog signal is being input to the projector, there are also settings available to produce a stable image with the correct geometry and centered on the screen.
Selecting the 3rd icon down on the left side the top-level menu will display the Function Menu, as shown in the following photo.
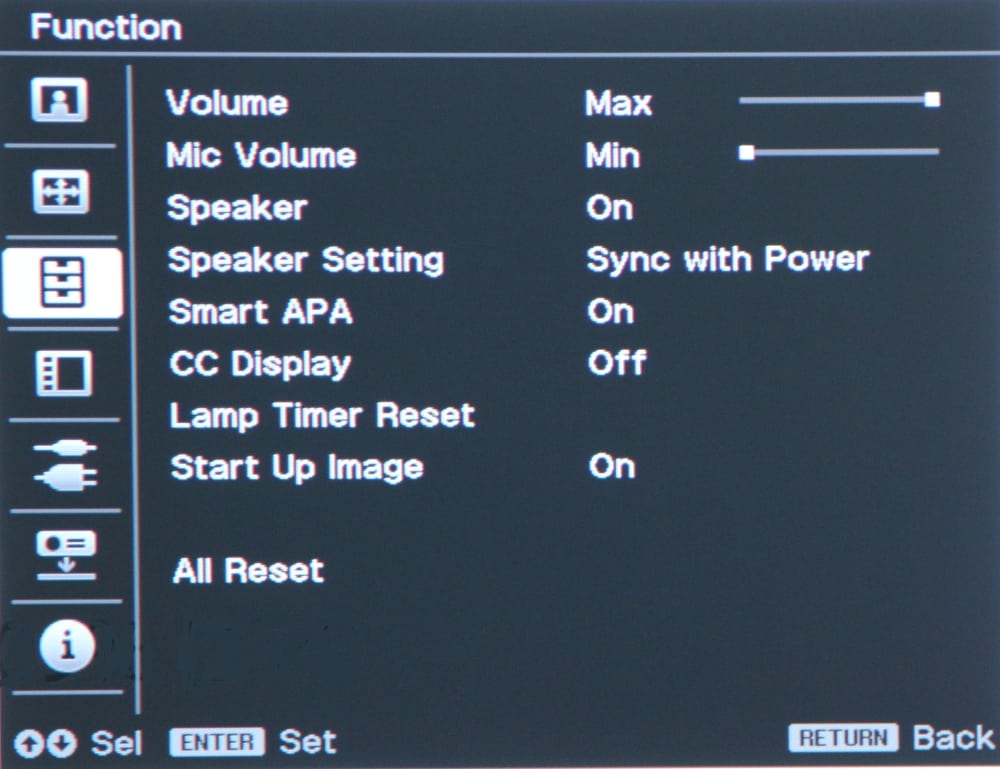
The Function menu allows the user to adjust several of the projector's settings as shown above.
Selecting the 4th icon down on the left side to the top-level menu displays the Operation Menu, as shown in the photo below.
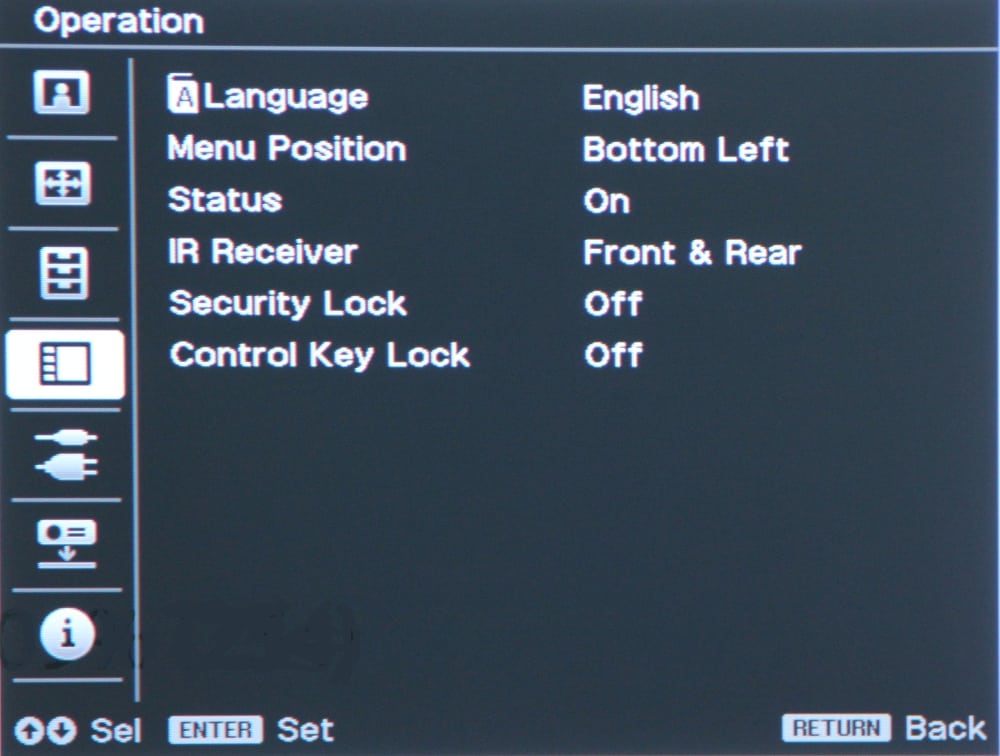 The operation menu includes the items shown above.
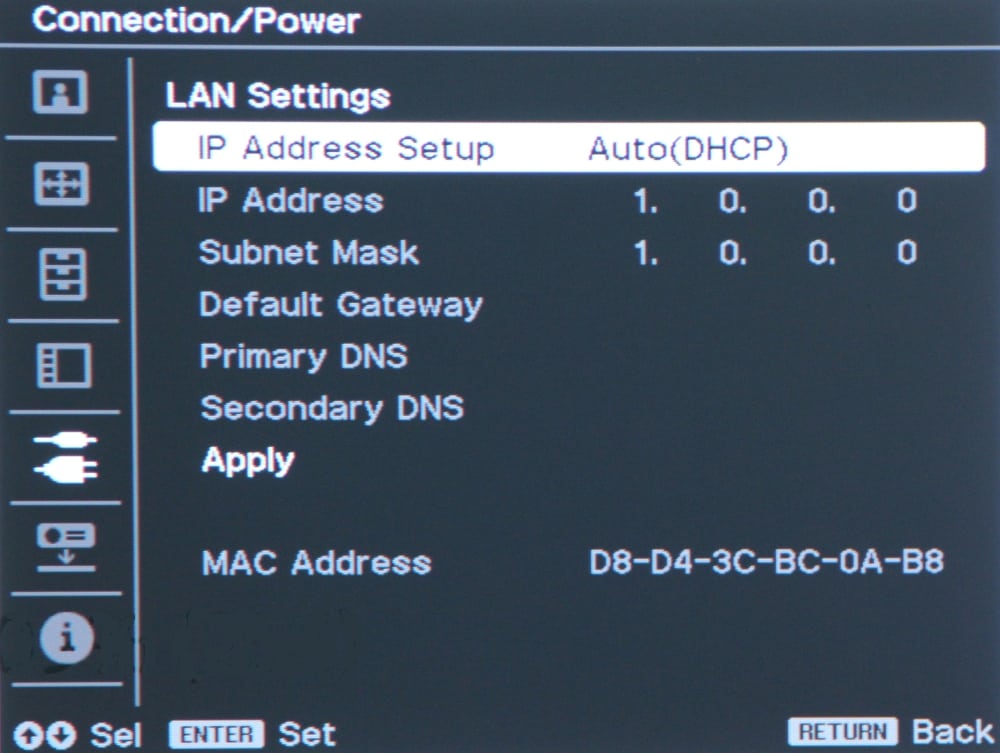
Selecting the 5th icon down on the top-level menu displays the Connection/Power Menu, as shown below.
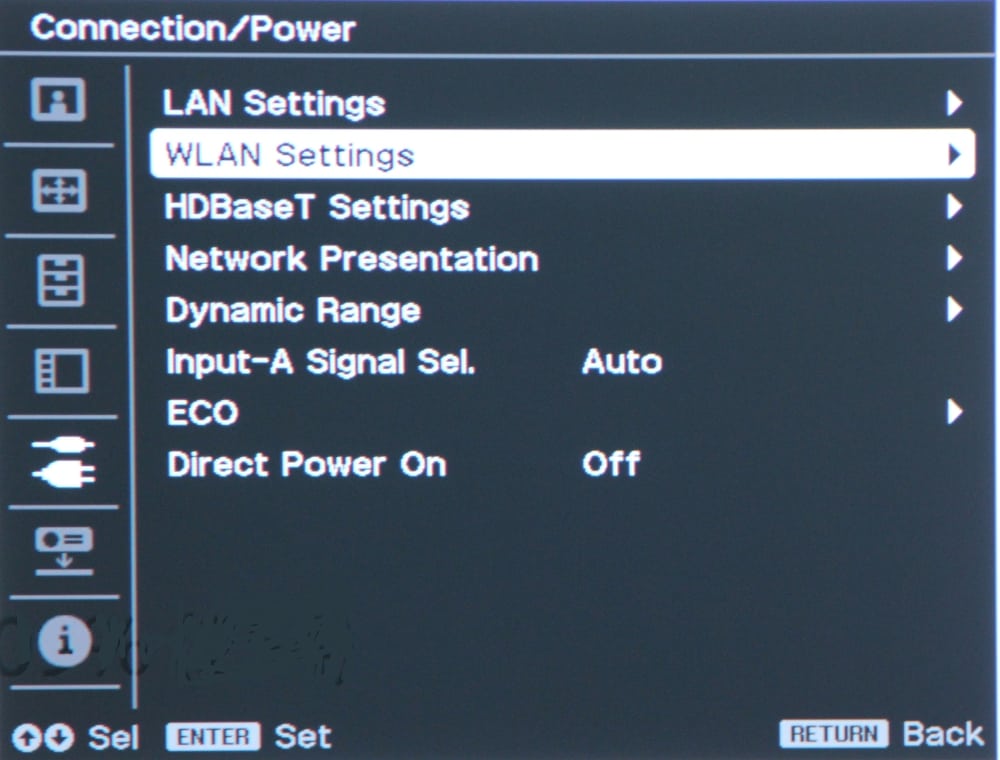
The items in the Connection/Power menu are discussed below.
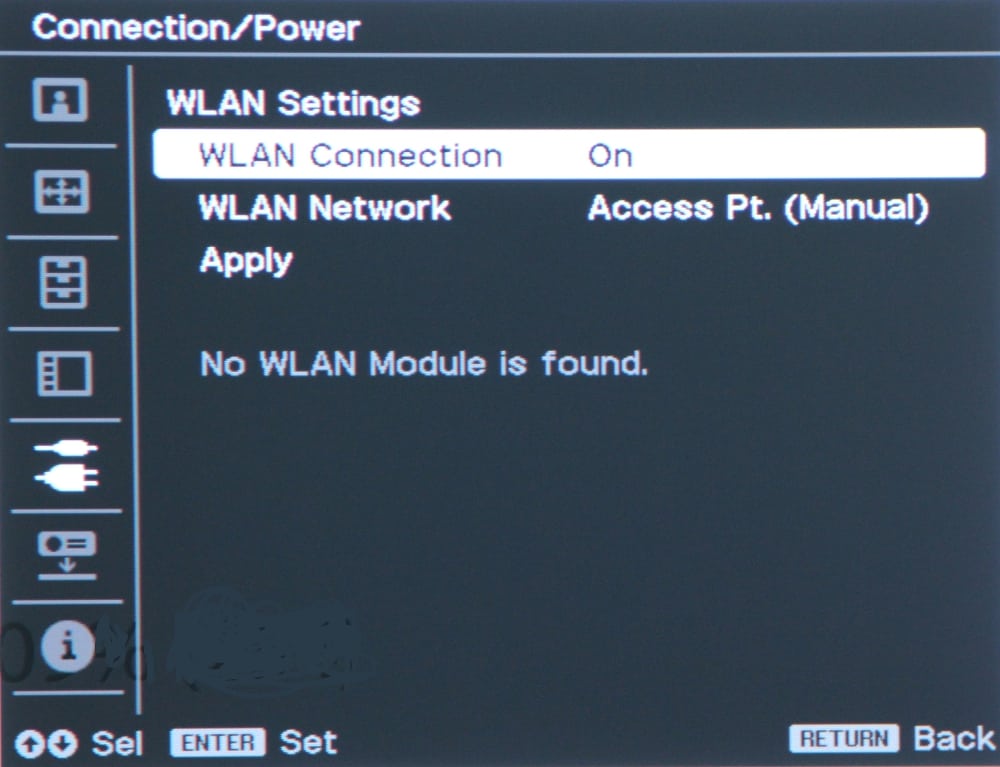
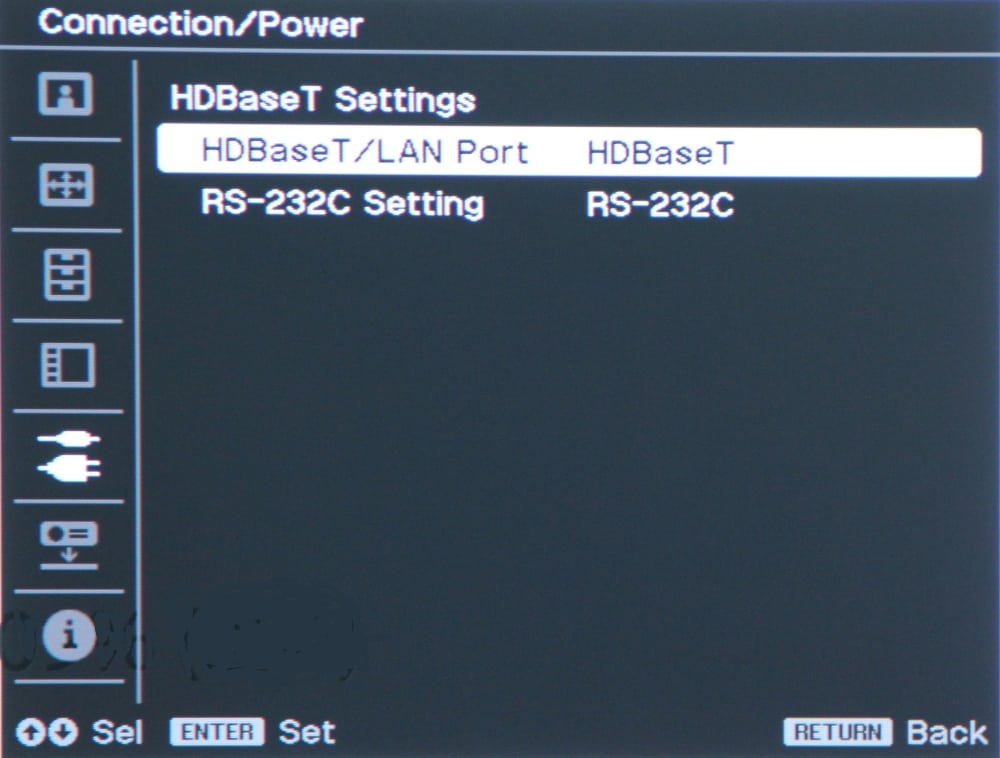
The gallery above shows the top-level sub-menus for LAN (wired network), WLAN (wireless network) and HDBaseT network settings respectively. The Connection/Power menu also includes two items for selecting:
- Dynamic Range: This sets which signal level range is to be used for reference black to reference white levels.
- Input A Signal Select: Configure the analog VGA style input used for accepting input signals in RGB, YCbCr (component video) or Auto mode.
The Connection/Power menu includes an item for ECO that when selected brings up the submenu shown below.
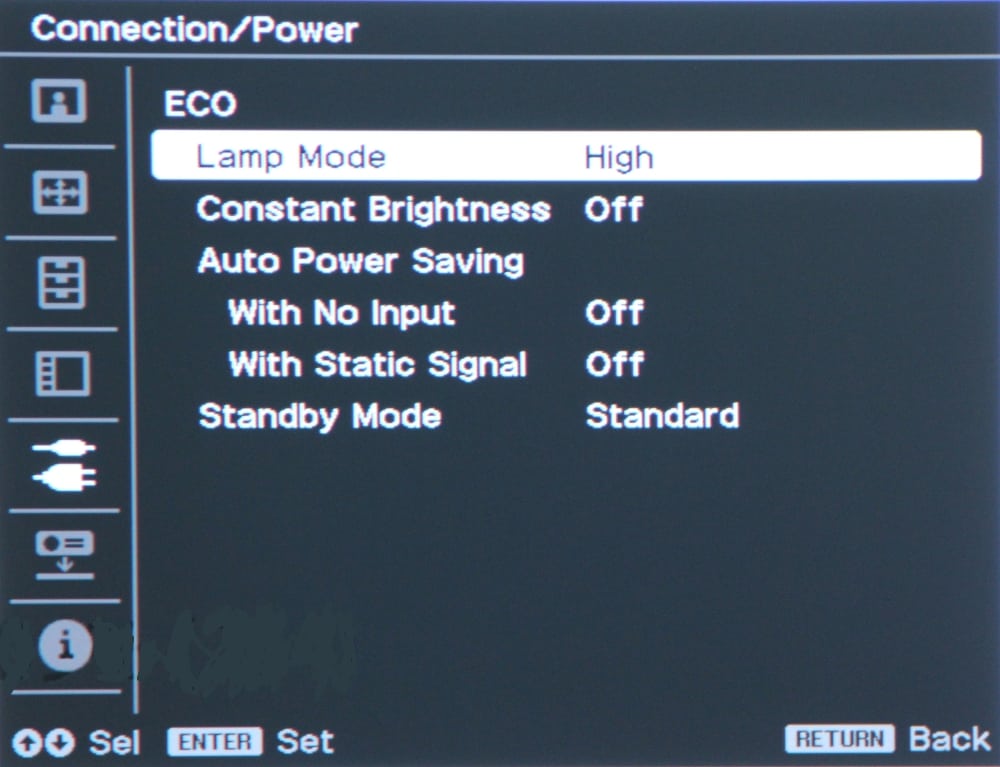
The ECO submenu allow the user to create their own custom energy saving configuration for ECO mode.
Finally the Direct Power Off item on the Connection/Power menu allows the projector's power to be directly turned on or off without the projector first needing to go into a standby mode.
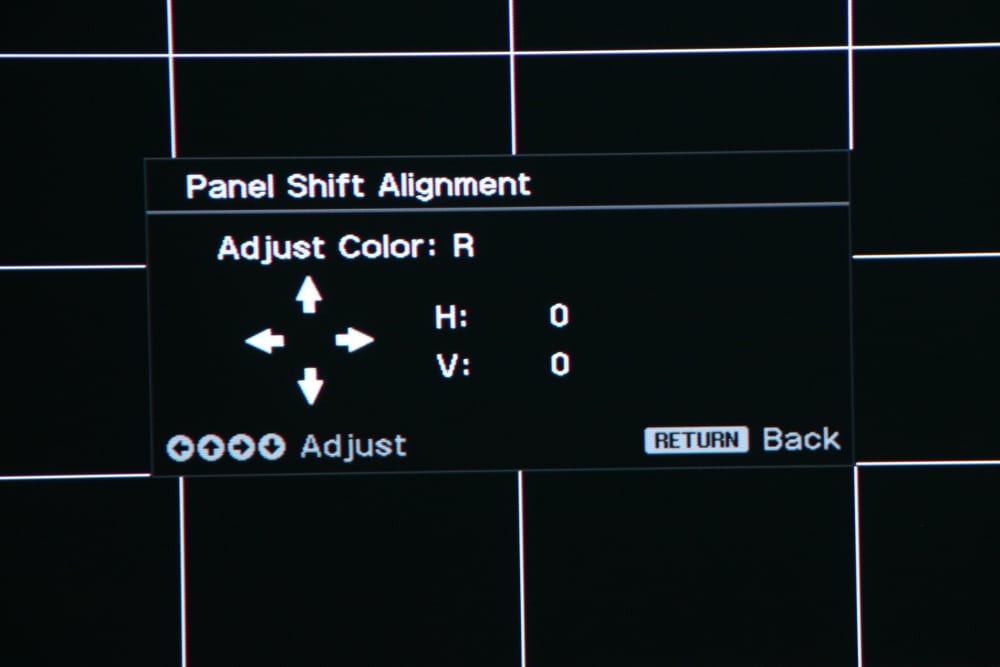
Selecting the 6th icon down on the top-level menu brings up the Installation Menu as shown in the photo below.
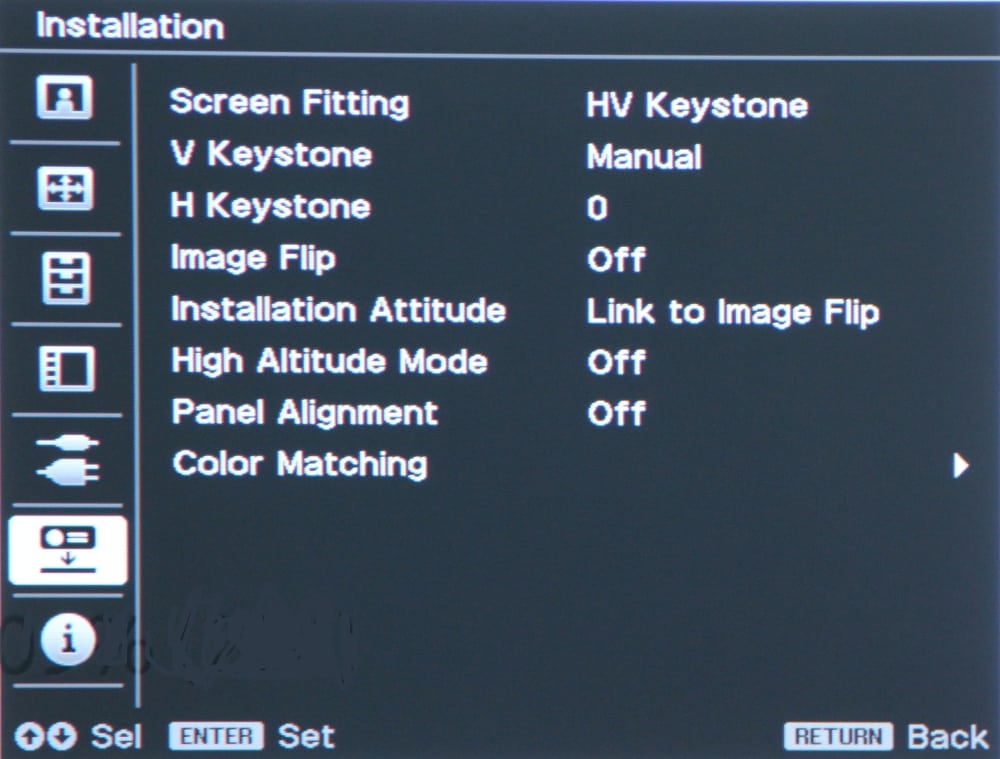
This menu will usually only need to be accessed during the initial projector setup. Installation menu items are provided for fitting the image to the screen (i.e., adjusting image geometry and position), inverting the image for when ceiling mounting the projector, and increasing fan speed for improved cooling when the projector is being used at high altitudes. The Panel Alignment feature allows the user to correct for misconvergence of the red, green and blue sub-images. The photo below shows the submenu used to adjust the panel alignment.