Projector Reviews Images

InFocus IN126STa Projector Review - Hardware Tour

Posted on March 31, 2015 by Art Feierman
INFOCUS IN126STa Projector:  Appearance, Control Pad, Focus, Connector Panel, Remote Control The IN126STa is a nice looking compact projector with a black case and rounded corners.  It's certainly small and light enough to be easily moved between classrooms or conference rooms and its short throw design means it can be placed on a table just a few feet back from the screen.  For example, with a 100 inch wide screen the front of the projector needs to be only 52 inches back from, and a little below, the bottom of the screen.  With smaller screens such as in the classroom, or small conference room, its easy to use a money saving wall mount rather than ceiling mounting, thanks to the short throw design.

Appearance

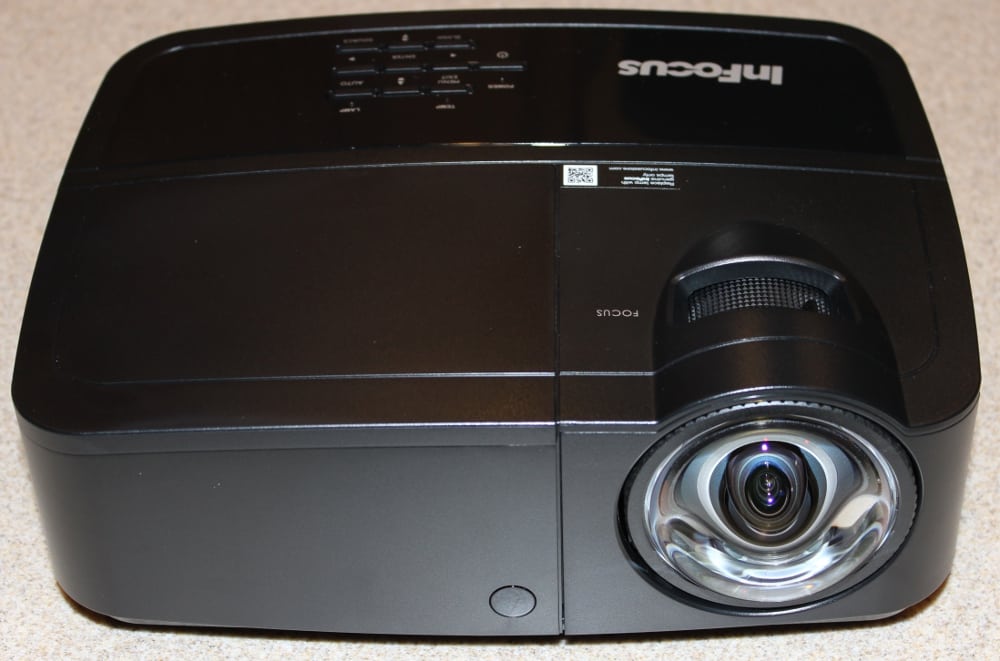
The IN126STa can be either table mounted (as I used for my testing) or ceiling mounted with an optional mounting bracket.  The Front of the projector, as shown in the 1st gallery photo above, is dominated by the large lens located on the right side.  This is a short throw projector and the lens design uses a very large front element that extends outward like a large dome.   Also on the front panel, on the lower left, is a small window for the IR receiver for the remote control.

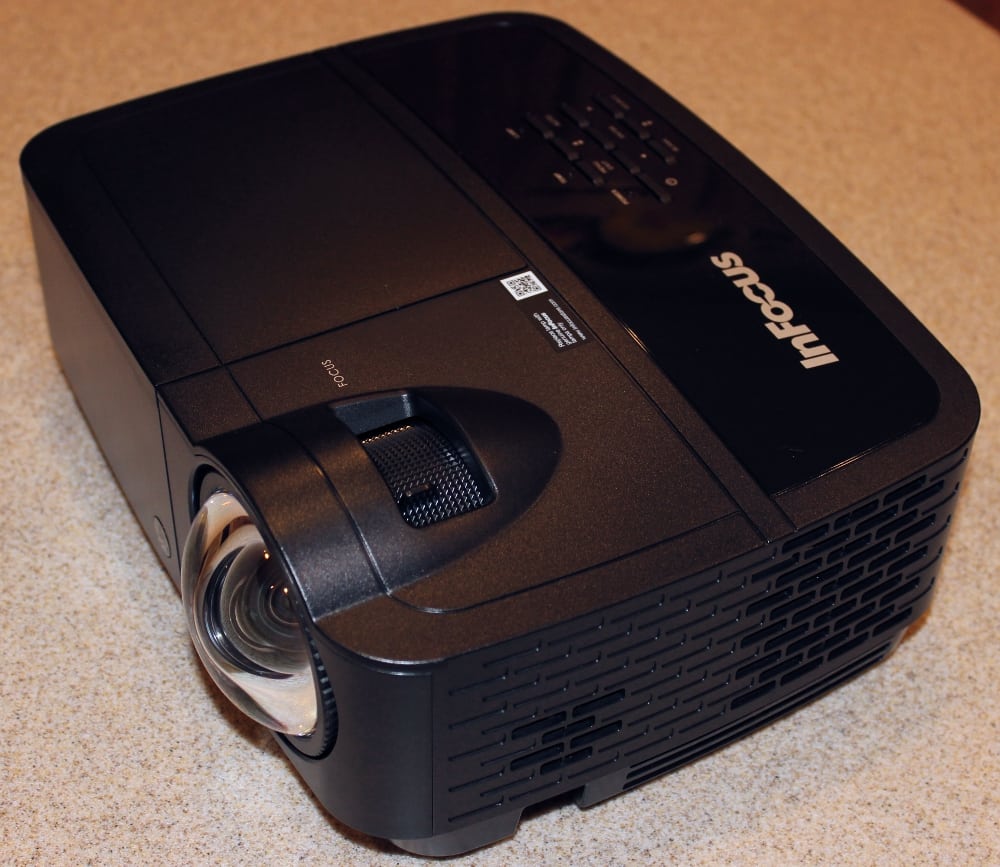
The right side of the projector, as can be seen in the 2nd gallery photo above, has an air inlet vent and the projector's single speaker.

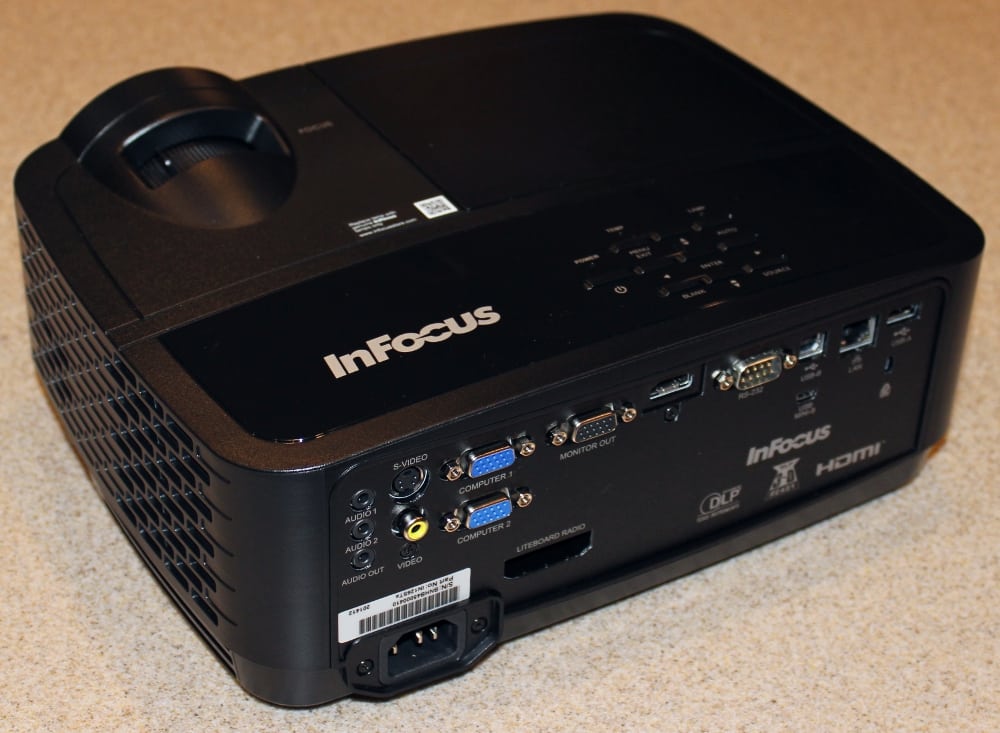
The rear of the projector, as seen in the 3rd gallery photo, has the connector panel.

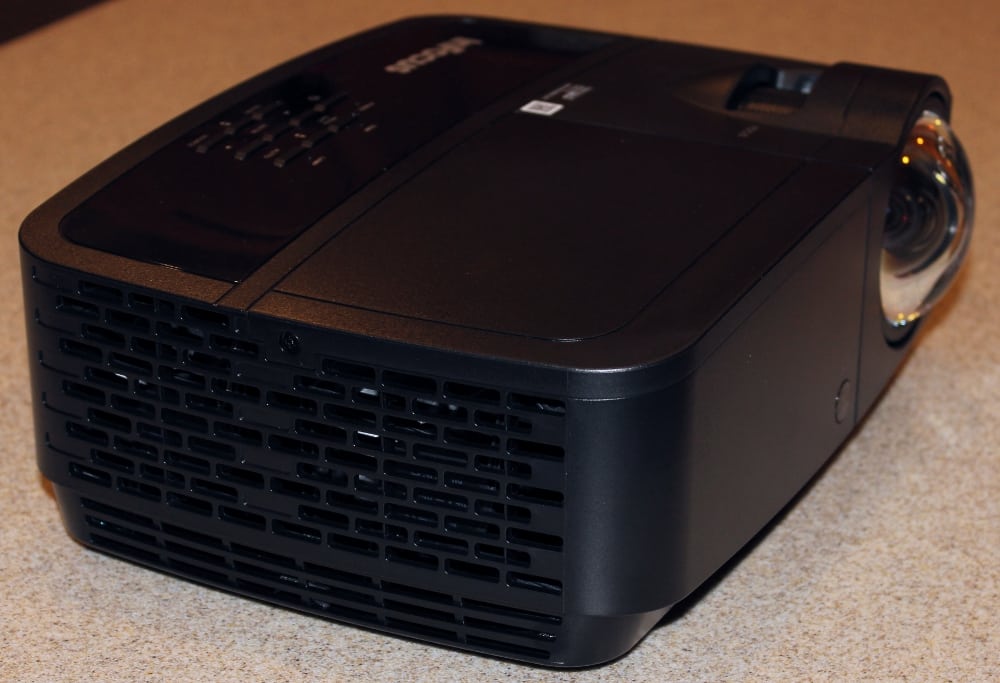
The left side of the projector, as seen in the 4th gallery photo, has air exhaust vents.

The top of the projector has the control pad and status lights, as described below.

[sam_pro id=1_116 codes="true"]

Control Pad - Status Lights

InFocus-IN126STA-hardware-control pad

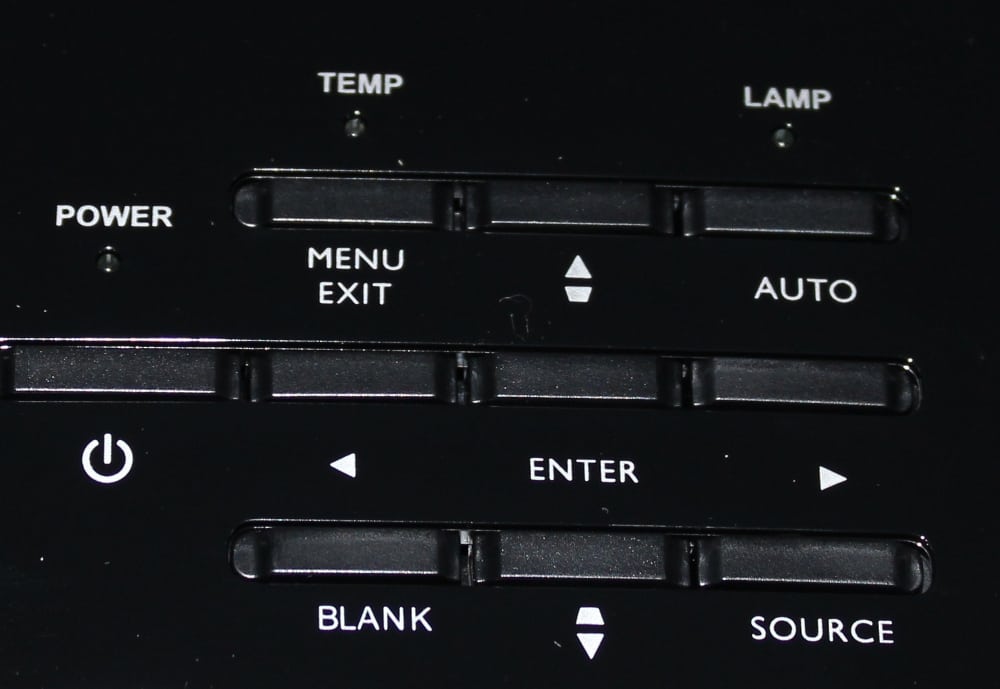
The projector's control pad is located on the top of the projector, as shown in the photo above.  There are status lights at the top for over temperature and to indicate a lamp failure.  Below and to the left of those is the power light.

The keypad has the power button to the far left with the 4-way navigation buttons in the center with the enter button in the center of the navigation buttons.

To the top-left is the Menu button (to display the projector's on-screen menu) that also serves to exit the menu.  To the top-right in an Auto button is used in case the projector is having issues with locking onto the input signal.  To the bottom-left is the  Black button that blanks the display (black screen) and to the bottom-right is the Source button to select signal source.


Focus

InFocus-IN126STA-hardware-focus

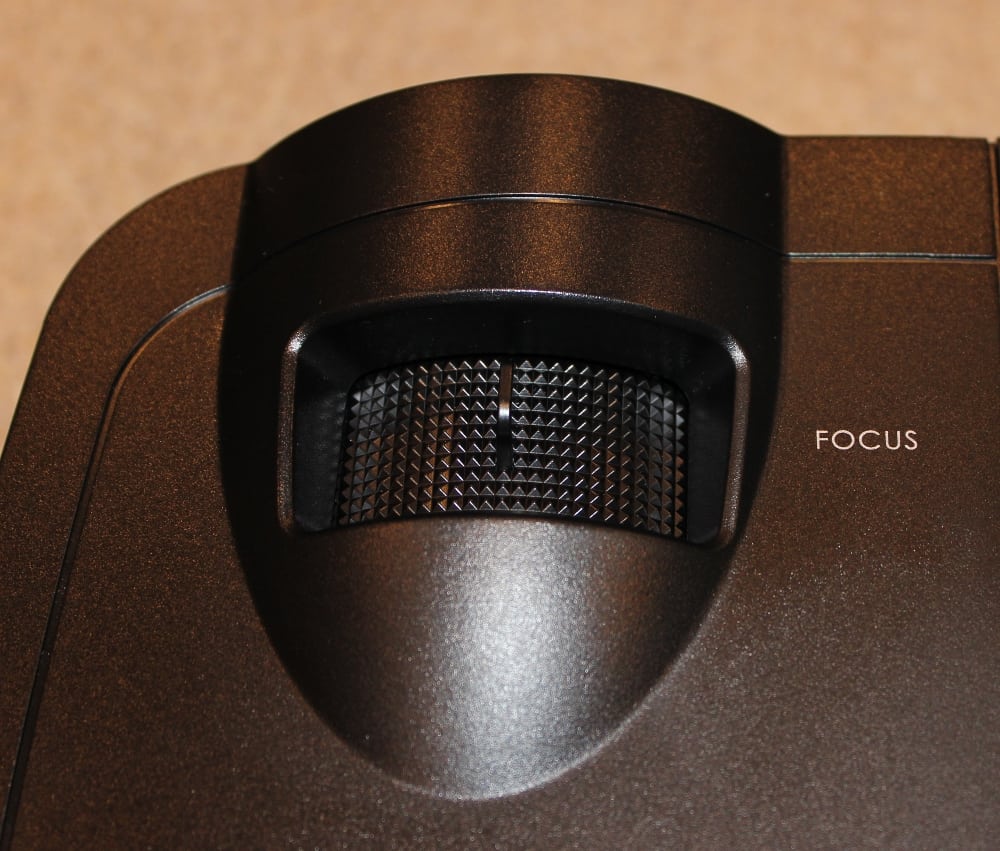
The IN126STa is a simple projector in that it has a manual focus, but no zoom or lens shift adjustments.  As shown in the above photo, the mechanical focus adjustment is located on the top of the projector, just above the lens assembly.

Connector Panel

InFocus-IN126STA-hardware-connectors

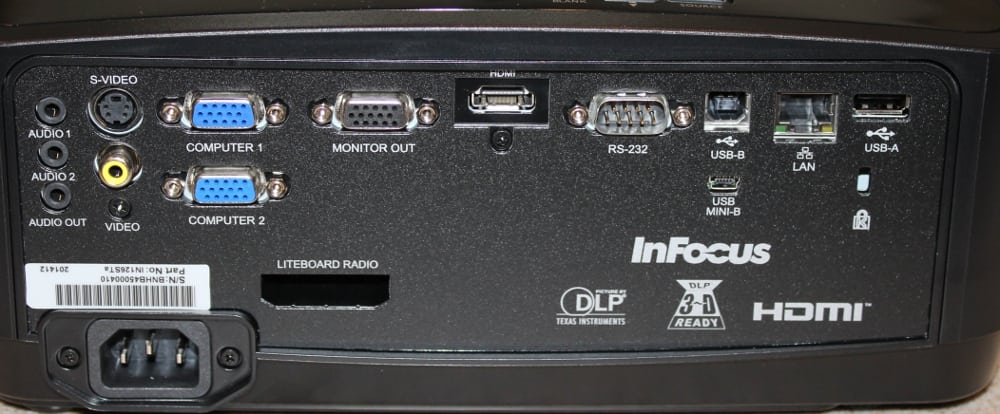
The connector panel, as shown in the photo above, is located on the rear of the projector.

The power connector is at the bottom-left of the connector panel.

Going from left to right across the connector panel we find:

  • Audio inputs and output connectors
  • S-Video and Composite video connectors
  • Analog PC connectors (VGA style)
  • Analog Monitor output connector
  • HDMI input connector
  • RS232 serial communications connector
  • USB-B and mini USB-B connectors
  • LAN RJ45 connector
  • USB-A connector

Below those is a connector for a "Liteboard Radio", which is used to attach a dongle that comes with the optional Liteboard Wand.


Remote Control

The supplied remote control is reasonably small, but certainly not tiny like some provided with the pico projectors.  It has a reasonable layout and provides more convenient access to the projector's functions than dose the projector's built-in control pad.

At the top-right is the power button and to its left is a help button that brings up on-screen help information.  Below those are the 4-way navigation buttons with a select button in the center.  To the top-left of the navigation buttons is the Menu button that is used to bring up the on-screen menus and to the top-right is the Esc button which exits the current on-screen menu.

To the bottom-left of the navigation buttons is the Source button to select the signal input source and to the bottom-right is the Auto Image button for use when the projector is having issues with locking onto the input signal.

Below those, to the right, are the audio volume up and down buttons and to the left are buttons labeled PC (to cycle thru the available PC inputs) and Video (to cycle thru the available video inputs).

Toward the bottom of the remote are 4 rows of 3 buttons each for specific functions/adjustments.  Included are buttons for digital keystone adjustment, digital zoom (Magnify) adjustment, audio Mute, video Blanking, AV Mute, and a few other functions.

Click Image to Enlarge

Latest Reviews

February 25, 2024

Introducing the Hisense C1: A cube-shaped 4K UHD lifestyle projector with an RGB triple laser light source and integrated JBL ...

February 19, 2024

The BenQ X3100i is a 4LED, 4K UHD (3,840 x 2,160p) 0.65" DLP short-throw gaming projector that offers a BenQ-rated ...

© 2024 Projector Reviews

crossmenu linkedin facebook pinterest youtube rss twitter instagram facebook-blank rss-blank linkedin-blank pinterest youtube twitter instagram