Projector Overview
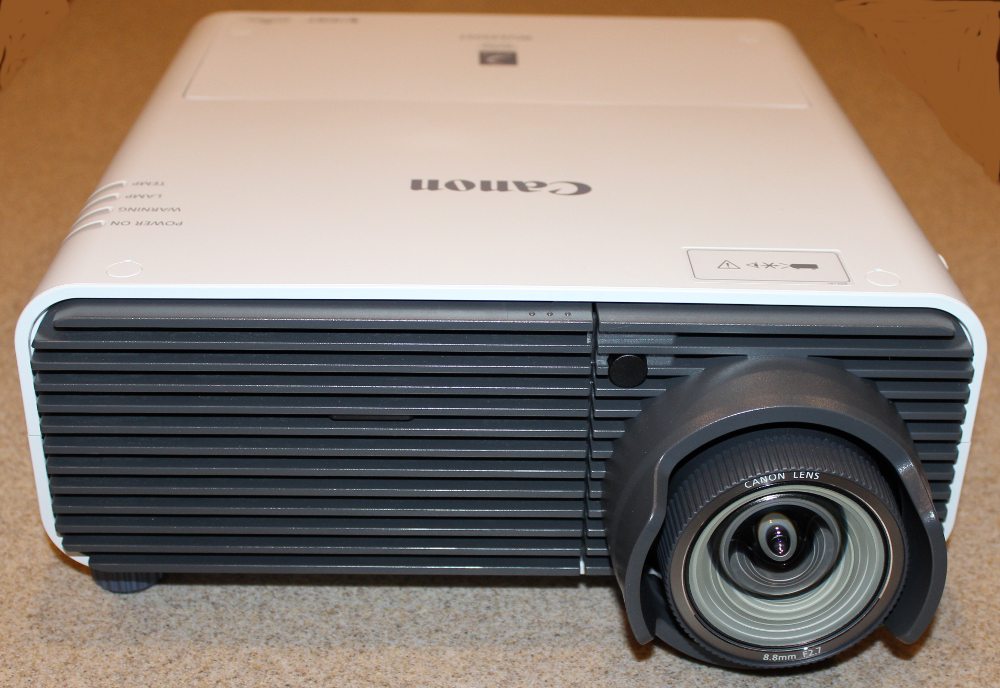
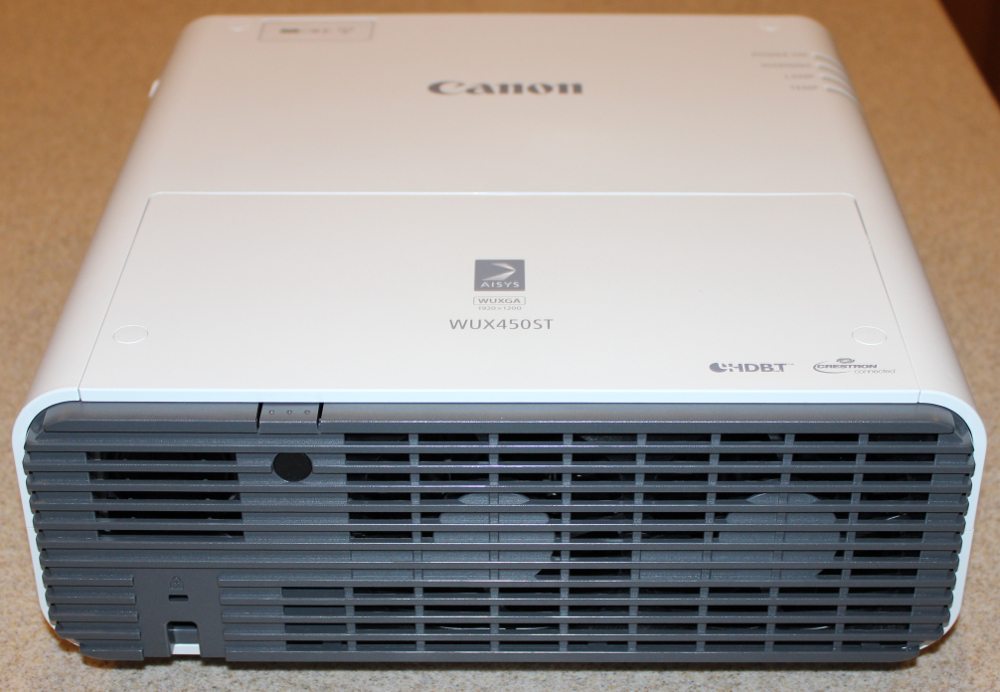
The WUX450ST has the lens mounted toward the right side of the front panel, as seen in the 1st gallery photo above. The IR receiver for the remote control is located just above and to the left of the lens. The left side of the front panel has the grill for the air intake vent.
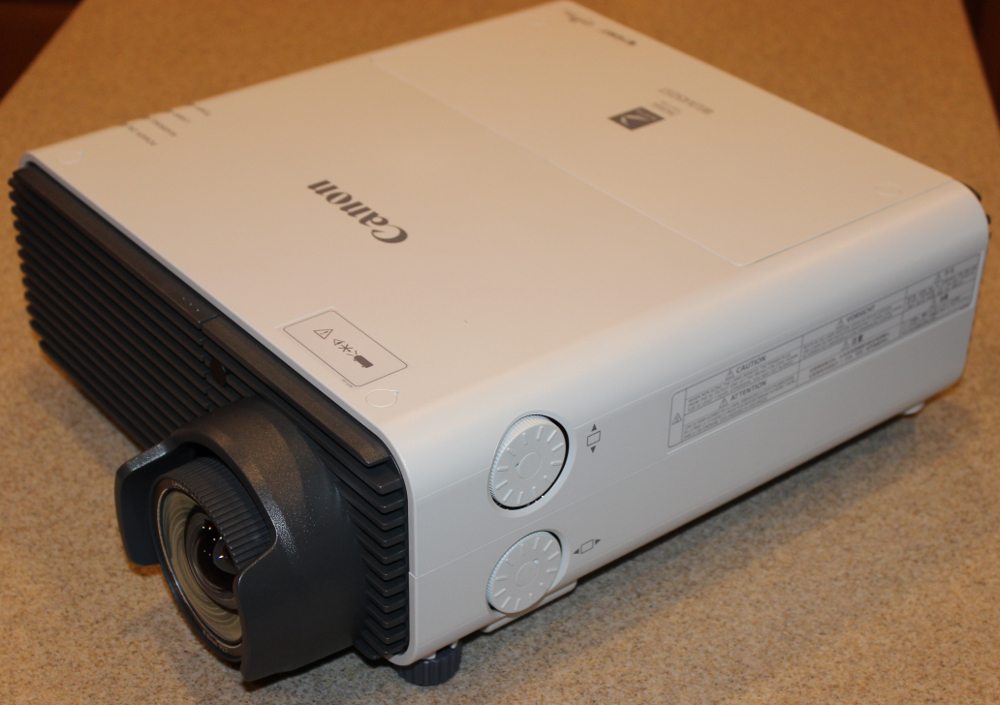
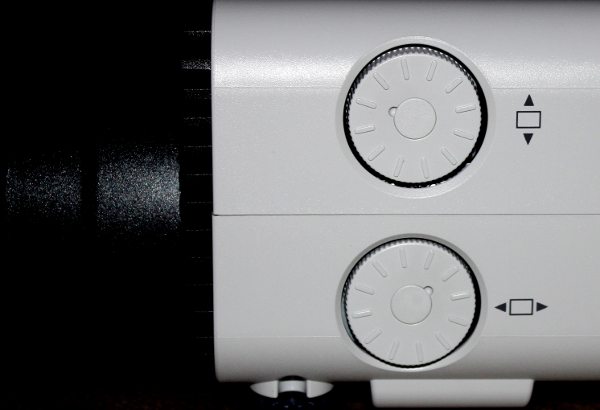
The right side of the projector, as seen in the 2nd photo above, has the optical lens shift adjustments located toward the front of the projector.
The rear of the projector, as seen in the 3rd photo above, has a second IR receiver for the remote control and air exhaust vents.
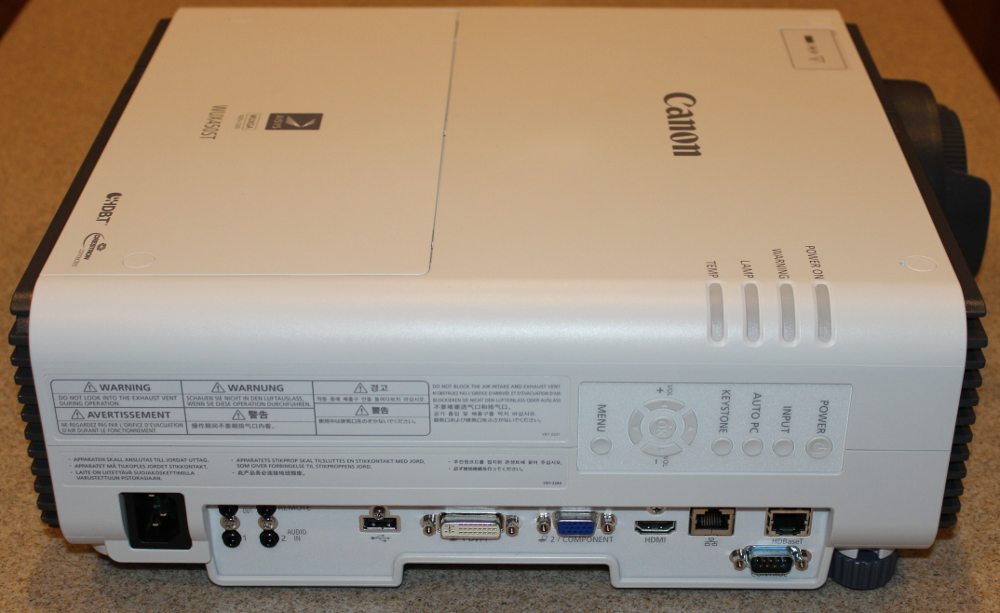
The left side of the projector, as seen in the 4th photo above, has the connector panel across the the bottom with the control pad toward the right and status light at the top-right edge.
The lamp cover is located across the rear portion of the projector's top panel, as seen in the 3rd photo above.
[sam_pro id=1_96 codes="true"]
Connector Panel
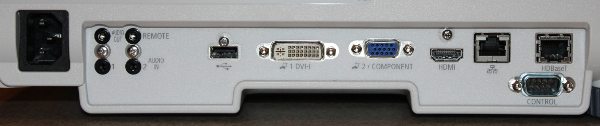
The connector panel, as shown above, is located along the lower portion of the left side of the projector.
Going from left to right, the power connector is located at the far left followed by 4 connectors for Audio (top-left), Wired Remote (top-right), Audio In 1 and 2 (bottom-left and bottom-right). Next is a USB connector and to the right of that is a DVI-I connector that upports both digital and analog video input signals. Next is an analog computer input that supports both RGB and component video signal types. That is followed by a HDMI input for digital video/audio. Next are connectors for a wired network (Ethernet) and for HDBaseT . Below those is a serial communications connector (i.e., RS232) for projector service/control.
Control Pad and Status Light
The projector's control pad, located on the left side of projector, is shown in the 1st photo above. The control pad has buttons for the basic projector functions. Buttons are provided for Power, Input section, Auto PC (for synchronizing the proejctor with analog signal inputs), keystone correction, speaker Volume, displaying the on-screen Menu, and menu 4-way Navigation buttons along a Enter button for selecting a menu item.
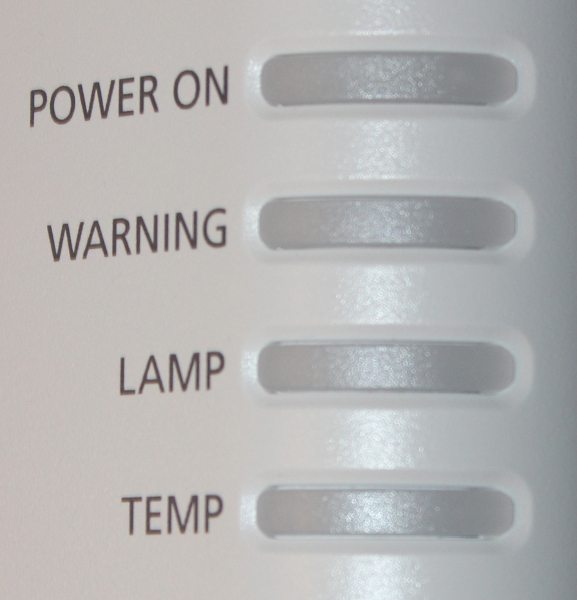
There are 4 status lights, as seeen in the 2nd photo above, located above the control pad and along the top edge of the projector's left side. These indicate when the power is powered on vs. off and provide information of the status of the projector and the projector's lamp.
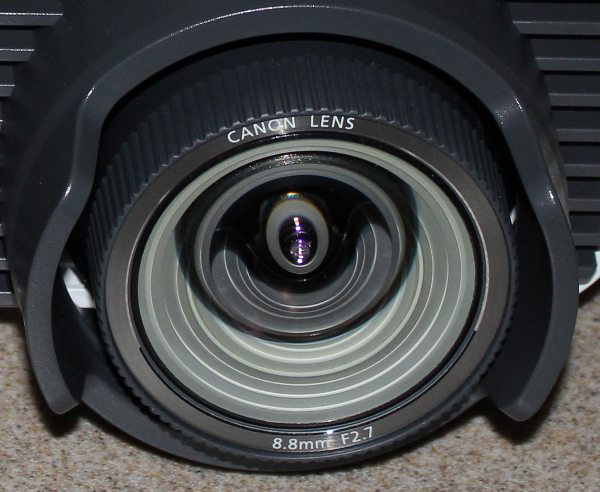
The 1st photo above shows the projector's fixed focal length (i.e., 8.8mm) lens. The focus in a mechanical focus ring around the front of the lens barrel. This is a short throw lens with a fixed throw ratio of 0.56:1. I found the lens to provide a very sharp image with excellent corner-to-corner focus. A slide-on plastic lens cover (not shown) is provided with the projector.
The 2nd photo above shows the two mechanical adjustments for lens shift. The upper control adjusts the vertical lens shift while the lower control adjusts the horizontal lens shift. The vertical lens shift provides for shifting the image from a 0 to 75% of the image height. The horizontal lens shift provides for shifting the image +/- 10% of the image width.
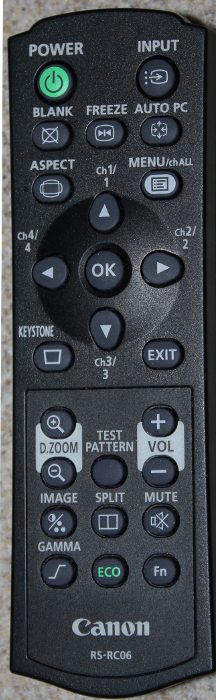
Remote Control
The remote supplied with the WUX6000 is a compact unit. There is no backlight provided.
The Power button is at the top-left of the remote and the Input button is at the top-right. Below those is a row of 3 buttons for Blank (video mute), Freeze (freeze current image), and Auto PC (to synchronize with an analog input signal).
Next down are buttons for Aspect ratio and Menu (to display the on-screen menu. Below that are the 4-way Navigation buttons with and enter button (OK) at the center.
Just below the navigation buttons are buttons for digital Keystone correction and Exit (to exit the current on-screen menu).
Next down are +/- buttons for Digital Zoom (which magnifies a portion of the image), a button to display a test pattern and up/down buttons for audio Volume.
Finally, at the bottom of the remote are two rows of 3 buttons each. The first row has buttons for: switching the Image (i.e., picture) mode, switching to Split screen mode and for audio Mute. The second row includes buttons for adjusting the image Gamma, and switching the projector between full power and ECO power-saver modes, and a Fn button this is not used with this projector model.
 Click Image to Enlarge